CHAPTER 2 – INSTALLING A NEW CABINET
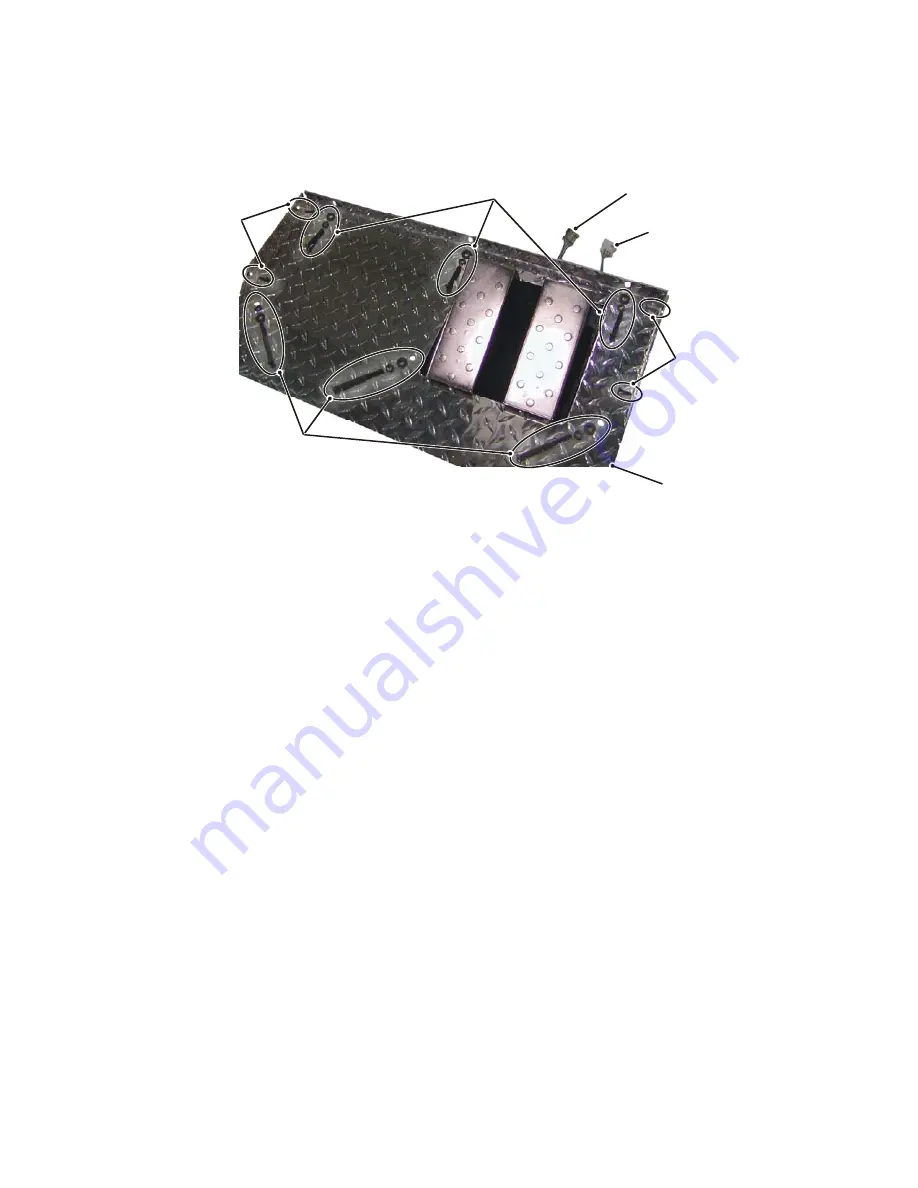
Gas Pedal Connector
Brake Pedal Connector
3" Torx Security Screw
+ Lock Washer
+ Fender Washer
3/4" Wood Screw
(optional)
3/4" Wood Screw
(optional)
1-3/4" Torx Security Screw
+ Lock Washer
+ Fender Washer
Tread-Plate Panel
Figure 14
– Optional Seat Assembly Installation/Removal
8. Slide the seat assembly onto the front of the upright cabinet, leaving enough room to connect the cables.
Connect the gas and brake pedal to the matching connectors on the cabinet. Use wire ties or rubber bands
to secure excess cable length.
9. Slide the seat assembly the rest of the way onto the cabinet. Use the (3x) 3" Torx screws with lock and
fender washers (included with the seat assembly) to hold the tread-plate panel down.
10. Use the 1-3/4" Torx screws with lock and fender washers from step 2 to secure the front of the tread-plate
panel to the front of the upright cabinet.
11. If desired, secure the sides of the tread-plate panel to the cabinet using (4x) 3/4" wood screws.
The upright cabinet with seat assembly is now ready for game play.
14
GLOBAL
VR
040-1201-01 Rev. C 5/28/2004


