


29
It can be “PR” or “HR” (for Gima Vital Signs Monitor with ECG function) by selection.
•
Date/Time:
the starting time of the trend graph.
Instructions for viewing the trend graph:
• Select “cursor on” and press the OK
key to confirm, and “cursor on” switches to “cursor off”. You can then
press the up
or down
key to move the vertical cursor and the list box below will display SpO
2
/HR value
and the time value at the point where the cursor resets. Moving the cursor back and forth this way, you can
view the SpO
2
/HR trend (12/24/96 hours long). Press
key again to exit trend viewing.
• When pressing
or
key to move the cursor, the increment is variable. The rule is that the initial step is 1,
after pressing the
or
key in the same direction 5 times, the step becomes 5, and with 5 more pressing
the step becomes 10, then 20. Pressing the other
or
, key will revert the step back to 1 in the other di-
rection.
• Long press the
key to bring up a dialogue for deleting data records, where the user can choose to delete
all trend data.
• Short press the print
key to print this trend graph.
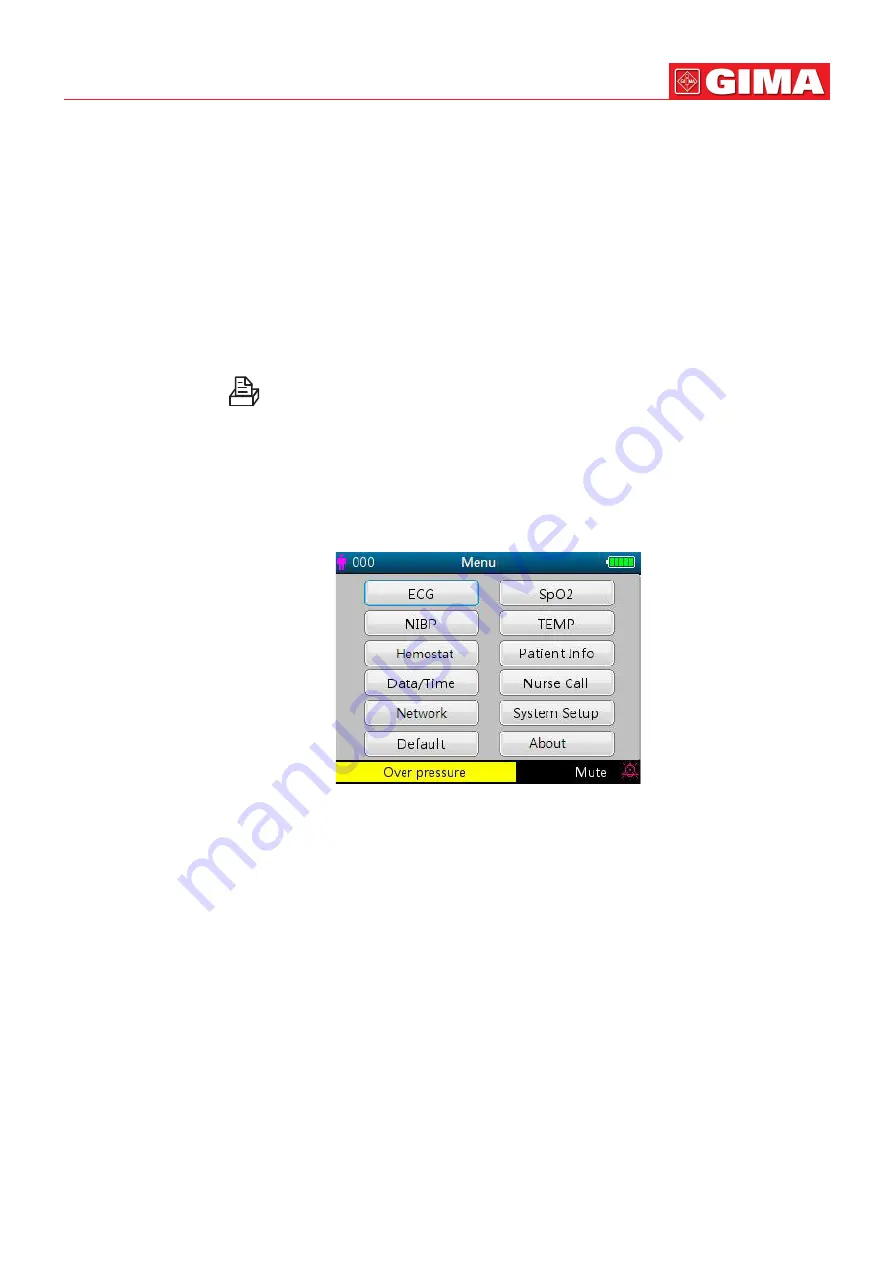
4.9 Setup Menu Screen
The Setup Menu screen is the main menu screen and a long press of Display View
key will enter into the
Setup Menu screen, as shown in Figure 4.10.
Note:
your Gima Vital Signs Monitor may not cover all the functional parameter settings listed in the main
menu screen. Please refer to the monitor you purchased.
Figure 4.10 Root setup menu screen
(refer to your monitor)
There are up to 12 functional groups for setting parameters: “ECG, SpO
2
, NIBP, TEMP, Hemostat, Patient Info,
Date/Time, Nurse Call, Network, System Setup, Default and About” on the Setup Menu Screen depending on
the configuration of your Gima Vital Signs Monitor.
Instructions for navigation parameters:
1. Short press the
or
key to shift the cursor to corresponding functional group setting.
2. Short press the
key to confirm and enter into the corresponding functional parameter setup screen.
3. Short press the
to exit from the Setup Menu Screen.
Note:
the device will save the latest setup settings automatically and the most of saved settings are non-
volatile, i.e. when you shut down the device and power up it next time, every setting item shows the settings
saved last time except the items like ECG cable setting and NIBP working mode.


