Gilson Company, Inc.
Micro-Deval Apparatus: MD-2000, MD-2000C & MD-2000F
Page 5
digits to tens, hundreds, then thousands. Once the desired
value is displayed, press <OK> again to enter the new value.
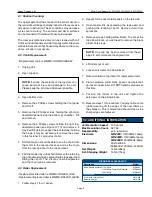
The next two lines are current revolutions for the top and
bottom jars, updated every second. The current revolutions
will be reset when the <START> button is pressed. The fourth
line switches to the RPM screen by pressing <A>. Pressing
<B> will display the elapsed time screen.
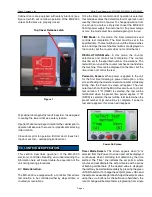
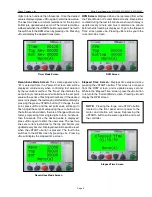
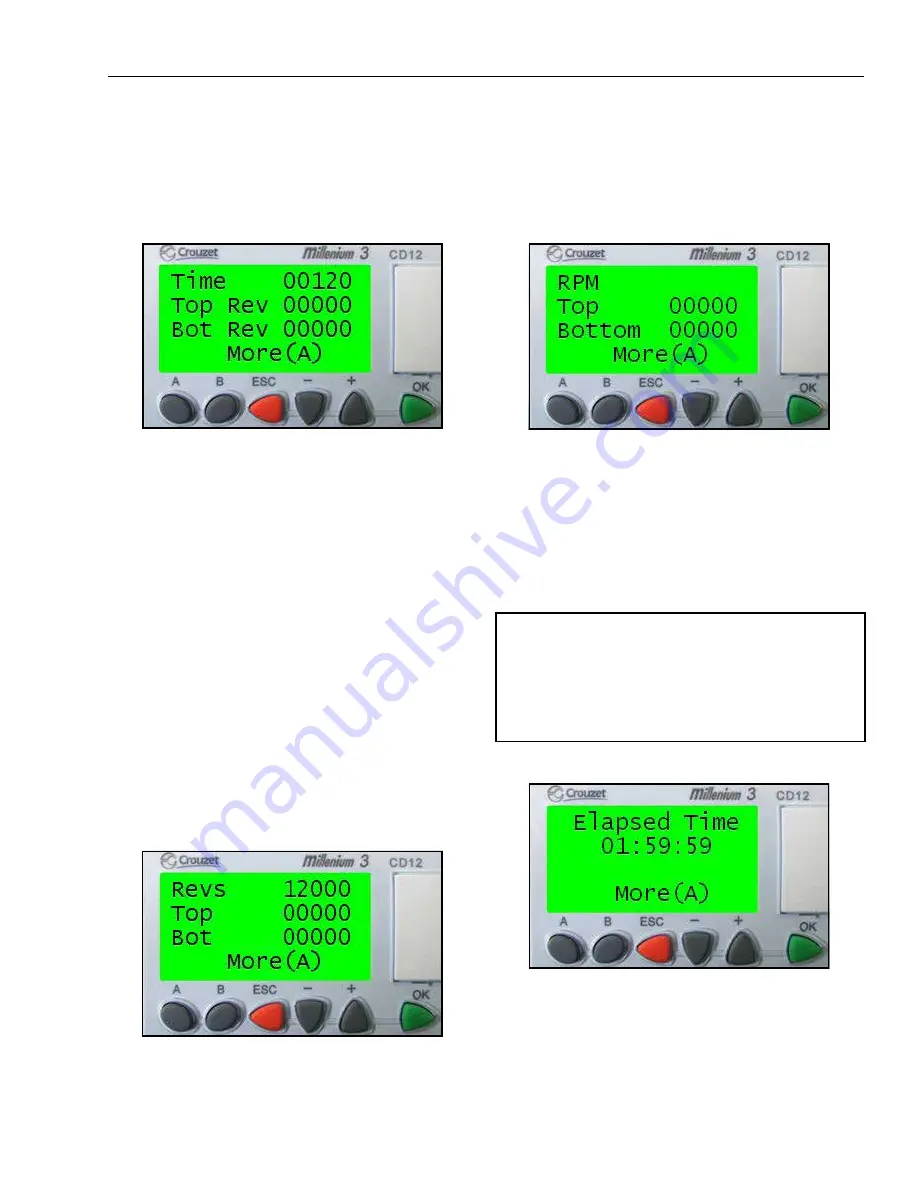
Revolutions Mode Screen: This screen appears when
“B” is selected from the Power-On screen and will be
displayed continuously when controlling test duration
by the revolutions method. The “Revs” line indicates the
set point in jar revolutions and will alternate the set point
value with a series of flashing vertical bars. (If the desired
value is displayed, the test may be started immediately by
pressing the green <START> button.) To change the set
point, press <OK> and the set point value will begin to
flash. Adjust the set point value using the <+/-> buttons. As
the buttons are held down, the rate of change will become
faster, progressing from single digits to tens, hundreds,
then thousands. Once the desired value is displayed,
press <OK> again to enter the new value. The next two
lines are current revolutions for the top and bottom jars
updated every second. Displayed revolutions will be reset
when the <START> button is pressed. The fourth line
switches to the RPM screen by pressing <A>. Pressing
<B> will display the elapsed time screen.
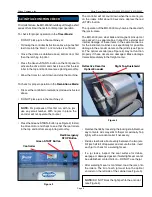
RPM Screen: Displayed when <A> is pressed from either
the Timer Mode or Counter Mode screens. Revolutions
counted during the last full minute are shown. Display is
updated every minute and must complete one minute
before the first reading is displayed. To go to the ‘Elapsed
Time’ screen press <A>. Pressing <B> returns you to the
current mode screen.
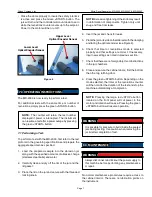
Elapsed Time Screen: Displays time elapsed since
pressing the <START> button. This screen is accessed
from the ‘RPM’ screen, and is updated every second.
While in the ‘Elapsed Time’ screen, press the <A> button
to return to the ‘Current Mode’ screen. Pressing <B> will
display the RPM screen.
NOTE: Pressing the large, red <STOP> button
located on the front panel will cut power to the
motor and rotation will cease. Depressing the
<START> button will resume operation and reset
the controller.
Revolutions Mode Screen
Elapsed Time Screen
RPM Screen
Timer Mode Screen

