


English
16
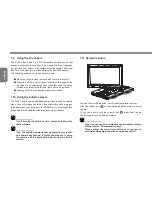
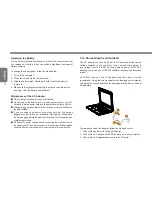
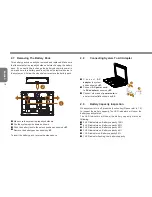
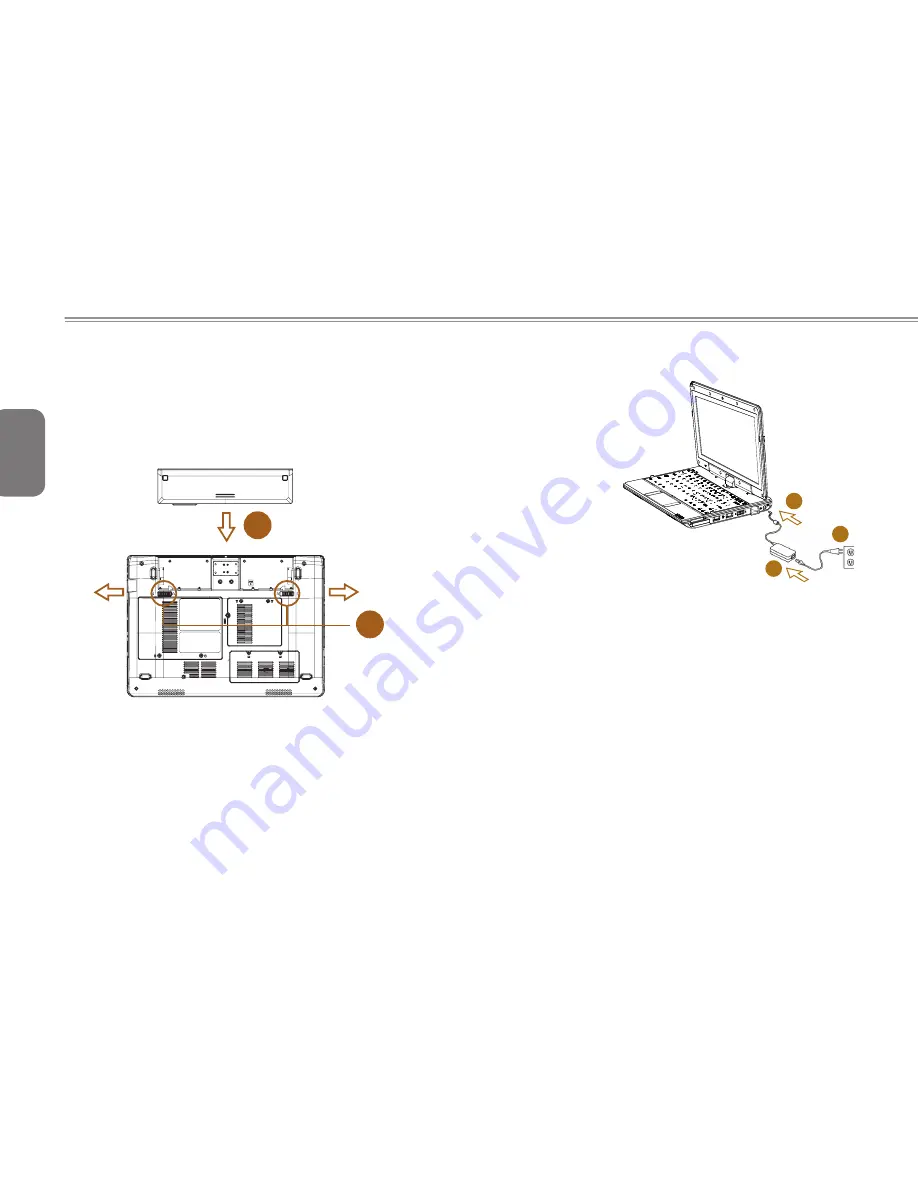
2.7 Removing The Battery Pack
This battery pack can easily be removed and replaced. Make sure
that the computer is properly shutdown before changing the battery
pack. If you would like to change the battery pack while power is
on, make sure this battery pack is not the only electrical source to
the system unit. Follow the steps below to remove the battery pack.
1
2
Make sure the system is properly shutdown.
Flip the system upside down as shown.
Push the battery lock to the unlock position as shown by
#1
.
Remove the battery pack as shown by
#2
.
To insert the battery pack, reverse the steps above.
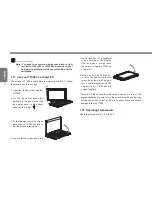
2.8
Connecting System To AC Adapter
C o n n e c t
A C
adapter
to system
unit as shown by
#1
.
Connect
AC power cord
to
AC adapter
as shown by
#2
.
Connect other end of
power cord
to
an electrical outlet as shown by
#3
.
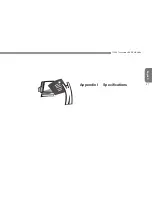
2.9
Battery Capacity Inspection
When system is turn off, press the function key (Please refer to 1.2)
to inspect the battery capacity.The LED indicators will show the
battery capacity status.
The LED indicators will show the battery capacity status as
following:
5 LED indicators on: Battery capacity 100%
4 LED indicators on: Battery capacity 80%
3 LED indicators on: Battery capacity 60%
2 LED indicators on: Battery capacity 40%
1 LED indicator on: Battery capacity 20%
1 LED indicator flashing: Low battery capacity
1
3
2
Содержание TouchNote T1000
Страница 7: ...English T1000 TouchNote USER S MANUAL VI...
Страница 10: ...English IX...
Страница 23: ...English T1000 TouchNote USER S MANUAL 13 Chapter 2 Battery...
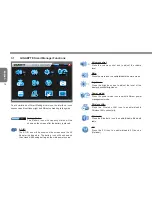
Страница 27: ...English T1000 TouchNote USER S MANUAL 17 Chapter 3 GIGABYTE Smart Manager...
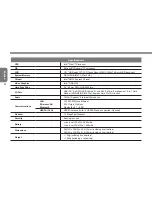
Страница 37: ...English T1000 TouchNote USER S MANUAL 27 Appendix I Specifications...
Страница 39: ...English T1000 TouchNote USER S MANUAL 29 Appendix II Xpress Recovery...