


16
©
Germann Instruments, Inc.
Test Smart – Build Right
©
9.
Installing the Proove’it
©
Software (ProovePC v4.0)
1.
Turn on the PC or laptop.
2.
Insert the CD with the PR-1040
ProovePC
©
software in the CD-drive and open the ProovePC
folder.
-
Alternatively, open the ProovePC folder if it’s downloaded from a Dropbox (
See figure 12
).
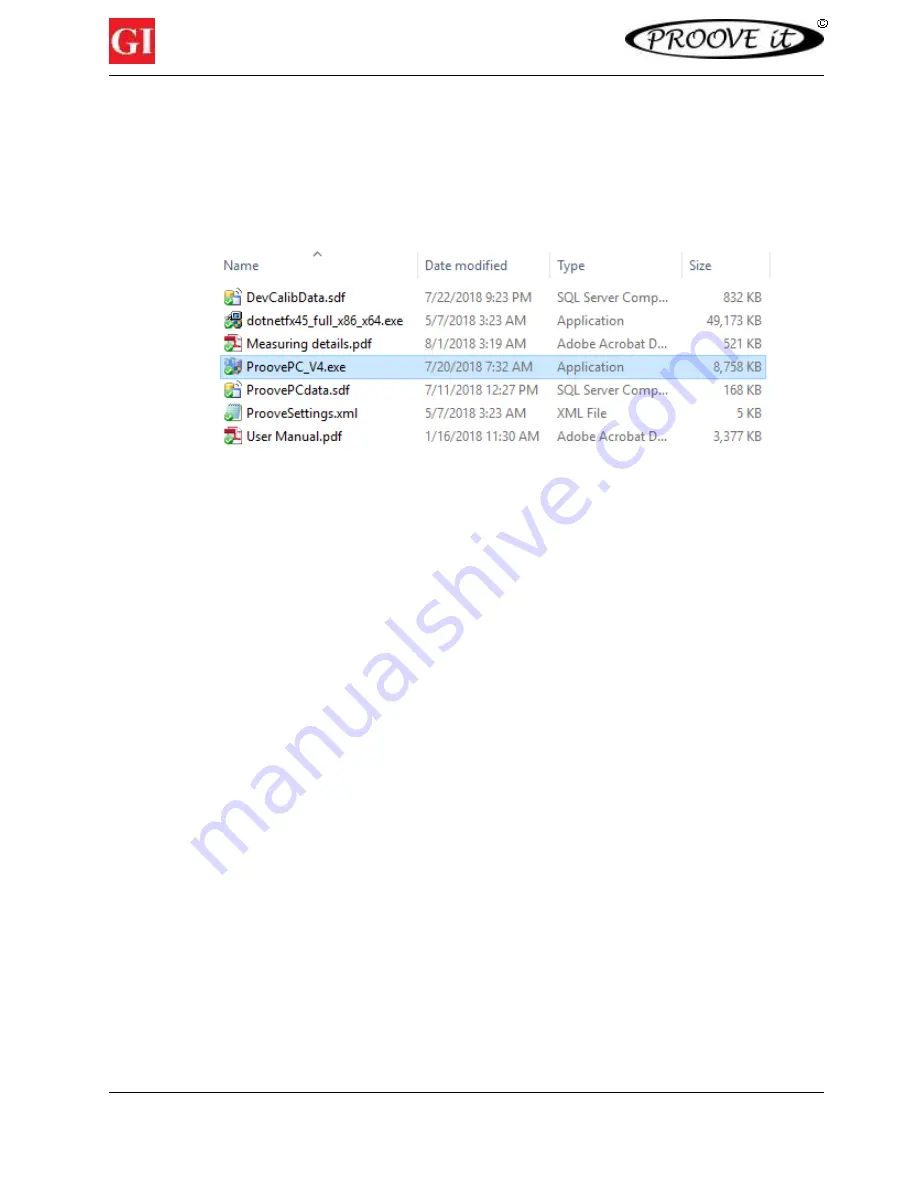
Figure 12
ProovePC installation files.
3.
The installation wizard will automatically start. If the computer does not support autorun, click on
the ProovePC_V4.exe file that in the CD’s folder.
4.
Follow the instructions on the screen.
5.
If updating of software on the PC or laptop is required, the software in the CD will automatically
do it and restart the laptop.
6.
After installation, shortcuts on the Desk are made for the program itself and for the two Report
Managers.
7.
A PDF copy of the manual will be also installed in the same folder as the
ProovePC
©
program.
The software is compatible with Windows (Vista/Win 7/Win 8/Win 10).
10.
Turning on and running the system
The power supply is connected to electricity with the appropriate line cord, 110 V-AC or 220 V-AC. The RS-
232 serial cable is hooked-up between the control unit and an USB port of a laptop or PC. A RS232 to USB
converter is required. Make sure that the drivers for the converter are installed from the dedicated
software and that Windows recognizes it well. Go to the Windows Device manager to check. Once the
converter cable has been correctly installed, the software will automatically detect the USB port assigned.
Turn on the Proove’it control unit by activating the switch on the backside of the panel.
When switched on, the on/off indicator lamp on the front panel will go from red to yellow after a few
seconds. If it stays red, the voltage supplied to the unit is either not stable or out of range (more than +/-
15 V-AC for 115 V-AC mains or more than +/- 30 V-AC for 220 V-AC mains). The unit is not able to operate
properly in such cases. A proper line or main voltage has been found to solve the problem.
The yellow lamp will subsequently turn green and a clicking sound will be heard when the system is ready
to test.


