5.3.5
Games
Games
includes
the
well-known
“Fruit
Ninja”
and
“Angry
Birds”.
Press
【
/
、
/
】
and
【
OK
】
to
enter
in.
As
picture
5-3-35
shows:
Figure
5-3-35
Using
Air
Mouse
RCU
you
may
easily
manage
the
OSD
game
interface.
You
have
only
to
use
central
OK
button
and
your
own
hand
movement
as
this
RCU
has
integrated
movement
sensor.
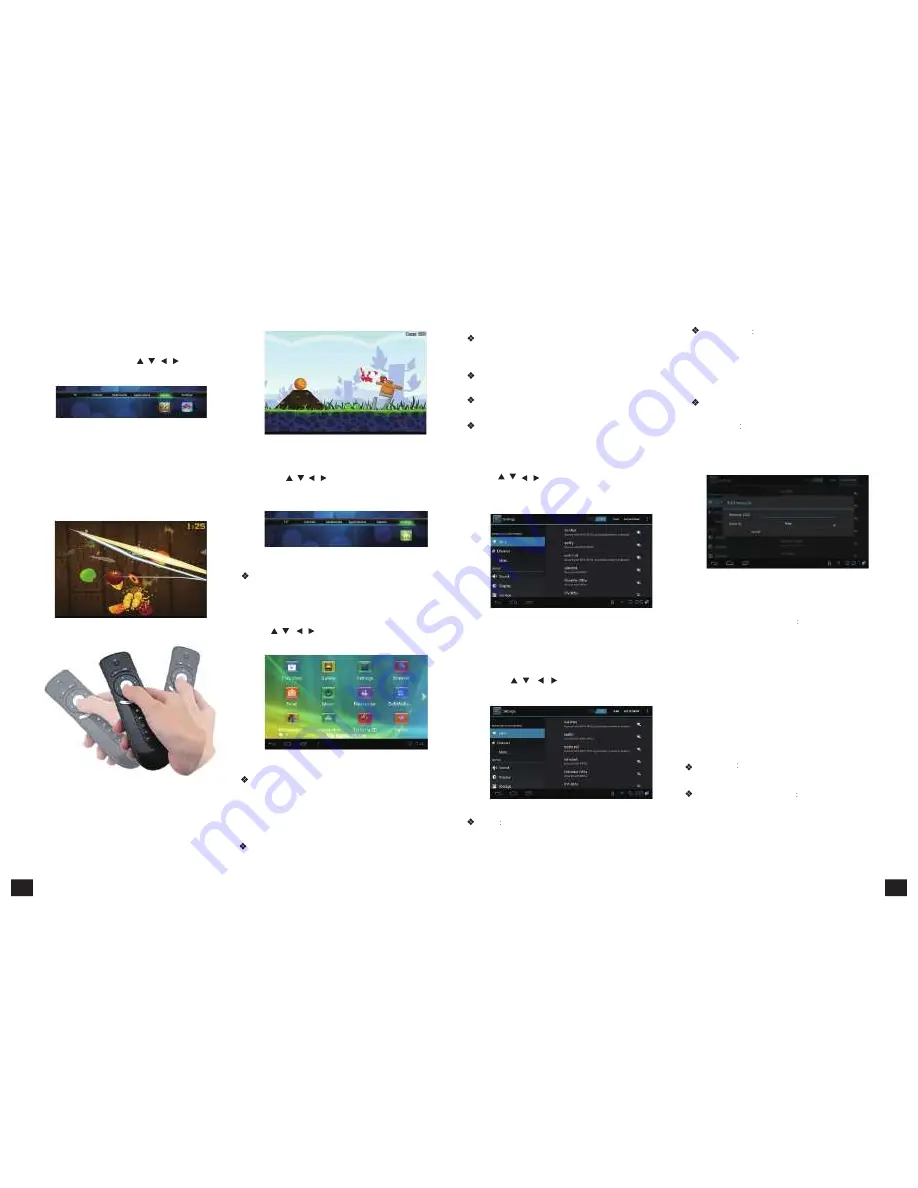
“Fruit
Ninja”
–
the
aim
of
the
game
is
to
chaff
as
many
fruits
as
possible.
Video
player
:
Play
all
the
videos
from
storage
device,
including
SD
card,
USB,
etc,
support
various
mode
of
AVI
、
WMV
、
MPEG.
Music
player
:
Support
various
pattern
of
music,
play
your
favorite
song
at
any
time.
Picture
browser
:
Clear
picture
browsing
modes
help
you
browse
local
pictures
quickly.
Installation
:
Read
the
installation
file
from
the
storage
device,
click
to
install
the
software
you
want.
5.3.6.
System
Setup
5.5
System
Setup
Press
【
/
、
/
】
and
【
OK
】
to
enter
in
sub
Press
【
/
、
/
】
and
【
OK
】
to
enter
in
“System
menu
of
"Settings",
seeing
picture
5-3-36.
Setup”.
Then
you
can
use
the
same
way
to
enter
in
from
main
UI.
Figure
5-3-36
System
Setup:
Please
refer
to
the
System
Setup
of
5.5
part.
Wi-Fi
Setting
Setup
and
manage
wireless
access
point.
System
will
auto
search
Wi-Fi
Internet
when
Wi-Fi
is
open
and
display
the
result
on
Interface.
If
no
internet
is
searched,
you
can
add
WLAN
access
point
by
hand.
Adding
WLAN
access
point
by
hand:
Following
options
are
in
Wi-Fi
list:
Scanning
Automatically
scan
WIFI
wireless
internet
Add
network:
Press
【
OK
】
button,
the
dialog
box
pops
up,
as
shown
in
picture
5-5-3:
Figure
5-5-3
“Angry
Birds”
.
The
player
has
to
shoot
from
slingshot
by
birds
to
shatter
different
fortifications.
Game
management:
Press
and
keep
【
OK
】
button
to
activate
the
slingshot.
5.4
Application
Function
Press
【
/
、
/
】
and
【
OK
】
to
enter
in
application
interface
as
shown
in
picture
5-4-1.
Figure
5-4-1
IE
Browser,
connecting
by
default.
If
you
want
to
log
in
other
website,
please
use
remote
control
or
fly
mouse
to
type
the
website
address
you
want,
for
detailed
information
please
take
a
reference
on
Internet
Function
part.
:
Build-in
software,
send
and
receive
emails
at
any
time.
Input
right
correct
account
number
Figure
5-5-1
Detailed
setting
method
will
be
explained
as
following.
5.5.1
Wireless
&
Internet
Press
【
/
、
/
】
and
【
OK
】
to
enter
in
“
Settings”,
seeing
picture
5-5-2:
Figure
5-5-2
Wi-Fi
Turn
on
or
turn
off
WLAN
function
Choose
upper
right
"BLUE"
button,
then
press
【
OK
】
button.
WIFI
is
open
when
it
shows
“ON”.
Advanced
setup
Interface
is
as
below:
Choose
Static
state
IP
Choose
whether
to
use
Static
state
IP
mode.
If
choose
static
state
IP
mode,
the
IP
address,
Gateway,
Netmask
and
DNS
become
available,
you
need
to
setup
this
parameter
correctly.
If
not,
all
these
settings
are
invalid.
Use
IR
remote
control
to
choose
static
state
IP,
press
【
OK
】
button
to
enter
in.
5.5.2
Ethernet
Settings
Ethernet
Click
this
option
,
press
【
OK
】
button
to
turn
on
or
off
Ethernet.
Ethernet
configuration
Set
Internet
IP
and
other
parameters.
Click
this
option,
entering
Ethernet
configuration
interface.
Like
picture
5-5-4
shows:
and
password,
click
NEXT,
set
up
mailbox
and
log
in.
19
20
Содержание FLY
Страница 1: ...GI FLY DigitalSatelliteHD MultimediaAndroidSTB ...
Страница 14: ......


