Using NetWare
61
3
Setting up using PCONSOLE
AAAA
Enter “PCONSOLE” from the com-
mand prompt.
F:> PCONSOLE
BBBB
Create a print queue.
When using the existing print
queue, go to the procedure for cre-
ating a printer.
CCCC
From the
[
Available Options
]
menu,
select
[
Print Queue Information
]
, and
then press the
{{{{
Enter
}}}}
key.
DDDD
Press
{{{{
Insert
}}}}
key, and then enter a
print queue name.
EEEE
Press
{{{{
ESC
}}}}
key to return to the
[
Available Options
]
menu.
FFFF
Set up the network connection to
a printer.
GGGG
On the
[
Available Options
]
menu,
click
[
Print Server Information
]
, and
then press the
{{{{
ENTER
}}}}
key.
HHHH
To create a new print server, press
the
{{{{
INSERT
}}}}
key, and then enter a
print server name.
For a currently defined print serv-
er, select a print server in the
[
Server
]
list.
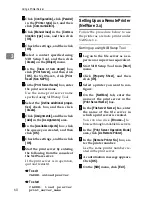
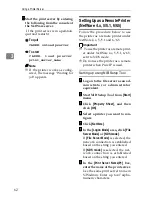
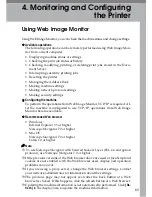
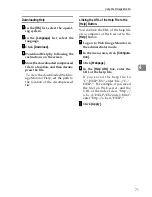
Use the same printer name speci-
fied using NIB Setup Tool.
IIII
From the
[
Print Server Information
]
menu, select
[
Print Server Configura-
tion
]
.
JJJJ
From the
[
Print Server Configuration
]
menu, select
[
Printer Configuration
]
.
KKKK
Select the printer indicated as
[
Not
Installed
]
.
Use the same printer number spec-
ified as the remote printer number
using NIB Setup Tool.
LLLL
To change the printer name, enter
a new name.
A name “Printer x” is assigned to
the printer. The “x” stands for the
number of the selected printer.
MMMM
As type, select
[
Remote Parallel,
LPT1
]
.
The IRQ, Buffer size, Starting form,
and Queue service mode are auto-
matically configured.
NNNN
Press the
{{{{
ESC
}}}}
key, and then
click
[
Yes
]
on the confirmation
message.
OOOO
Press the
{{{{
ESC
}}}}
key to return to
[
Print Server Configuration Menu
]
.
PPPP
Assign print queues to the created
printer.
QQQQ
From
[
Print Server Configuration Menu
]
,
select
[
Queues Serviced By Printer
]
.
RRRR
Select the printer created.
SSSS
Press the
{{{{
INSERT
}}}}
key to select a
queue serviced by the printer.
You can select several queues.
TTTT
Follow the instructions on the screen
to make other necessary settings.
Following these steps, check that
the queues are assigned.
UUUU
Press the
{{{{
ESC
}}}}
key until "Exit?"
appears, and then select
[
Yes
]
to
exit PCONSOLE.
Содержание DSm651
Страница 10: ...4...
Страница 14: ...Getting Started 8 1...
Страница 140: ...Special Operations under Windows 134 5...
Страница 155: ...Copyright 2004...
Страница 156: ...Network Guide GB GB EN USA B180 7515...

