background image

8

NOTE!

See chapter 8.3 for required 
quantity of water and water 
pressure.

In the case of poor water quality 
(sand, etc.), we recommend 
that a fi ne water fi lter is fi tted in 
the water inlet.

4.1.3 Fuelling

WARNING!

Always shut off the engine 
and let it cool for at least two 
minutes before fuelling. 
Avoid spilling fuel.
If you do spill fuel when fuelling, 
do not start the engine before 
the spilled fuel has evaporated. 
If the washer is on a trailer, any 
fuel spills must be wiped up 
before the machine is started. 

Never expose the machine 
to an open fl ame. Smoking is 
prohibited during fuelling. Also 
read the operating manual for 
the fuel engine.

Note: 

Never operate the 

ma chine in a closed room; the 
exhaust fumes are dan ger ous.

Follow the safety instructions 
in chapter 1!

4.2 

Start the washer

4.2.1  Switching on the 

washer when it is 
connected to a water 
supply

1. Start the engine. (See the 

operating manual for the fuel 
engine.)

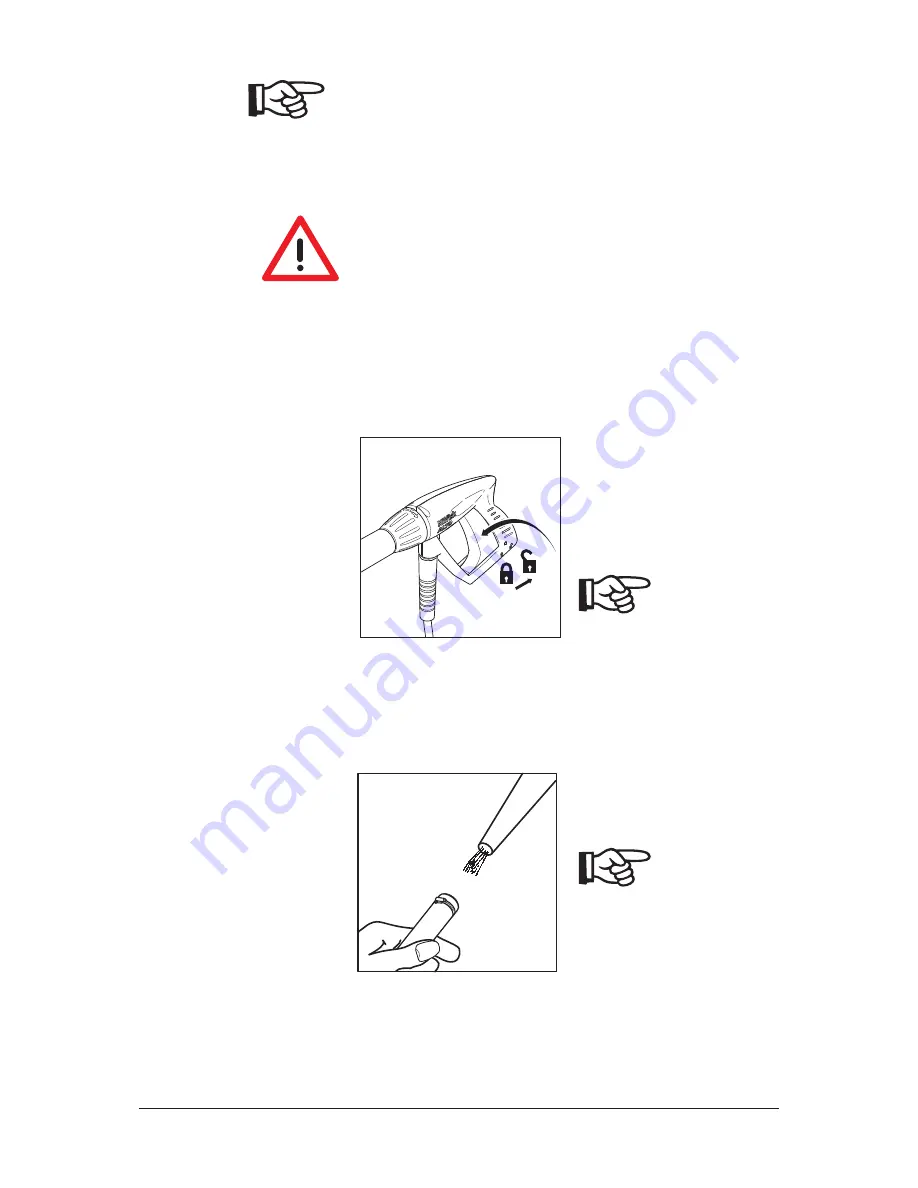
2. Unlock the spray gun and 

operate it.

3. Lock the safety catch even 

during short pauses.

NOTE!

Operate the 

spray gun several 

times at short intervals to vent 
the system.

4.2.2  Switching on the 

washer when it is 
connected to open 
tanks (suction mode)

1. Before connecting the suction 

hose to the washer, fi ll the 
hose with water.

2. Start the washer.
3. Unlock the spray gun and 

activate it.

4. When using this machine in 

suction mode, fi rst ensure 
that the system has been 
bled of air by letting the 

machine run without spray 
lance mounted until all air 
has escaped.

During work breaks of more 
than three minutes, switch off 
the washer.

NOTE!

For automatic 

suction from a tank, 

watercourse or similar sup ply, 
the inlet hose must be fi lled 
with water before you start. 
The suction height depends on 
the water temperature. Max. 
suction height (see section 8.3 
Technical Data) is reached with 
cold water (up to 8°C). With 
70°C/60°C warm water, the 
ma chine must be under or at 
the water level.

(continued -->)

Содержание POSEIDON 2-31

Страница 1: ...POSEIDON 2 31 3 36 5 67 PE POSEIDON 5 54 DE User Manual...

Страница 2: ...Copyright 2007 Gerni...

Страница 3: ...se 6 2 2 Operating elements 6 3 1 Setting up the pressure washer 7 4 1 Connections 7 4 2 Start the pressure washer 8 4 3 Using detergents 9 5 1 Switching off the pressure washer 10 5 2 Disconnecting s...

Страница 4: ...hat the high pressure cleaner is in a safe and proper condition Operate the pressure washer only in an upright position Important notes Do not connect the pressure washer directly to the public drinki...

Страница 5: ...ages of water result in severe damage to the pump seals Maintenace and repair CAUTION Before cleaning and servicing the high pressure washer always remove the ignition plug cable first Carry out only...

Страница 6: ...stry construction industry etc 2 2 Operating elements 1 Start stop switch 2 Lance 3 Holder for lance 4 Holder for high pressure hose 5 High pressure hose 6 Spray gun 7 Water connection and water inlet...

Страница 7: ...forward and lock it by turning it to the left 2 Insert the nipple of the lance into the quick coupling and turn the blue quick coupling grip to the right 3 Pull the lance or other accessory forward to...

Страница 8: ...supply 1 Start the engine See the operating manual for the fuel engine 2 Unlock the spray gun and operate it 3 Lock the safety catch even during short pauses NOTE Operate the spray gun several times a...

Страница 9: ...ill turn off If not stop the machine immediately and contact Gerni service department 4 The machine can be started by means of the starter rope if the battery has gone flat See manual from Yanmar 4 3...

Страница 10: ...without danger of frost IMPORTANT If the high pressure washer is stored in a room with temperatures around or below 0 C anti freeze should be drawn into the pump beforehand 1 Remove the water inlet h...

Страница 11: ...ntering into the pump 1 Unscrew the union nut 2 Remove the filter and rinse it Replace damaged filter 3 Tighten the union nut gently so as to avoid damaging the gasket 6 2 2 Clean high pressure nozzle...

Страница 12: ...ump gear oil 1 Before changing the oil allow the pressure washer to become warm 2 Unscrew the plugs at the top and the bottom of the pump 3 Allow the oil to drain into a suitable container min 1 l cap...

Страница 13: ...e control is defective accessory Low fuel level Low oil level in engine The pump is blocked or frozen Remedy Vent the system by operating the spray gun several times at short intervals If necessary di...

Страница 14: ...nty Your Gerni product is guaranteed for 12 months from date of purchase purchase receipt must be presented on the following conditions that defects are attributable to flaws or defects in materials o...

Страница 15: ...specifications POSEIDON 2 31 PE POSEIDON 3 36 PE POSEIDON 5 67 PE POSEIDON 5 54 DE Working pressure bar 140 140 230 195 Water volume Qmax l h 700 840 1150 1000 Water volume QIEC l h 650 750 1100 950...

Страница 16: ...106169230 01 2007 Nilfisk Advance Pty LTd 48 Egerton St Silverwater NSW 2128 Phone 1300 556 710...

Отзывы: