15
14
GV-Data Capture
GV-Data Capture
1.
2.
3.
4.
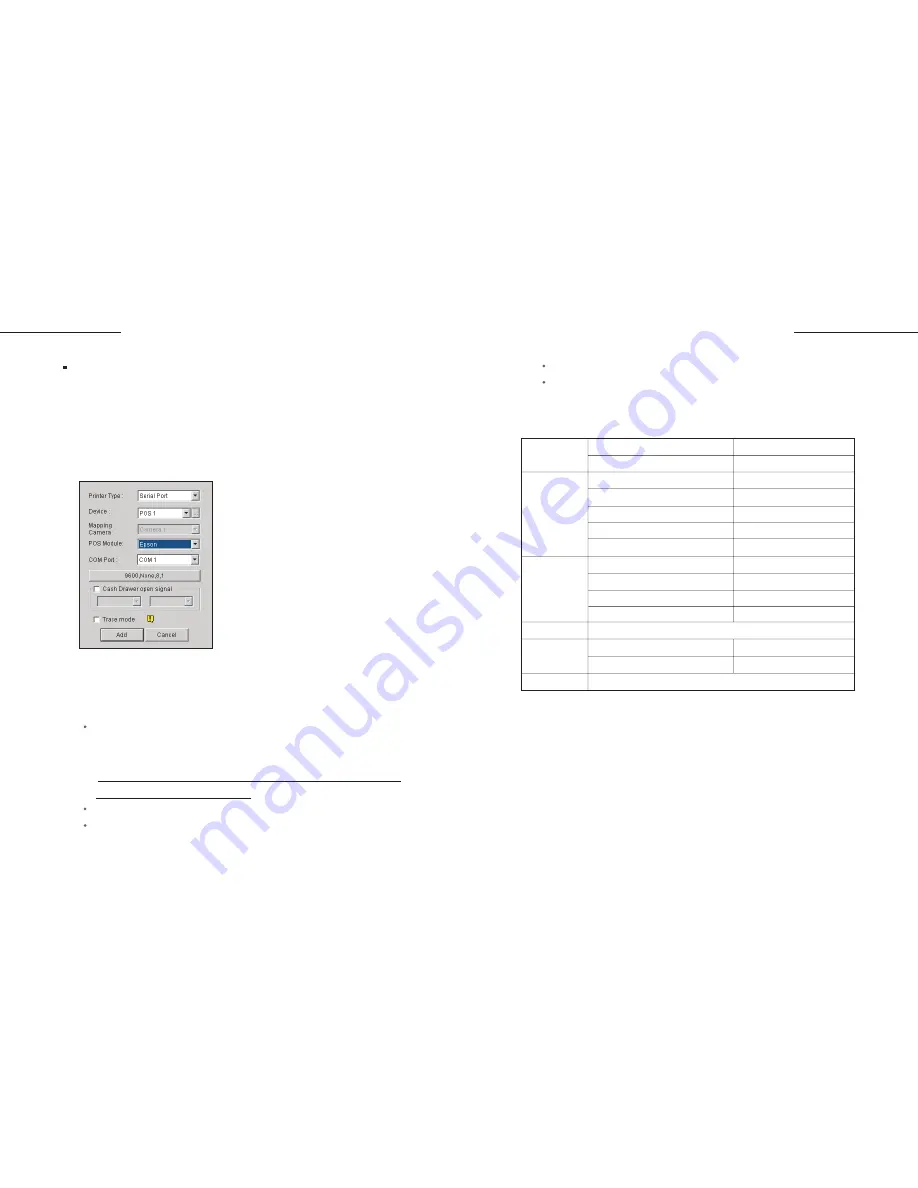
Run POS Server Setup. (GV-system/Configure/POS Application
Setting/POS Device Setup)
Click the
New
button in the POS Server Setup window.
Select
Epson
in the POS Module field.
Click
Add
, and test the setting.
If the above setting doesn't work, send us the following information. We will
analyze your case and offer you a possible solution.
The txt file created by HyperTerminal. For more information about
HyperTerminal, see another documentation:
The Printing Mode of POS System/Cash Register
(http://www.geovision.com.tw/002/en/faq/pos/pdf/The_printing_mode_
of_POS_system_cash_register.pdf)
One copy of the transaction receipt. See Fig. 4.
A desired file name that will be used as a POS module name.
See Fig. 5.
Specifications
Input
RS-232 from POS
Parallel Port from POS
RS-232 to Printer
Parallel Port to Printer
RS-232 Port to DVR
RS-485+
RS-485-
RS-232 from POS
Parallel Port from POS
RS-232 to DVR
Power Adapter DC 5V, 2A Inner Positive
Operation temperature
Humidity
161 (W) x 34 (H) x 123 (D) mm
DB9 Female
DB25 Male
DB9 Male
DB25 Female
DB9 Female
Connect to GV-NET RS-485+
Connect to GV-NET RS-485-
1,200 bps~115,200 bps
SPP / Normal
1,200 bps~115,200 bps
RS-485 to GV-NET or GV-NET Card 1,200 bps~19,200 bps
0~50 degree C
5%~95% (non-condensing)
Output
Communication
DC IN
Environmental
Conditions
Dimensions
The displayed transaction item can't match that entered at the
POS system/cash register
Figure 6. Selecting Epson in the POS Module field
The POS system/cash register type and model.
The printer type and model.
Содержание DCV1-A-EN
Страница 1: ...2005 01 GV Data Capture...


