6
ELECTRIC CONVERSION
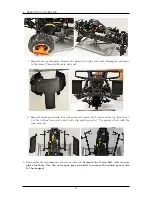
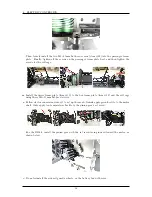
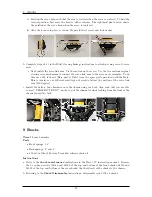
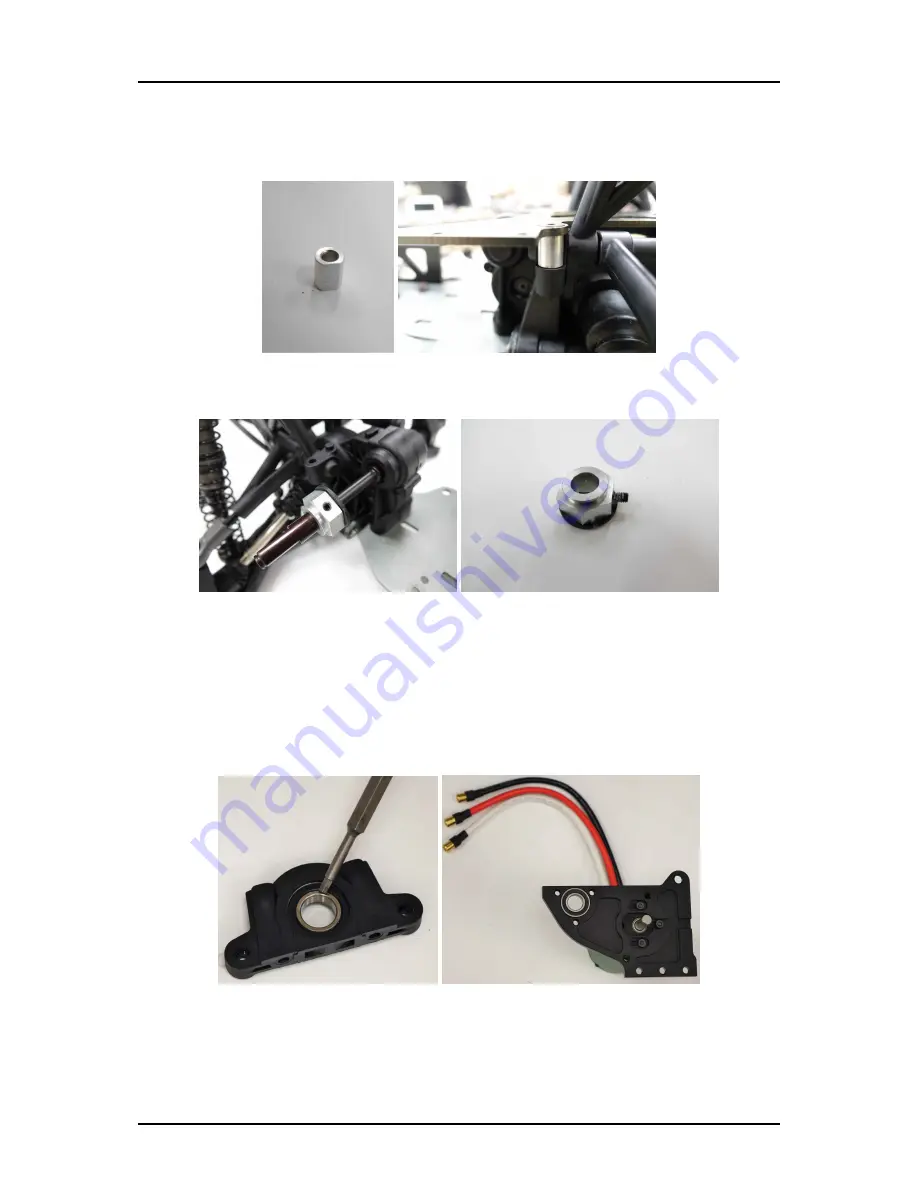
h. At about the two minute mark in video #3, you will be using a diff spacer (item #18), a spacer
with a flat on one side. The CCB kit includes this spacer, but the RB kit only includes round
spacers. In that case, grind a flat on one of the included spacers.
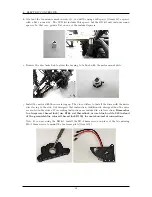
i. Remove the disc brake hub to allow the bearing to be flush with the motor mount plate.
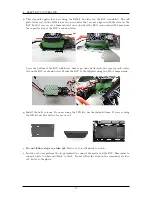
j. Install the motor with the wires facing up. The video will say to install the wires with the motor
wires facing to the side, but disregard that instruction. Additionally, disregard how the wires
are routed in the videos. Wire routing instructions are included in a later section.
Remember
to always use thread lock (use Z186 red threadlock or use blue Loctite 243 instead
of the greenish-blue colored thread lock Z159) for metal-on-metal connections.
Note: If you are using the RB kit, install the M5
×
16mm screws in place of the two missing
M5
×
15mm screws to mount the box frame plate (item #12).
14
Содержание AutoRally
Страница 1: ...AutoRally Chassis Instructions Version 1 4 June 2018 Georgia Institute of Technology...
Страница 2: ......
Страница 79: ...27 APPENDIX A PARTS Futaba FUTM1725 Charger for Futaba 4PV Glitch Capacitor GPS antenna 75...
Страница 80: ...27 APPENDIX A PARTS GPS antenna cable GPS box fan Hallogic OH090U Hall Effect sensors 76...
Страница 81: ...27 APPENDIX A PARTS Hemisphere GPS P307 Pololu Level Shifter Pololu RC Relay Pololu Servo Multiplexer 77...
Страница 82: ...27 APPENDIX A PARTS USB breakout board 27 6 Connectors 1 1 0 1 in header housing 1 2 0 1 in header housing 78...
Страница 88: ...27 APPENDIX A PARTS 1 M3 4mm screw 27 7 3 GPS Box 8 M3 8mm screws 4 M3 hex nuts 84...
Страница 89: ...27 APPENDIX A PARTS 2 M1 4 fan screws 2 M1 4 fan nuts 2 M3 25mm screws 85...
Страница 92: ......

