background image

Information about user parameters allows the watch to calculate different values as accurately as possible:

-  Gender: needed to calculate calories and fat burned.

-  Date of birth: needed to calculate theoretical maximum heart rate.

-  Weight: needed to calculate calories and fat burned.

-  Height: needed to calculate calories and fat burned.

-  FC max (maximum HR) on ONmove 710 only. 

It is automatically calculated using the formula 220 – age. If you know this already, you can calculate the optimal number of calories and fat burned and 

calculate target zones expressed as a percentage of maximum HR more accurately.

This can be measured with the heart rate monitor during a sustained effort over a relatively short distance. After a proper warm-up, run one lap on a running 

track at slow pace followed by a second lap at medium speed and then a faster third lap accelerating as much as you can over the last 100 metres. The heart 

rate recorded is the one shown as you cross the finish line. Please consult your doctor before undertaking such exercise.

-   HR min (resting HR) on ONmove 710 only

This provides a more accurate calculation of calories and fat burned. It can also be measured using the HR monitor. The ideal time to measure is in the 

morning, when you are totally relaxed, lying on your bed.

16�5� HR belt (ONmove 710 only)

This menu will let you activate or deactivate your HR belt.

16�5�1� Pairing with cardio belt monitor

If the cardio belt monitor function is activated, you can continue with pairing process.

The watch is automatically programmed to pair with the HR belt monitor contained in the package. It is, therefore, unnecessary to use the “pairing” 

function in order to use it. 
The “pairing” function should only be used if the belt is replaced.

Each sensor (accelerometer or heart rate monitor belt) has a unique identification number that cannot be changed. When the belt is 

activated, it automatically transmits its identification number to the watch. The HR monitor belt is activated as soon as it is moistened and 

fitted to the chest.

Once the belt is in place, press the 

OK

 key once to scroll through watch’s recommendations and launch the search.

During the pairing process, you must stand at least 10 metres away from other HR monitor belt users to prevent the watch from connecting 

to other belts. 

This precaution is only necessary for the pairing process and does not need to be repeated when searching for the belt at the beginning 

of the free session, training or challenge modes.

The watch should locate the belt in a few seconds. 

Press the 

OK

 key once the belt is found.

If the watch does not successfully pair with the belt, press the 

OK

 key; you will be asked to restart the process.

In the event of the pairing procedure repeatedly failing, please refer to chapter 

19.2. Detecting HR belt

.

16�5�2� Deactivate HR monitor function

If the HR monitor belt function is activated, you can deactivate it.
If you no longer wish to use your HR belt monitor, you are advised to deactivate the HR monitor function so as to prevent the watch from searching for the 

belt at the start of every session. You will save time and battery charge (this searching phase consumes a lot of charge)
By deactivating the HR function, the watch will delete information and parameters linked to heart rate from the different watch menus. 

Press the 

OK

 key once the function is deactivated.

16�5�3� Activate the HR monitor

If you deactivate the HR monitor function you can activate it again later.

If you do this, the watch will restart the pairing process (see chapter 

16.5.1. Pairing the HR monitor belt

)

16�6� Upgrade/maintenance

You can view the firmware version of your watch in the updates/maintenance menu. Firmware is your watch's internal programme. It 

undergoes ongoing improvements to make your product ever easier and more fun to use.

When connecting your product to your computer, ONconnect checks the firmware version and lets you know if a new version is available. In this case, we 

advise you to update.

16�6�1� Upgrading product

When an update is available, an information sticker is displayed on the "Adjustments" category.

Click on "Update" to update your product. 

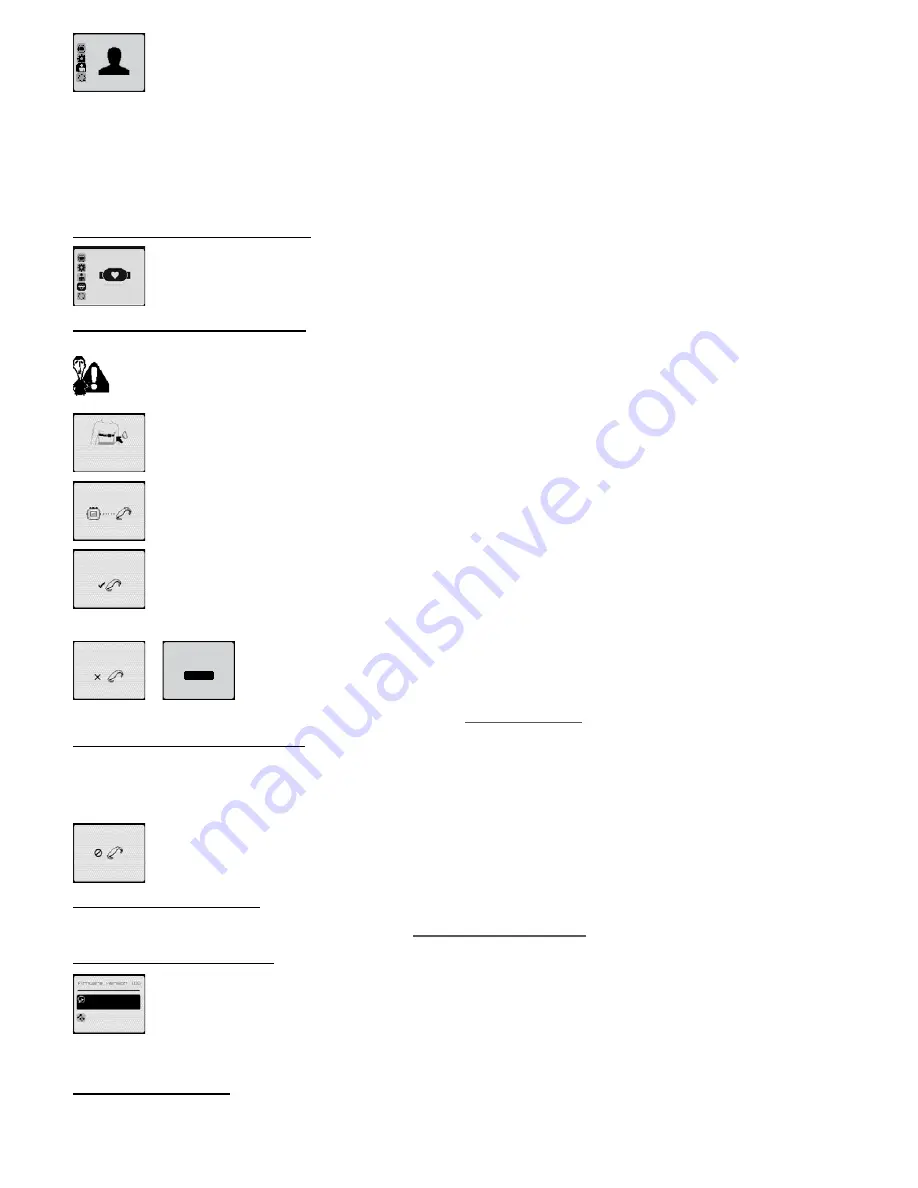
user

heart rate

belt

Install the belt

and humidify

the sensor

pair belt

Belt 

found 

!

belt missing

restart ?

no

yes

function 

heart rate

disabled

default

settings

upgrade

the product

27

Содержание ONmove 510

Страница 1: ......

Страница 2: ...of a interval training programme 9 10 1 1 2 Modifying a interval training programme 9 10 1 2 Structure and modification of a pyramid training programme 11 10 1 2 1 Structure of a pyramid training pro...

Страница 3: ...6 5 HR belt ONmove 710 only 26 16 5 1 Pairing with cardio belt monitor 26 16 5 2 Deactivate HR monitor function 27 16 5 3 Activate the HR monitor 27 16 6 Upgrade maintenance 27 16 6 1 Upgrading produc...

Страница 4: ...h USB cable to charge the battery and transfer information to your PC Heart rate monitor belt 2 Charging the battery Plug in the USB power adapter to a USB plug and the pincers to your watch Connect t...

Страница 5: ...nly work once a session is underway 6 screen to change display during the session 7 lap to take lap times manually 6 The watch s main menus After setting and then each time you switch the watch on you...

Страница 6: ...indoor activities treadmill indoor athletics while enabling you to save your session and check your heart rate ONmove 710 only 8 Starting a session 8 1 Searching for the satellite signal Select your...

Страница 7: ...er to use before moving onto other suggested activities especially training and challenge 9 1 Specifying activity options options route ok When entering this mode the watch will search for satellites...

Страница 8: ...number the lap time and the average speed during that lap for a period of 5 seconds km h 5 15 30 3 If you press the key although you have set auto lap info section 9 1 2 lap info the next auto lap in...

Страница 9: ...1 series of The name of the training session and the brief description beneath will help you quickly identify the type of training chosen start modify Once you have selected the training you can star...

Страница 10: ...ty of the programme by selecting the target zone which is automatically switched to off zones heart rate warm up speed off You can base your target zone on speed in km h or minutes km or in the case o...

Страница 11: ...ogramme is saved you can Start your training Return to main menu my trainings To recover this training programme start at the main menu choose activities training and my training interval 1 2 series o...

Страница 12: ...time Select distance and press OK limit Use the and keys to select 300 m from the list of proposed distances and press the OK key to confirm If the desired distance is not available select personalis...

Страница 13: ...gramme is created automatically It gives the type of structure used interval or pyramid and the number of the programme created The description indicates the number of series 4 and the duration or dis...

Страница 14: ...o longer able to display all the icons but you can view the number of series at the bottom right hand of the screen To view details of the action effort phase or the recovery and view in particular th...

Страница 15: ...so decrease the envisaged warm up period by pressing OK In either case you can select from the following menu one of the suggestions using the and keys and the OK key warm up completed continue next s...

Страница 16: ...ings Go back let the watch guide you to the start line chapter 12 How to use guiding Coordinates viewing the current GPS coordinates 10 4 2 4 The Cool down If it has been set this phase will end your...

Страница 17: ...age you are at in your training session at any moment warm up series or cool down In this example the phase in progress is the 3rd recovery of the second series 11 Using the challenge mode The challen...

Страница 18: ...ap for further information 11 1 1 3 End of the race When you have reached the finish line the watch will indicate whether you or your competitor has won the race You have won Finish Your competitor ha...

Страница 19: ...nce although this is not entirely accurate and depends on the runner s stamina All endurance athletes long distance and middle distance aim to improve their MAS They mostly do this through interval tr...

Страница 20: ...of a series of guiding points also called way points linked to each other by straight lines Guiding simply consists of taking the user from one point to another There are two ways of creating a route...

Страница 21: ...ear in the my route display 12 3 1 Using my route display when approaching a way point This pop up appears when you consult a display other than my route so that you don t miss a change of direction I...

Страница 22: ...irectional arrow can indicate the direction of the next point The and keys let you zoom in and out respectively to display more or less information about the route 12 3 2 Using guiding pop ups If in p...

Страница 23: ...us stretch Restart sequence 14 Using the indoor mode When the indoor mode is activated it deactivates the GPS function In this mode you have access to the my indicators display This includes the time...

Страница 24: ...the sample rate and finally allows you to completely empty the memory change sampling clear all remaining The watch automatically records data from your session every 2 seconds With this sample rate r...

Страница 25: ...ap 6 Distance distance covered Total from start of session Lap from the start of lap 7 Altitude distance above sea level 8 Cumul cumulative altitude gain to an accuracy of 50 metres Total from start o...

Страница 26: ...clean touch rather than a hard slow touch 16 2 3 Beeps key press pop up alerts on on In this menu you can activate or deactivate the beep sound alert for press key function as well as the pop up disp...

Страница 27: ...the OK key once to scroll through watch s recommendations and launch the search During the pairing process you must stand at least 10 metres away from other HR monitor belt users to prevent the watch...

Страница 28: ...you are lost near a route that you have previously taken or if you have stopped and saved your current session and you can no longer access the go back 1 87 km 18 10 11 Choose a session from the sessi...

Страница 29: ...ned Chapter 4 Installing the HR monitor belt Environmental interference due to electromagnetic disturbance can temporarily destabilise or cause inaccurate heart rate readings This is nearly always due...

Страница 30: ...ne MAS percentage Yes Yes Yes Yes Yes Yes Yes Yes Yes Yes Interval training mode with target zone Pyramid training mode with target zone Yes Yes Yes Yes Challenge mode virtual competitor Free race Rac...

Страница 31: ...50 C Battery Lithium ion battery Lithium ion battery CR 2032 battery Weight 75 g 75 g 52 g PC transfer Route Speed graph Altitude graph HR graph Google Earth compatible Yes Yes Yes No Yes Yes Yes Yes...

Страница 32: ...which has not been expressly authorised by Decathlon may render invalid any authorisation granted to the user for equipment use 24 Recommendations for use 25 Guarantee OXYLANE guarantees the initial...

Страница 33: ...session 7 Activity options training 15 Activity options challenge 17 Cool down training 16 D Deleting information Session 23 Route 23 Display 24 Distance Display 24 View a session 23 Lap info 7 E Ene...

Страница 34: ...PC Transfer 29 R Recording 8 Recovery training 15 Route Create a route 20 Follow a route 21 S Safety functions GPS coordinates 29 Go back to start or finish line of a previous session 29 Satellite si...

Страница 35: ...g activity Interval 9 training programmes 9 Pyramid 11 My training 13 Troubleshooting 30 U Units 26 Upgrade internal programme firmware 27 User 26 V Vibrator 26 W Warm up 15 Watch buttons 5 Waterproof...

Страница 36: ...OXYLANE 4 Boulevard de Mons BP 299 59665 Villeneuve d Ascq cedex France...

Отзывы: