English
-37-
CONNECTING TO A PICTBRIDGE
COMPLIANT PRINTER
If a printer that supports PictBridge is available,
images can be printed by connecting the digital video
camera directly to the PictBridge-compatible printer
without using a computer.
1.
Connect the digital video camera to the printer
using the USB cable.
2.
Turn on the printer and digital video camera.
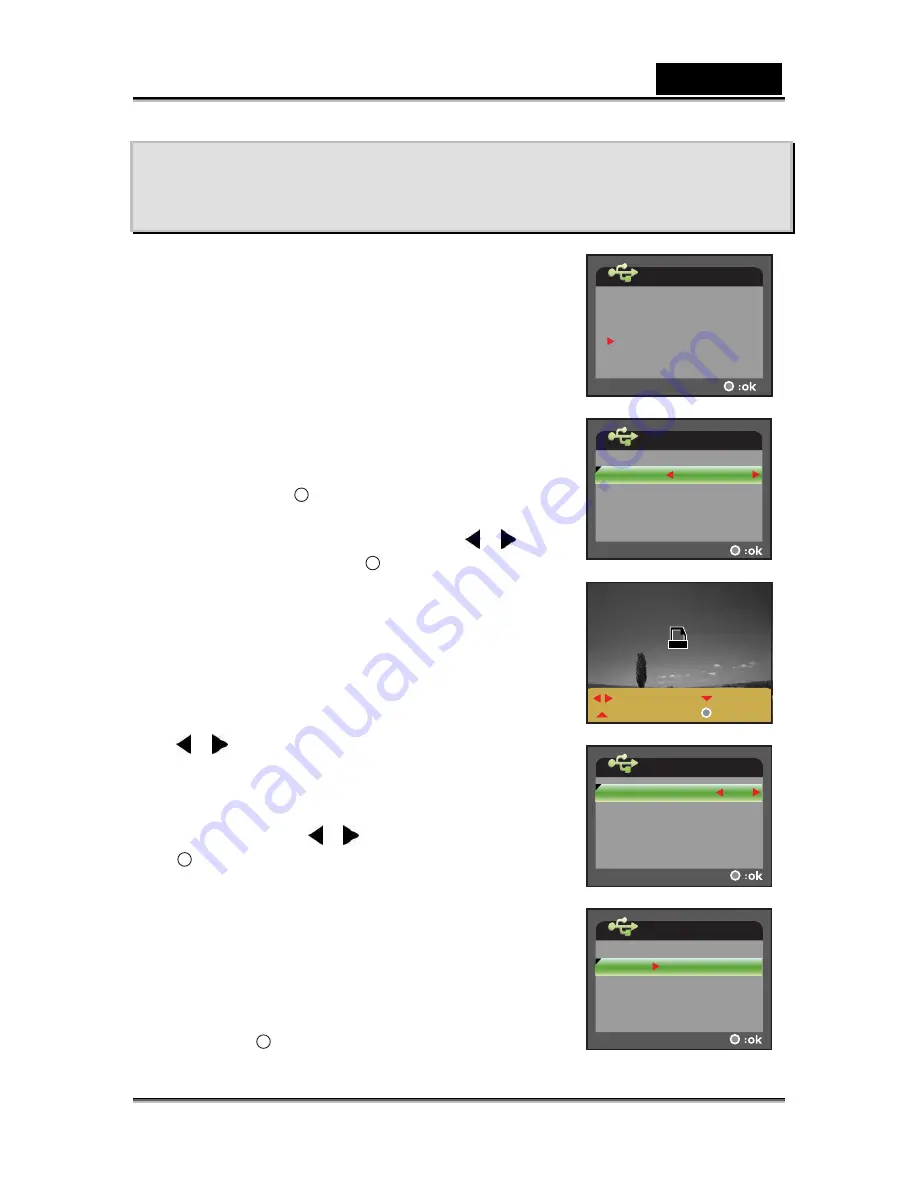
The [USB MODE] screen appears on the
screen.
3. Select
[PICTBRIDGE]
with the zoom lever, and
then press the
button.
4.
Select [SIZE] or [BORDERLESS] with the zoom
lever and select its print type with the
/
buttons. Then press the
button to confirm the
selection.
[SIZE]: You may select the desired item
according to the type of printer being used.
[BORDERLESS]: You may select the
desired item according to the type of printer
being used.
5.
Select the image that you want to print with the
/
buttons, and then use the zoom lever to
set more detailed print settings.
6.
Select [PRINT NUMBER], [DATE] or [FILE
NAME] with the zoom lever and change their
settings with the
/
buttons. Then press the
button to confirm the selection.
[PRINT NUMBER]: Select the number of
each image to be printed up to 10.
[DATE]: Select [WITH] to print the image
with date imprint.
[FILE NAME]: Select [WITH] to print the
image with file name.
7.
Use the zoom lever to select [PRINT]. Then
press the
button to confirm the print settings
and start printing.
USB MODE
MASS STORAGE
WEBCAM
PICTBRIDGE
USB MODE
BORDERLESS
STANDARD
STANDARD
SIZE
100-0001
:SELECT
:CANCEL
:MORE
x
2
USB MODE
DATE
WITH
9
PRINT NUMBER
FILE NAME
WITH
USB MODE
CANCEL


