background image

Display and Status Lights

The display shows the approximate time remaining until the end of the cycle. 

In addition, this display will, “scroll” the dryer status:

‡

PAUSE 

The message “

PAUSE

” will scroll across the display when the dryer’s cycle is paused. The cycle may be  


 re-started by pressing the 

Start

 button.

‡

door  

The message “

door

” will be displayed when the door is opened during the dryer’s cycle.

‡

CyCLE  

The message “

CyCLE

” will be displayed when the clothes are dry and the washer is recommending a  


preferred cycle for the next load (see 

CleanSpeak 

section

).

‡

dELAY


The message “

dELAY

” will be displayed when 

Delay Dry

 is initiated. It will be replaced with the 


estimated time when cycle starts.

‡

ES  

Dryer in a delay start (4 hour maximum) awaiting lower energy rates (see 

About Appliance  


   Communication

 - 

Energy Smart

 section).

Cycle status lights

Shows whether the washer is in the 

DRYING, DAMP, 

or 

COOL DOWN

 cycle.

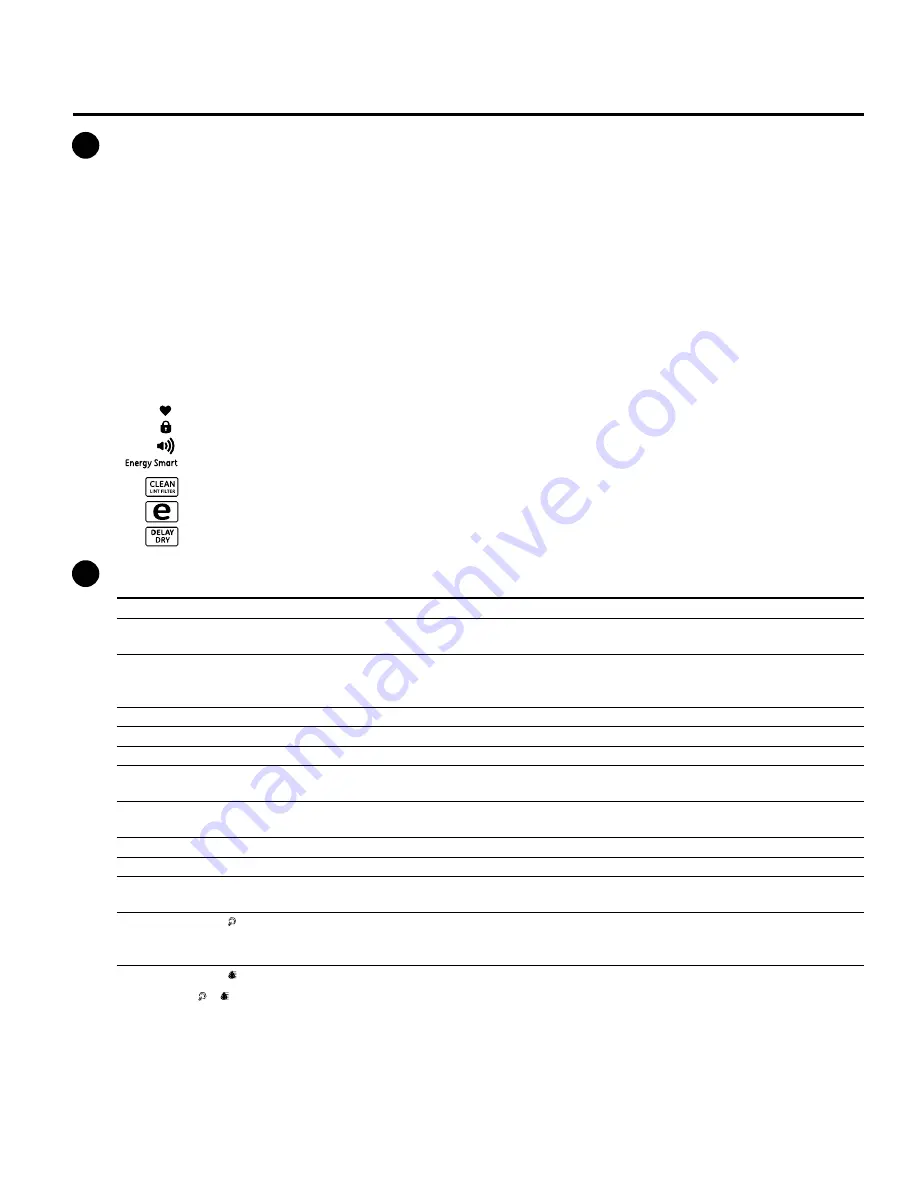
Feature status lights indicate:

The 

My Settings

 feature is on for this cycle.

The dryer is locked - will blink once if you press any button or turn the cycle knob.
The signal is on. See the 

Variable Signal

 description.

The 

Energy Smart

 feature is selected. See 

About Appliance Communication

 - 

Energy Smart

 section. 

The 

Clean Lint Filter 

light will stay on for 15 seconds after the cycle stops.

The 

eDry

 feature is selected.

Delay Dry

 time is set.

Drying Cycles-

Sensor cycles automatically determine fabric dryness.


Timed cycles run for the selected time.

 Timed 

Dry 

Set the Cycle Selector at the desired drying time.


Quick Fluff/

  For freshening or fluffing up already dry clothing, fabric, linens and pillows.  


No Heat

  Provides 10 minutes of no-heat tumbling.

 Quick 

Dry 

For small loads that are needed in a hurry, such as sport or school uniforms. Can also be used if the 


  previous cycle left some items damp, such as collars or waistbands. 

NOTE:

 On some models, the time 


  remaining in the cycle will show counting down in the display.


Delicates

   For delicate items, special-care fabrics and knits.

 Jeans 

For jeans.


 Cottons 

For cottons and most linens.

 Normal/Mixed 

For loads consisting of cottons and poly-blends.


Loads


Casuals/ 

For wrinkle-free, permanent press, delicate items and knits.


Permanent Press


Active Wear

   For sports and exercise wear.

 Towels/Sheets

  For most towels and linens.

 Bulky 

Items

  For large coats, bed spreads, mattress covers, sleeping bags and similar large/bulky items such as 


  blankets, comforters, jackets, and small rugs.

 Steam 

Refresh 

For slightly wrinkled dry garments. Significantly reduces wrinkles. 


NOTE:

 A single extremely light fabric item may need to have an additional item included in 


the 

Steam Refresh

 cycle to achieve optimum results.

 Steam Dewrinkle 

For use with larger loads than 

Steam Refresh.

 Ideal for loads left in the dryer for an extended time.

 Steam Cycle (    &    ) Notes:

‡

Important - The temperature setting must be set to HIGH and water must be turned on before running the steam cycles.

‡

The 

Extended Tumble


option will be turned on.

‡

After the 

steam cycle

, the unit will beep (if 

Variable Signal

 is on) and display “00”.

‡

Do not use a steam cycle with items such as wool, leather, silk, lingerie, foam products or electric blankets.

‡

Do not use steam cycles on new clothes without first washing.

‡

Steam cycles are not intended for use with towels.

D

5


GEAppliances.com

C

h

h

Содержание GTDS825GDMC

Страница 1: ...8 Operating Instructions 4 7 Reversing the Door 12 13 Venting the Dryer 9 Troubleshooting Tips 14 16 Consumer Support Consumer Support 18 Parts and Accessories 3 18 Warranty 17 Write the model and se...

Страница 2: ...fabric softeners or products to eliminate static unless recommended by the manufacturer of the fabric softener or product Do NOT dry articles containing rubber plastic foam or similar materials such...

Страница 3: ...rning codes and ordinances Follow details in Installation Instructions Install or store where it will not be exposed to temperatures below freezing or exposed to the weather Connect to a properly rate...

Страница 4: ...ot dry anything that has ever had any type of oil on it including cooking oils Items containing foam rubber or plastic must be dried on a clothesline or by using an Air Dry cycle Failure to do so can...

Страница 5: ...ing or fluffing up already dry clothing fabric linens and pillows No Heat Provides 10 minutes of no heat tumbling Quick Dry For small loads that are needed in a hurry such as sport or school uniforms...

Страница 6: ...s an energy guide and range from Good 1 light to Better 5 lights Cycle time dryness level temperature and additional tumble options can increase or decrease your energy efficiency Some special cycles...

Страница 7: ...per goes off so wrinkles do not set in NOTE Remove garments promptly at the sound of signal Place clothes on hangers so wrinkles will not set in Use the Variable Signal especially when drying fabrics...

Страница 8: ...may be damaged by some laundry pretreatment soil and stain remover products Apply these products away from the dryer The fabric may then be washed and dried normally Damage to your dryer caused by the...

Страница 9: ...ctions Use only rigid metal 4 diameter ductwork inside the dryer cabinet Use only rigid metal or UL listed flexible metal 4 diameter ductwork for exhausting to the outside Minimize flexible ductwork s...

Страница 10: ...vicing What your software allows you to do NOTE Messages are displayed in English See www gebrillion com or call 1 800 220 6899 for possible language options Cycle display will provide the current sta...

Страница 11: ...l display ES and the operation will be in a delay mode The dryer will delay start up to 4 hours until the rate goes down You can override this feature by holding the Delay Dry button for 3 seconds to...

Страница 12: ...pped putty knife Small flat blade screwdriver Before you Start Unplug the dryer from its electrical outlet 1 Open the door approximately 170 degrees With a putty knife remove the 4 plastic covers loca...

Страница 13: ...door with the screws removed in step 4 Make sure you mount the hinges on the side opposite the handle 7 Mount the assembled door on the 2 upper left side hinge screws installed in step 2 Move the hin...

Страница 14: ...Drying dirty items 8VH RXU GU HU WR GU RQO FOHDQ LWHPV LUW LWHPV FDQ with clean ones stain clean items and the dryer Clothes were not 6RPHWLPHV VWDLQV ZKLFK FDQQRW EH VHHQ ZKHQ WKH FORWKHV completely...

Страница 15: ...Under loading I RX DUH GU LQJ RQO RQH RU WZR LWHPV DGG D IHZ LWHPV to ensure proper tumbling Clothes are wrinkled Over drying 6HOHFW D VKRUWHU GU LQJ WLPH 5HPRYH LWHPV ZKLOH WKH VWLOO KROG D VOLJKW D...

Страница 16: ...numbers displayed Dryer is continuously 7KLV LV QRUPDO KHQ WKH GU HU VHQVHV D ORZ OHYHO RI during cycle only lights monitoring the amount of moisture in the load the dryer will display the dry time mo...

Страница 17: ...airs office or your state s Attorney General Warrantor General Electric Company Louisville KY 40225 All warranty support provided by our Factory Service Centers or an authorized Customer Care technici...

Страница 18: ...e available while your warranty is still in effect You can purchase it on line anytime or call 800 626 2224 during normal business hours GE Consumer Home Services will still be there after your warran...

Страница 19: ...strucciones de uso 4 7 Ventilaci n de la secadora 9 Consejos para la soluci n de problemas 14 16 Soporte al consumidor Garant a 17 Piezas y accesorios 3 18 Soporte al consumidor 18 Escriba el n mero d...

Страница 20: ...menos que esto sea recomendado por el fabricante del suavizante de tela u otro producto NO seque art culos que contengan goma pl stico espuma o materiales similares tales como sostenes brasieres con...

Страница 21: ...conducto hogare o EL USO DE UN CONDUCTO DE PLASTICO U OTRO MATERIAL COMBUSTIBLE PUEDE OCASIONAR UN INCENDIO SI UN CONDUCTO PRESENTA UNA CORTADURA ESTO PODR OCASIONAR UN INCENDIO SI COLAPSA O DE ALG N...

Страница 22: ...mensaje dELAY Retraso aparecer cuando se inicie el ciclo Delay Dry Secado con Retraso Ser reemplazado por el tiempo estimado cuando el ciclo se inicie ES Secadora es en un inicio retrasado m ximo de 4...

Страница 23: ...rescar al Vapor Ideal para cargas que Desarrugar al Vapor fueron dejadas en la secadora por un per odo de tiempo extendido Notas sobre el Ciclo al Vapor y Importante La configuraci n de temperatura se...

Страница 24: ...tiempo de demora har la cuenta regresiva hasta que el ciclo comience Si el bot n Delay Dry Secado Retrasado es presionado durante 3 segundos vuelve a cero sin importar el tiempo de retraso o finaliza...

Страница 25: ...modo que las arrugas no se asienten NOTA Retire las prendas de forma r pida al escuchar el sonido de la se al Coloque la ropa en perchas de modo que las arrugas no se asienten Use la funci n Variable...

Страница 26: ...e pelusas y la rejilla en sus correspondientes lugares Si observa un cambio en el funcionamiento de la secadora aspire la pelusa del rea del filtro de pelusas de la secadora El acero inoxidable Para l...

Страница 27: ...laci n Utilice nicamente ducto de metal r gido de 4 de di metro en el interior del gabinete de la secadora Utilice nicamente ducto de metal r gido o ducto flexible de metal de 4 de di metro con aproba...

Страница 28: ...ajes aparecen en ingl s Para conocer las opciones posibles de idiomas visite www gebrillion com o llame al 1 800 220 6899 La pantalla del ciclo le informar sobre el estado actual del ciclo de la lavad...

Страница 29: ...trasar el comienzo hasta durante 4 horas hasta que el ndice descienda Usted podr anular esta funci n sosteniendo el bot n Delay Dry Secado con Retraso durante 3 segundos para cancelar y hacerlo funcio...

Страница 30: ...a con cinta Destornillador de punta plana peque a Antes de Comenzar Desenchufe la secadora del tomacorriente 1 Abra la puerta aproximadamente 170 grados Con una esp tula retire las 4 tapas de pl stico...

Страница 31: ...n el paso 4 Aseg rese de montar las bisagras sobre el lado opuesto a la manija 7 Monte la puerta sobre los 2 tornillos superiores del lado izquierdo instalados en el paso 2 Mueva los tornillos de la b...

Страница 32: ...ucios 8WLOLFH VX VHFDGRUD SDUD VHFDU QLFDPHQWH DUWtFXORV OLPSLRV con limpios Los art culos sucios pueden manchar los art culos limpios y la secadora Las prendas no est n OJXQDV PDQFKDV TXH QR VH SXHGH...

Страница 33: ...al mismo tiempo Poca cantidad de carga 6L HVWi VHFDQGR VROR XQD R GRV SUHQGDV DxDGD YDULDV para asegurar un giro apropiado Las prendas est n Sobresecado 6HOHFFLRQH XQ SOD R GH VHFDGR PiV EUHYH arrugad...

Страница 34: ...secadora monitorea VWR HV QRUPDO XDQGR OD VHFDGRUD GHWHFWD XQ QLYHO la pantalla durante el ciclo constantemente la cantidad bajo de humedad en la carga la secadora mostrar s lo luces de humedad en la...

Страница 35: ...ador General Garante General Electric Company Louisville KY 40225 Todos los servicios de garant a se ofrecen a trav s de nuestros centros de asistencia t cnica o un t cnico autorizado de Customer Care...

Страница 36: ...ea para que vengan a realizar una reparaci n Solicite una reparaci n GEAppliances com El servicio de expertos GE est a tan s lo un paso de su puerta Entre en l nea y solicite su reparaci n cuando le v...

Отзывы: