121
232003110G (03)
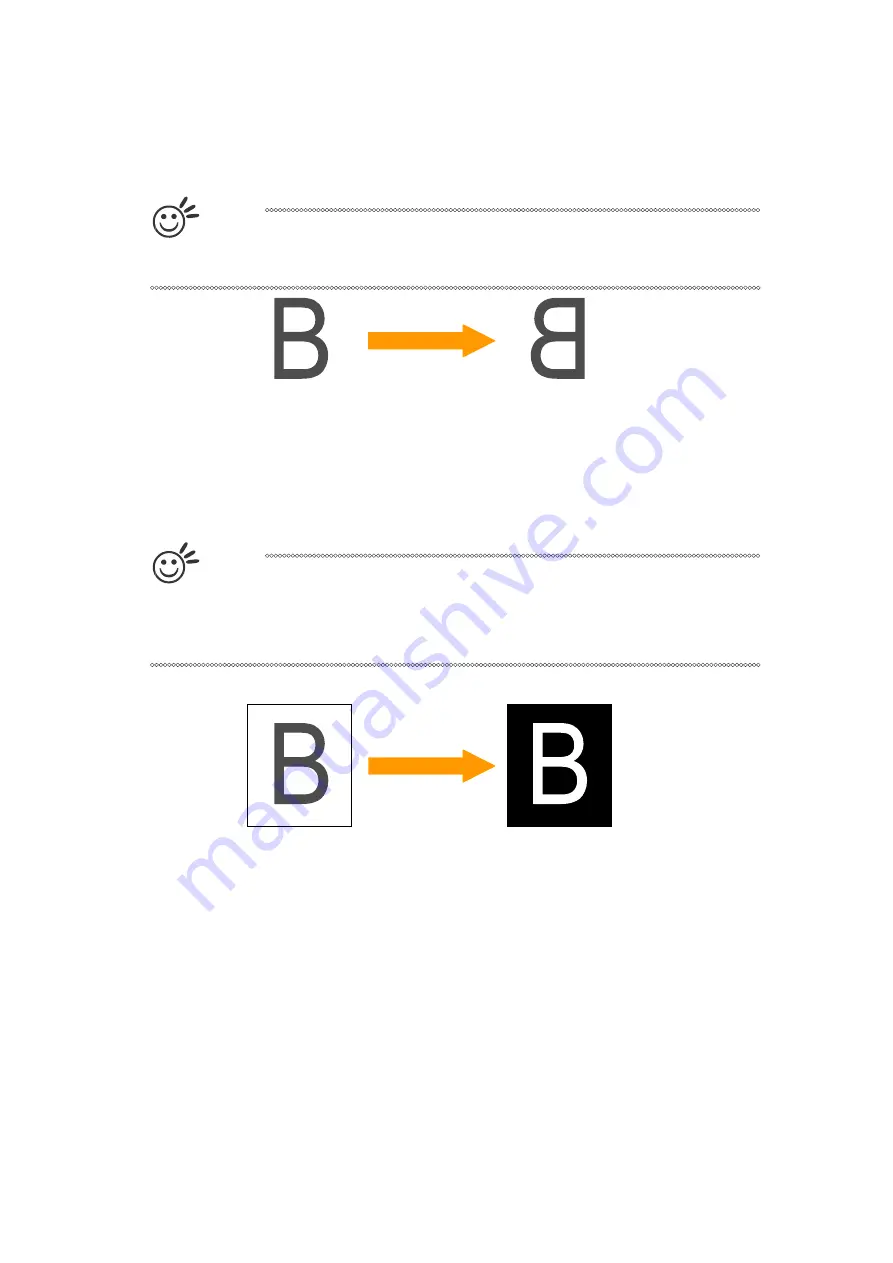
Mirror (Options Page) [DEFAULT SETTING: Unselected]
Checking this box will automatically engrave your image with a mirrored effect. This setting will
flip the image along the Y-axis from left to right and vice-versa.
Tip
When engraving a stamp, via the stamp mode, the stamp image needs to be
engraved in reverse (mirrored) for the final stamp to be correctly laid out.
Invert (Options Page) [DEFAULT SETTING: Unselected]
Checking this box automatically inverts / reverses the color of your image (the wh ite areas
become black and vice versa). The Invert option is not available if disabled while Manual Color
File mode is selected.
Tip
Invert mode is useful when creating a stamp in Stamp Mode, as inverting your
normal image will set the negative space to be engraved out, with the remaining
positive space (your stamp design) protruding out.
Print Immediately (Options Page) [DEFAULT SETTING: Unselected]
Checking this will instruct the LaserPro S400 to immediately begin the laser engraving process,
when you select Print from your graphic software program. If Print Immediately is not checked,
then selecting Print will transfer the job file to the LaserPro S400 system and will need to be
initialized from the LaserPro S400 control panel.
Содержание LaserPro S400
Страница 1: ...Spirit Series User Manual...
Страница 8: ...6 232003110G 03...
Страница 9: ...7 232003110G 03...
Страница 10: ...8 232003110G 03...
Страница 11: ...9 232003110G 03...
Страница 12: ...10 232003110G 03...
Страница 13: ...11 232003110G 03...
Страница 14: ...12 232003110G 03...
Страница 15: ...13 232003110G 03...
Страница 16: ...14 232003110G 03...
Страница 17: ...15 232003110G 03...
Страница 18: ...16 232003110G 03...
Страница 19: ...17 232003110G 03...
Страница 20: ...18 232003110G 03...
Страница 21: ...19 232003110G 03...
Страница 22: ...20 232003110G 03...
Страница 23: ...21 232003110G 03...
Страница 24: ...22 232003110G 03...
Страница 25: ...23 232003110G 03...
Страница 26: ...24 232003110G 03...
Страница 27: ...25 232003110G 03...
Страница 28: ...26 232003110G 03...
Страница 29: ...27 232003110G 03...
Страница 49: ...47 232003110G 03 3 Chapter 3 Mechanical Overview Front View Top View Right View Left View Rear View...
Страница 52: ...50 232003110G 03 3 5 Rear View...
Страница 56: ...54 232003110G 03...
Страница 57: ...55 232003110G 03...
Страница 62: ...60 232003110G 03...
Страница 73: ...71 232003110G 03 5 Press Active 6 Press OK when activation is complete 7 Register Paralle Desktop...
Страница 75: ...73 232003110G 03 11 Select CD ROM drive with the Windows installation CD 12 Enter the Windows OS product key...
Страница 87: ...85 232003110G 03 5 1 3 Touch Screen Navigation Chart...
Страница 140: ...138 232003110G 03...
Страница 152: ...150 232003110G 03...
Страница 154: ...152 232003110G 03 Step 3 Edit the characters for the website...
Страница 166: ...164 232003110G 03 Engraving effects achieved with the different lenses Cutting edges achieved with the different lenses...
Страница 180: ...178 232003110G 03 6 Gently cover the SmartLID...
Страница 193: ...191 232003110G 03 9 Chapter 9 Basic Troubleshooting...
Страница 195: ...193 232003110G 03 10 Chapter 10 Appendix Glossary LaserPro S400 Specification Sheet...


