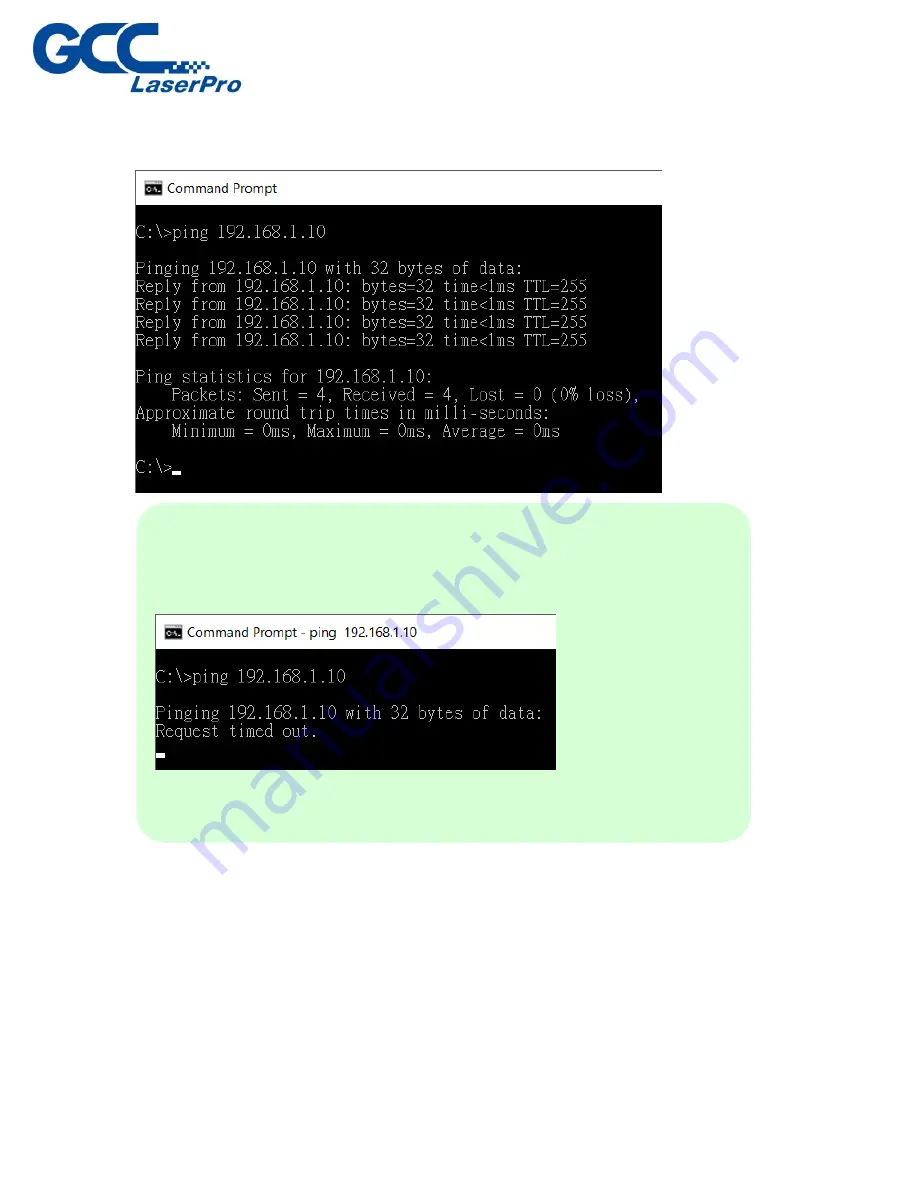
10.
If the ping command has worked the command prompt should begin responding and
you should see the reply in the command prompt window.
NOTE
If the ping command has failed you will be advise that the “Request has
timed out”.
Please repeat step 1 ~ Step 6 to make sure all the internet setting is
correct.
Содержание LaserPro DFS
Страница 1: ......
Страница 4: ...Chapter 1 Unpacking Unloading Unpacking...
Страница 6: ...3 Loosen the door lock...
Страница 9: ...Chapter 2 Mechanical Overview Front View Right View Left View Rear View...
Страница 12: ...2 4 Rear View Ventilation Openings Maintenance Door...
Страница 15: ...3 Click Next 4 The installation would be finished in few seconds...
Страница 19: ...Chapter 4 Connection Setup Connect to GCC LaserPro DFS via Ethernet Connect to GCC LaserPro DFS via Wireless...
Страница 43: ...8 Click File Import 9 Select the converted file and click Open to import the saved file to SmartCONTROLTM...
Страница 46: ...4 From the drop down menu of Printer select SmartCONTROL...
Страница 58: ...4 Open the file or import prn file 5 Click Output on the menu bar and select Processed Condition Setup...
Страница 61: ...10 Click Preview to make sure output size is fit media sheet 11 Click Execute to start laser processing...
Страница 63: ...5 Click Vision on the menu bar and check the mark 1 and Mark 2 are definition automatically...
Страница 68: ...14 Click Use CCD and Execute to start laser processing...
Страница 70: ...2 Open the file or import prn file 3 Click Output on the menu bar and select Processed Condition Setup...
Страница 75: ...2 Place the printed media sheets on the feeder from right side of the DFS 3 Open the file or import prn file...
Страница 81: ...15 Click Use CCD and input repeat value at Page repeat and then click Execute to start laser processing...
Страница 89: ...7 After the settings of output parameter click Execute to start laser processing...
Страница 90: ...Chapter 6 Appendix GCC LaserPro DFS Specification Sheet...


