NOTE
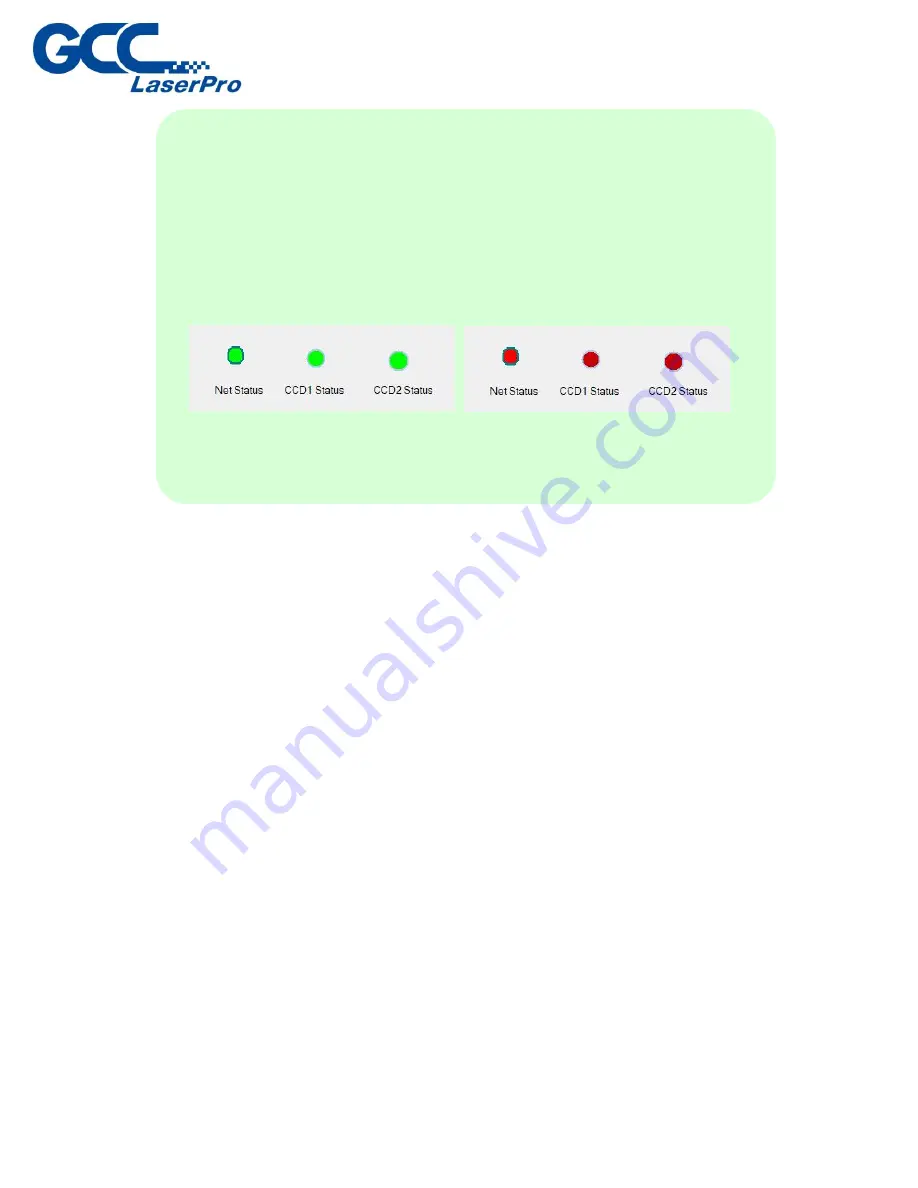
If the connection status indicator shows red, please reconnect the two
USB cable or check network setting and make sure “Net Status” green
light is on and the “CCD 1 status” and “CCD 2 status” green light is
blinking.
Incorrect connection may cause the GCC LaserPro DCP fail to work.
▲
Successful Connection
▲Incorrect Connection
Содержание LaserPro DFS
Страница 1: ......
Страница 4: ...Chapter 1 Unpacking Unloading Unpacking...
Страница 6: ...3 Loosen the door lock...
Страница 9: ...Chapter 2 Mechanical Overview Front View Right View Left View Rear View...
Страница 12: ...2 4 Rear View Ventilation Openings Maintenance Door...
Страница 15: ...3 Click Next 4 The installation would be finished in few seconds...
Страница 19: ...Chapter 4 Connection Setup Connect to GCC LaserPro DFS via Ethernet Connect to GCC LaserPro DFS via Wireless...
Страница 43: ...8 Click File Import 9 Select the converted file and click Open to import the saved file to SmartCONTROLTM...
Страница 46: ...4 From the drop down menu of Printer select SmartCONTROL...
Страница 58: ...4 Open the file or import prn file 5 Click Output on the menu bar and select Processed Condition Setup...
Страница 61: ...10 Click Preview to make sure output size is fit media sheet 11 Click Execute to start laser processing...
Страница 63: ...5 Click Vision on the menu bar and check the mark 1 and Mark 2 are definition automatically...
Страница 68: ...14 Click Use CCD and Execute to start laser processing...
Страница 70: ...2 Open the file or import prn file 3 Click Output on the menu bar and select Processed Condition Setup...
Страница 75: ...2 Place the printed media sheets on the feeder from right side of the DFS 3 Open the file or import prn file...
Страница 81: ...15 Click Use CCD and input repeat value at Page repeat and then click Execute to start laser processing...
Страница 89: ...7 After the settings of output parameter click Execute to start laser processing...
Страница 90: ...Chapter 6 Appendix GCC LaserPro DFS Specification Sheet...


