Chapter 1: Checking Out Your Notebook 5
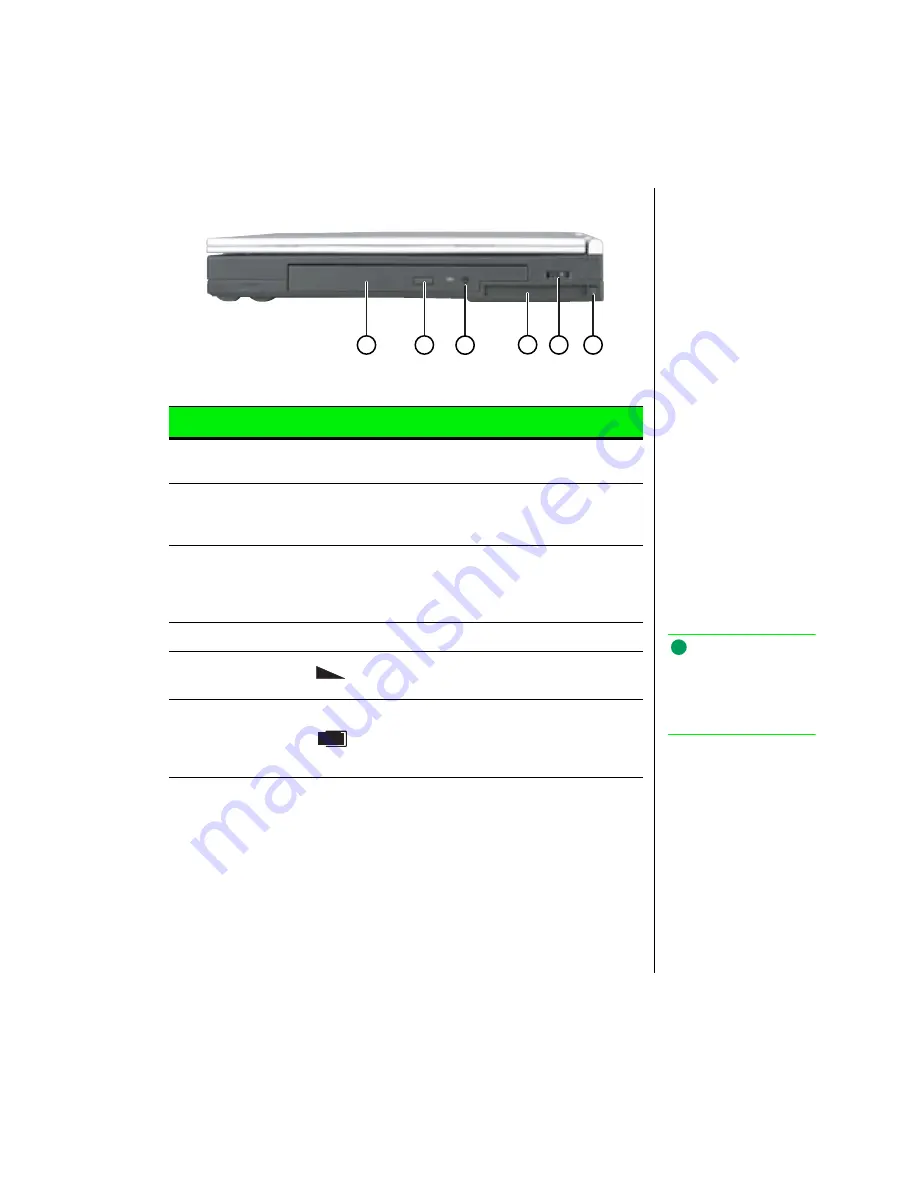
Right side
Component
Icon
Description
A. DVD or
CD-ROM drive
Reads data and audio CDs (and DVDs if you
have a DVD drive).
B. Eject button
Ejects the DVD or CD-ROM tray from the
drive. This button works only when the power
is on.
C. Manual eject
button
Provides manual eject capability to remove a
DVD or CD if power is unavailable. Insert a
straightened paper clip or other stiff wire to
eject the DVD or CD tray.
D. PC Card slot
Accepts one Type I or Type II PC Card.
E. Volume wheel
Adjust speaker volume. Other port volume levels
are controlled by multimedia software.
F. PC Card eject
button
Push once to release the eject button and
push a second time to eject the PC Card.
Push a third time to retract the button into the
chassis.
A
B
C
D
E
F
Note:
For more information on
adjusting volume levels,
see “Adjusting the volume”
on page 25.
Содержание Solo 3100
Страница 4: ...iv Using Your Gateway Solo 3100 Notebook ...
Страница 12: ...8 Using Your Gateway Solo 3100 Notebook ...
Страница 18: ...14 Using Your Gateway Solo 3100 Notebook ...
Страница 64: ...60 Using Your Gateway Solo 3100 Notebook ...
Страница 72: ...68 Using Your Gateway Solo 3100 Notebook ...
Страница 73: ...Appendix A Accessories Solo Notebook Accessories 70 ...
Страница 75: ...Appendix B Using the BIOS Setup Program About the BIOS Setup Utility 72 Using the BIOS Setup utility 72 ...
Страница 78: ...74 Using Your Gateway Solo 3100 Notebook ...
Страница 79: ...Appendix C Contacting Gateway Contacting Gateway 76 ...
Страница 81: ...Appendix C Contacting Gateway 77 ...
Страница 86: ...82 Using Your Gateway Solo 3100 Notebook ...
Страница 94: ...90 Using Your Gateway Solo 3100 Notebook ...


