31
www.gateway.com
Replacing the keyboard cover
8
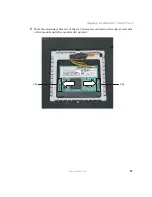
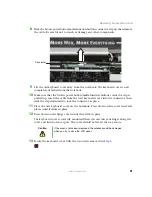
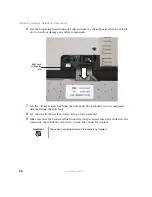
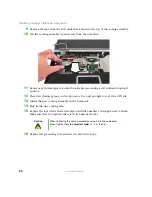
Slide the brown power button/multi-function buttons connector clip up, then remove
the cable. Be careful not to touch or damage any other components.
9
Lift the old keyboard cover away from the notebook. The keyboard cover is now
completely detached from the notebook.
10
Make sure that the brown power button/multi-function buttons connector clip is
pushed up, insert the cable from the new keyboard cover into the connector, then
slide the clip downward to lock the connector in place.
11
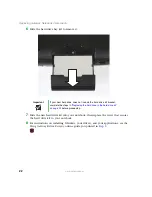
Place the new keyboard cover on the notebook. Press down on the cover in several
places until it clicks in place.
12
Press down on the hinge covers until they click in place.
The keyboard cover is correctly mounted when you can run your finger along the
cover and find no loose spots. The cover should be flat all the way across.
13
Secure the keyboard cover with the two screws removed in
.
Caution
If the cover is not correctly replaced, the notebook could be damaged
when you try to close the LCD panel.
Connector
Содержание MX7120
Страница 1: ......
Страница 2: ......
Страница 4: ...ii www gateway com...
Страница 13: ...9 www gateway com Replacing the memory module in the memory bay Memory bay...
Страница 18: ...14 www gateway com Replacing Gateway Notebook Components Mini PCI bay...
Страница 43: ...39 www gateway com Replacing the cooling assembly 8 Unplug the old cooling fans Connector Connector...
Страница 96: ...92 www gateway com Replacing Gateway Notebook Components...
Страница 97: ......
Страница 98: ...MAN M520 SHADOW SVC GDE R0 9 05...

