38
www.gateway.com
Replacing Gateway Notebook Components
6
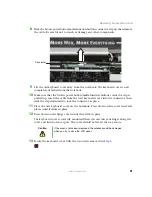
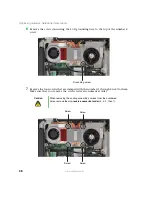
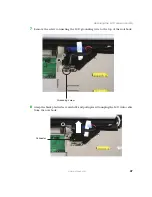
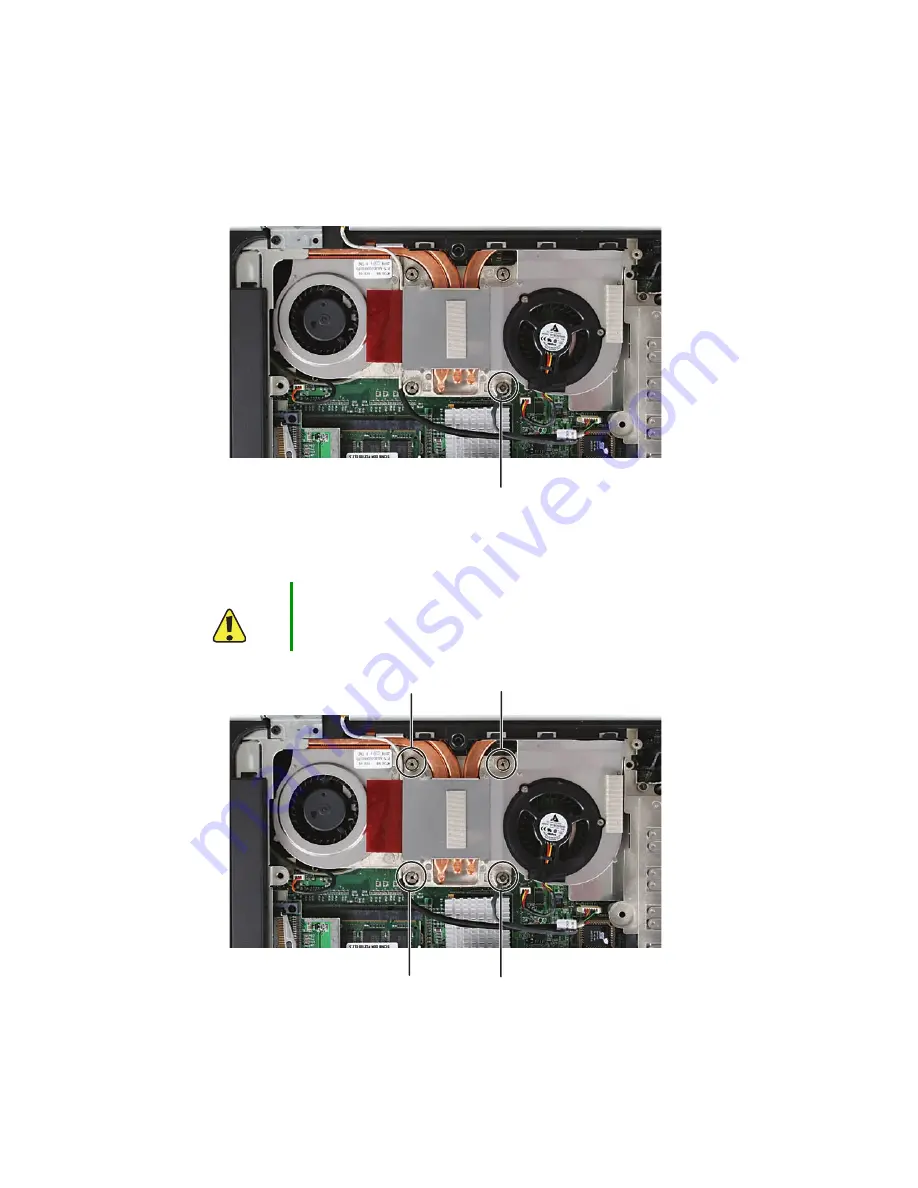
Remove the screw connecting the LCD grounding wire to the top of the number 4
screw.
7
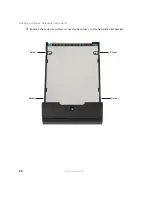
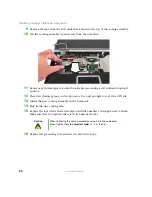
Remove the four screws that are stamped with the numbers 1 through 4 next to them.
Make sure that you remove the screws in reverse numerical order.
Caution
When removing the cooling assembly’s screws from the numbered
holes, remove them
in reverse numerical order
(4, 3, 2, then 1).
Grounding screw
Screw
Screw
Screw
Screw
Содержание MX7120
Страница 1: ......
Страница 2: ......
Страница 4: ...ii www gateway com...
Страница 13: ...9 www gateway com Replacing the memory module in the memory bay Memory bay...
Страница 18: ...14 www gateway com Replacing Gateway Notebook Components Mini PCI bay...
Страница 43: ...39 www gateway com Replacing the cooling assembly 8 Unplug the old cooling fans Connector Connector...
Страница 96: ...92 www gateway com Replacing Gateway Notebook Components...
Страница 97: ......
Страница 98: ...MAN M520 SHADOW SVC GDE R0 9 05...

