17
This part indicates that our script is going to be used and that it will be shown on
Telemetry screen 1.
If you don’t have any model nor settings on your radio you can load this preset model
into it. But if you are already using a model/setting don’t load this file directly to the
radio, otherwise it will erase your current model and settings. If that is your case, read
the model that is on your radio via Companion and change the telemetry settings to
match our preset, and then just upload it again to the transmitter.
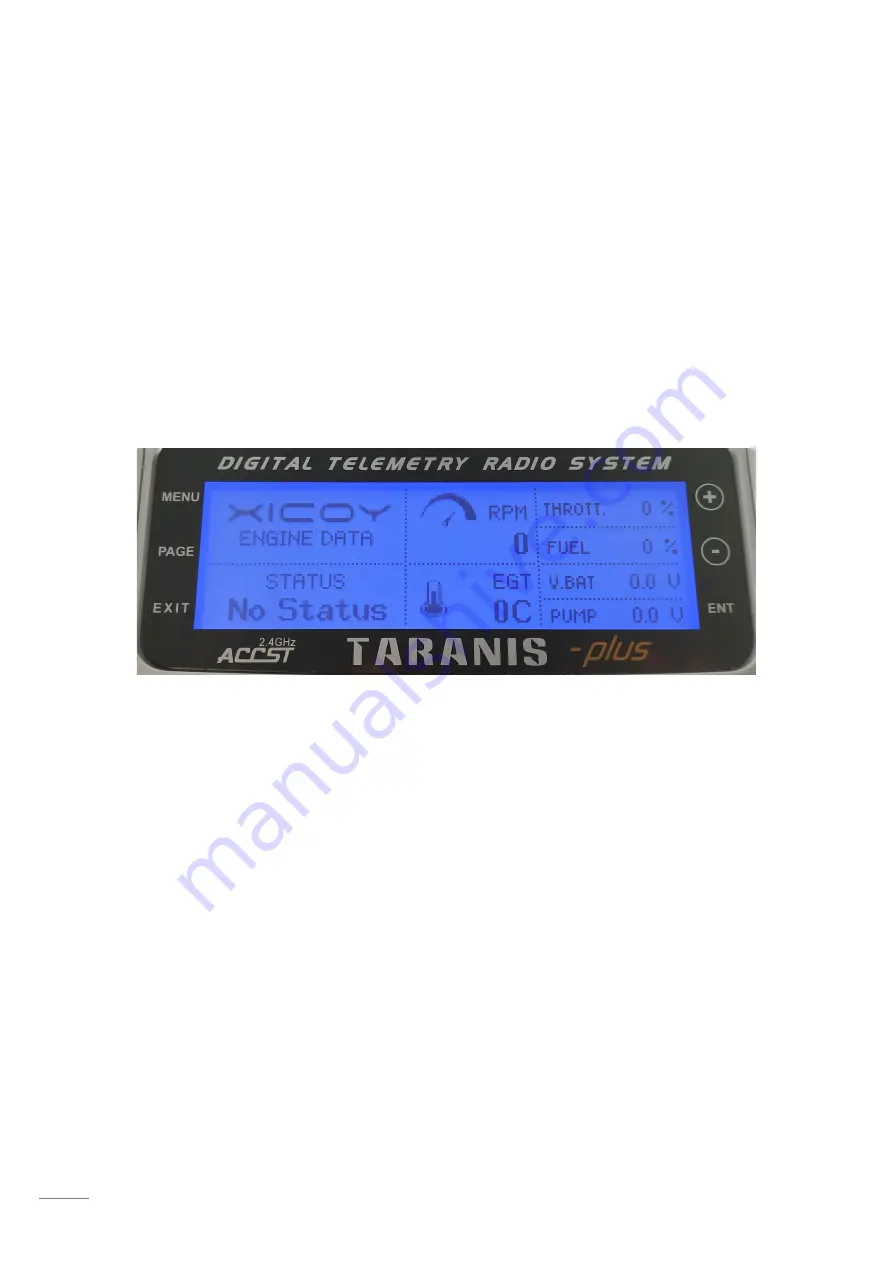
At this point if you power up the transmitter and head to the telemetry screen. The
following should appear:
The next section will be dedicated to explain how to dot it manually, without the need of
communicating the radio with the PC. Before trying these steps make sure that you have
the SD card ready as shown as the start of this section.
Once ready, plug the transmitter and press “Menu” button, navigate through the menus
with the “Page” button until you find the Telemetry screen.
At the telemetry screen press “+” or “-” buttons until you find the “add new sensor
function”, then press “ENT”.
The sensor screen will be loaded, this screen is extremely important because the name
and ID fields just have one correct option.


