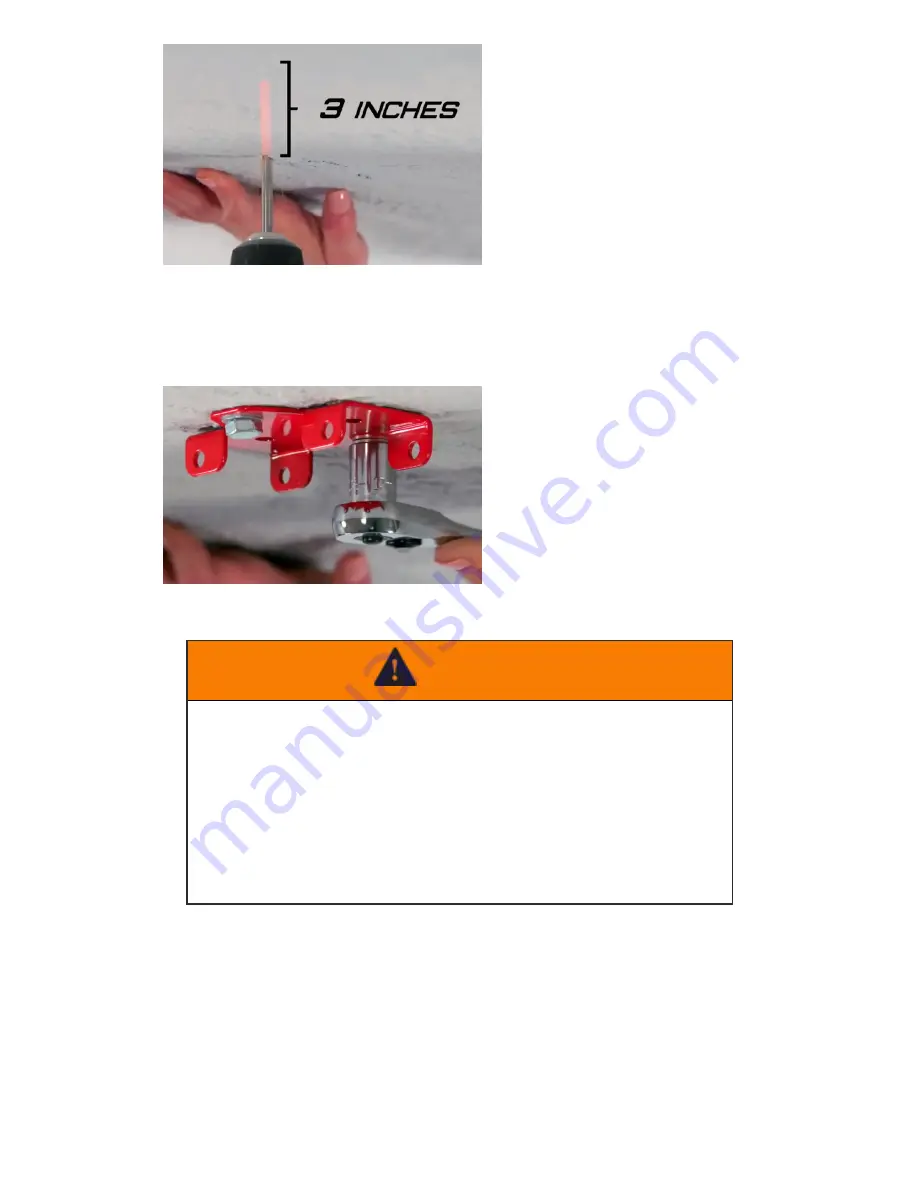
7. Hold the mounting bracket in place on the ceiling and align the bracket's holes
with the pilot holes you drilled.
8. Use a 1/2 inch wrench or socket wrench to mount the bracket to the ceiling with
the included lag screws and washers.
9. Tighten the screws until the bracket is flush against the ceiling.
WARNING
As you turn the wrench, you should feel resistance. If the lag screw turns
freely, your pilot hole is not in the ceiling stud. You will need to find the cen-
ter of the stud and drill new pilot holes.
Do NOT
attempt to install the lifter
if the lag screws are not screwed into the stud. Doing so may result in
property damage, serious personal injury, or death.
Do NOT
use an impact driver to insert the lag screws into the stud. The
impact could over tighten the screws causing them to fail, which may res-
ult in property damage, serious personal injury, or death.
10. Align the MyLifter unit with the mounting bracket and insert the included quick
release pins through the holes.
Содержание myLIFTER
Страница 2: ......
Страница 3: ...Installation and Operation Guide...
Страница 13: ......
Страница 15: ...6 Plug one end of the DC power cable into the power adapter and the other end into the MyLifter unit...
Страница 23: ......
Страница 29: ...3 Enter a name for the group and select at least two devices from your list of paired devices 4 Tap Save...


