background image

Part 1: Install the Mounting Bracket

Before you mount the bracket, determine the location in your garage where you would
like to store your item. Make sure there will be enough space between the walls and
where you mount the bracket so your item does not bump into anything on its way up
or down.

NOTICE

The mounting bracket needs to be installed in the center of a ceiling stud.

MyLifter units from Garage Smart are designed to be secured to flat ceil-
ings only.

Do NOT

attempt to secure lifters to angled ceilings or walls.

Do NOT

 install the mounting bracket in any manner other than specified

in these instructions.

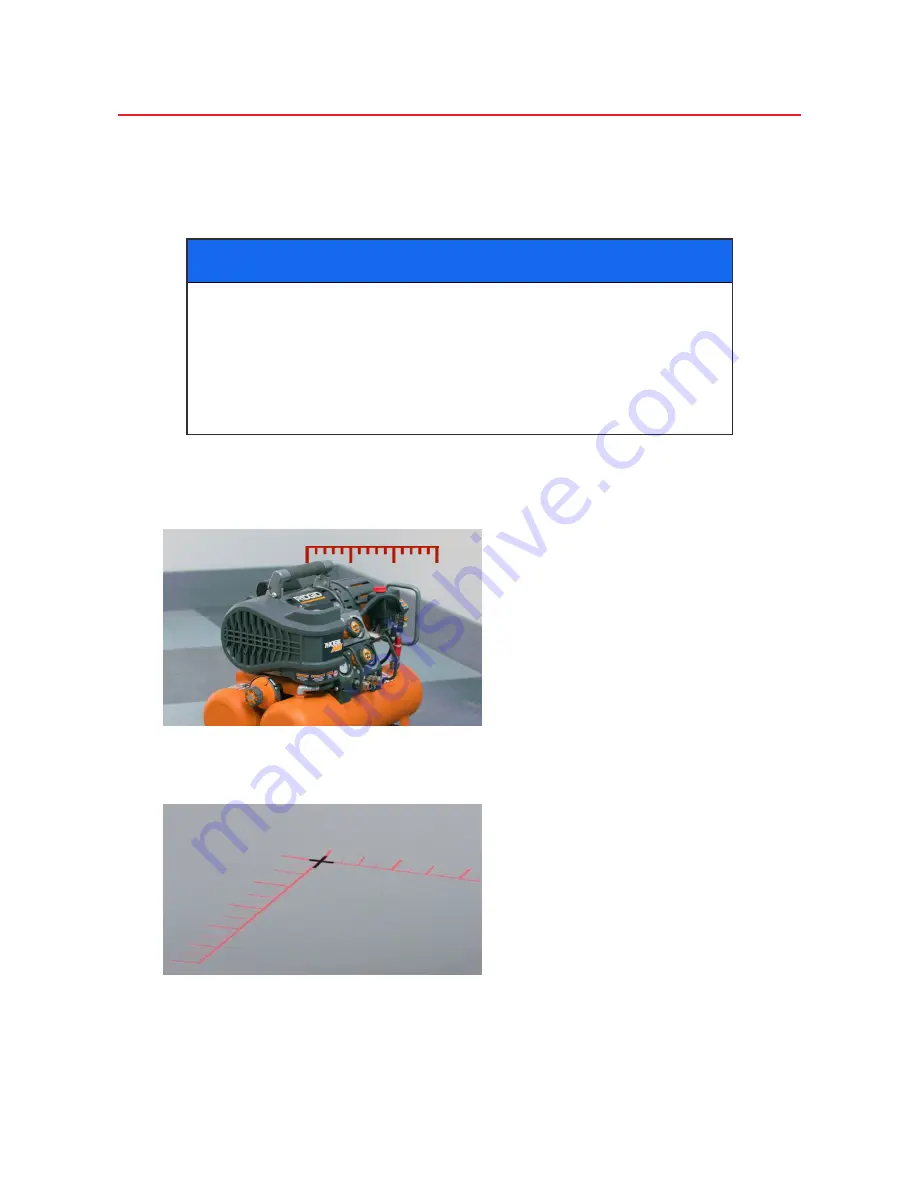
1. Place the item you want to store on the floor in the area where you want to lift it.
2. Use your tape measure to measure the distance from the two nearest walls to

the center of the item you will be lifting.

3. Use your ladder to mark these same measurements on the garage ceiling. You

will use this mark as a reference point to find the nearest ceiling stud.

4. Use a stud finder to find the stud that is closest to reference point mark on the

ceiling.

Содержание myLIFTER

Страница 1: ...all the Mounting Bracket 10 Part 2 Install the Power Adapter 14 Part 3 Install the Eyelet Screw 18 Part 4 Install the Hook and Pulley 20 Using the MyLifter App 24 Pair Your MyLifter With The App 24 Ed...

Страница 2: ......

Страница 3: ...Installation and Operation Guide...

Страница 4: ...f your finger SAFETY INFORMATION l Read and follow all safety installation and operation instructions l Do not lift items while hands or other body parts are near the sys tem l Do not stand under the...

Страница 5: ...diate radio frequency energy and if not installed and used in accordance with the instructions may cause harmful inter ference to radio communications However there is no guarantee that interference w...

Страница 6: ...nship from personal normal household use in accordance with the Owner s Manual Warranty Does Not Cover This warranty does not cover installation commercial use defects resulting from accidents damage...

Страница 7: ...NOT EXPRESSLY SET FORTH HEREIN WHETHER EXPRESS OR IMPLIED INCLUDING BUT NOT LIMITED TO ANY WARRANTIES OF MERCHANT ABILITY AND FINESS FOR A PARTICULAR PURPOSE Limitation of Liability THE SOLE REMEDIES...

Страница 8: ...r adapter 3 Screw in the eyelet screw 4 Attach the cable to the hook What you need Installation requires the following tools l Ladder l Stud finder l Tape measure l Pencil l Drill l 1 2 wrench or sock...

Страница 9: ...If you are missing parts contact Garage Smart for replacements visit https gar agesmart com or call 833 234 8711 6 00 am to 10 pm Mountain Time...

Страница 10: ...ured to flat ceil ings only Do NOT attempt to secure lifters to angled ceilings or walls Do NOT install the mounting bracket in any manner other than specified in these instructions 1 Place the item y...

Страница 11: ...the center of each stud Failure to secure the Smart Tracks to the center of each stud could cause property damage personal injury or death 5 Place the mounting bracket over the center mark you made fo...

Страница 12: ...y your pilot hole is not in the ceiling stud You will need to find the cen ter of the stud and drill new pilot holes Do NOT attempt to install the lifter if the lag screws are not screwed into the stu...

Страница 13: ......

Страница 14: ...cation near the closest outlet 3 Use a pencil to mark two points exactly two inches apart to indicate where you will place the wall mount screws 4 Use a Philips head screwdriver to screw the wall moun...

Страница 15: ...6 Plug one end of the DC power cable into the power adapter and the other end into the MyLifter unit...

Страница 16: ...the clip on the ceiling where you want it c Use a cable management screw to secure the clip to the ceiling d Place the wires in the clip e Securely close the clip NOTICE The cable management clips can...

Страница 17: ...NOTICE Multiple power adapters can be daisy chained together by plugging the AC power cable into the AC outlet on the power adapter...

Страница 18: ...comes out of the lifter the side where the cable hangs when it is fully coiled This prevents the fully raised cable from contacting the MyLifter and causing cable damage 1 Use a stud finder to find t...

Страница 19: ...complete revolutions 6 If your ceiling does not have drywall tighten the eyelet screw just until you can t see the screw s threads 7 Attach the provided carabiner to the eyelet screw WARNING Failure...

Страница 20: ...he lifter with your smart device 1 Download and install the MyLifter app from or the 2 Ensure that the Bluetooth features are enabled on your smart device 3 In the MyLifter app tap Add Devices in the...

Страница 21: ...ontrol address as the default name 5 Tap in the upper left hand corner to go to the Home screen 6 On the Home screen tap Edit in the upper right hand corner of the screen The button name changes from...

Страница 22: ...fter unit This opens the Device Control screen which lets you raise and lower items using your smart device 10 On the Device Control screen press and hold the Manual Lower button to lower the cable 11...

Страница 23: ......

Страница 24: ...your lifters l Set your Smart High and Smart Low points l Create Locked and Flex groups Pair Your MyLifter With The App The MyLifter App is available from Google Play or the App Store 1 Download the...

Страница 25: ...th its MAC media access control address as its default name Edit and Rename a Paired MyLifter 1 Tap in the upper left hand corner to go to the Home screen 2 On the Home screen tap Edit in the upper ri...

Страница 26: ...ose the Edit Mode Raising and Lowering Items The Device Control screen lets you raise and lower items manually by tapping the up and down arrow buttons To open the Device Control screen tap the name o...

Страница 27: ...arage ceiling CAUTION When lifting manually make sure that you leave at least six inches between the item and the lifter Do not run the item into the MyLifter unit Running the item into the lifter can...

Страница 28: ...ou need too For example if you have installed two or more Garage Smart Multi Bike Lifters a Flex Group lets you lift and lower all the bikes attached to each lifter at the same time or you can raise o...

Страница 29: ...3 Enter a name for the group and select at least two devices from your list of paired devices 4 Tap Save...

Страница 30: ...point for the group The reference point is used to indicate that the length of each cable is level relative to all the cables in the group 5 On the Device Control press the Up or Down arrow to move t...

Страница 31: ...Create Group in the lower left hand corner 2 On the Create Group screen tap Flex Group 3 Enter a name for the group and select the lifters that you want to add to this group 4 Tap Save The Home screen...

Отзывы: