


25
QCzero QCzeroP
The
QCzero/QCzeroP
gives the possibility to program the transmitters in two ways:
- Sequential control (step-step)
- Matching of every button with a working direction (up-stop-down). For this mode the transmitter needs to have at least 3 buttons
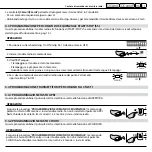
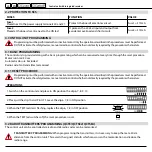
3.3 TRANSMITTER’S PROGRAMMING THROUGH SEQUENTIAL CONTROL START/STOP (SS)
This procedure matches the radio code to the START/STOP function, which controls the motor’s movement (see “selection of
the working logic at page 28”).
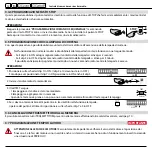
3.4 PROGRAMMING OF A 3-BUTTONS TRANSMITTER
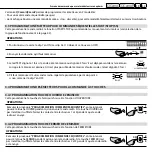
3.4.1 PROGRAMMING OF THE OPEN BUTTON OF THE TRANSMITTER
This procedure matches the chosen button of the transmitter to the OPEN function.
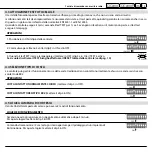
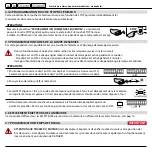
3.4.2 PROGRAMMING OF THE CLOSE BUTTON OF THE TRANSMITTER
This procedure matches the chosen button of the transmitter to the CLOSE function.
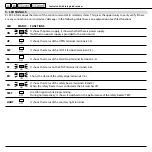
OPERATIONS
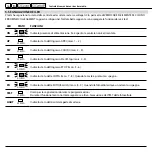
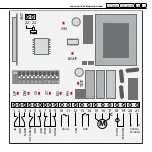
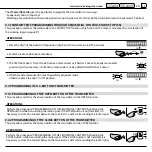
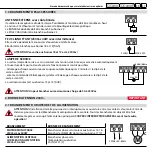
1. Place the dip 7 of the board in ON position (dip 9 and 10 must remain in OFF position).
2. Send the radio code to be memorized.
3. The TEST led makes 1 flash if code has been memorized, or it flashes 3 times if already memorized
previously (when memory is full and no more codes can be added the led flashes 5 times).
4. If further code memorization must be performed repeat step 2,
otherwise place the dip 7 in OFF position.
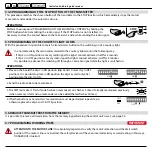
OPERATIONS
Perform the procedure “PROGRAMMING OF THE SEQUENTIAL CONTROL” by holding the
OPEN button while transmitting the radio signal. If the OPEN button is not installed, it is
necessary to close the contact between the terminals 1 and 2 while sending the radio signal.
ON
ON
1 2 3 4 5 6 7 8 9 10
50 cm
OFF
ON
1 2 3 4 5 6 7 8 9 10
AP
1
2
FLASH
TEST
OFF
TEST
OPERATIONS
Perform the procedure “PROGRAMMING OF THE SEQUENTIAL CONTROL” by holding the
CLOSE button while transmitting the radio signal. If the CLOSE button is not installed, it is
necessary to close the contact between the terminals 2 and 3 while sending the radio signal.
CH
2
3
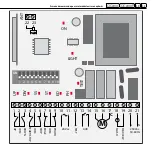
Control unit with integrated receiver
EN