Page 7
GP2X User Guide –
www.emuholic.com
Setting Up Your GP2X
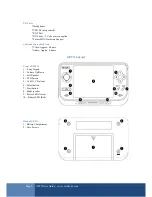
You should have the following inside your GP2X box:
1x GP2X unit
1x USB cable
1x Screen Protector
1x Pack of 2 AA batteries
1x Korean/English Manual
Fitting the Screen Protector
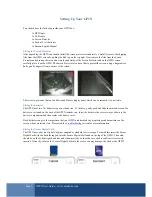
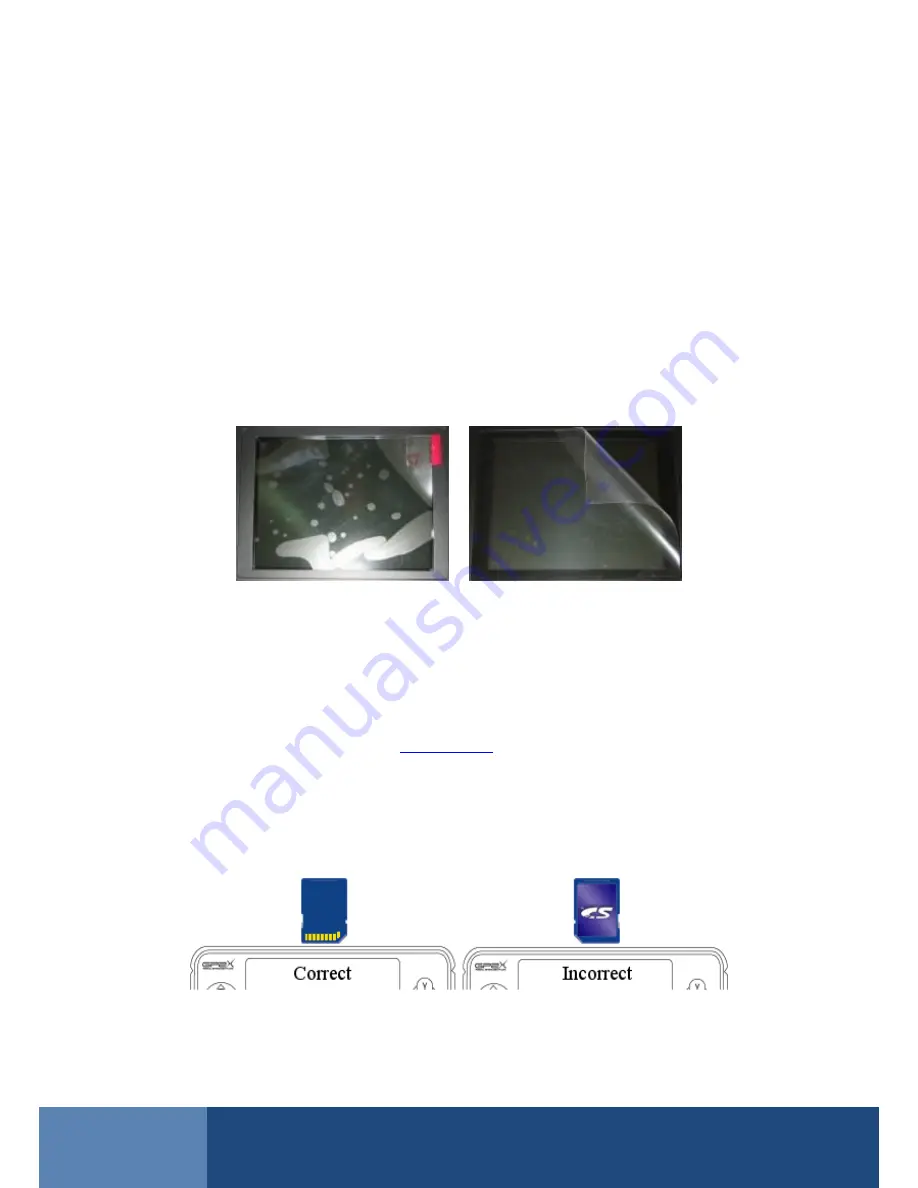
After unpacking the GP2X you should install the screen protector immediately. Carefully remove the shipping
film from the GP2X screen by pulling the Red tag on the top right. Now remove the film from the Screen
Protector and ensuring there is no dust on the underside of the Screen Protector and on the GP2X screen,
carefully place it on the GP2X. The Screen Protector also has a film to protect the screen, using a fingernail or
knife, gently unpeel it from a corner of the screen.
There is also protector film on the Power and Battery display panel which can be removed if you wish to.
Fitting the batteries
The GP2X uses two AA batteries to power the device. To fit these, gently push and slide the marked area on the
battery cover found on the back of the GP2X towards you. Insert the batteries the correct way as shown in the
battery compartment and then replace the battery cover.
Dead batteries can give the impression that your GP2X unit has broke by displaying random patterns on the
screen when you switch it on. Please read the
Troubleshooting
section for more information.
Fitting the Secure Digital Card
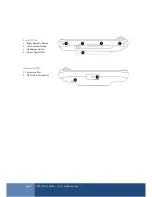
The GP2X uses a Secure Digital Card (not supplied as standard) as its storage. To install this insert the Secure
Digital Card with the back facing you into the Secure Digital Slot found on the top of the GP2X. The notch
should be on the bottom right hand side and when inserted you should hear a click to confirm it is correctly
inserted. Do not try to force the Secure Digital Card into the slot or you may damage the Card or the GP2X!


