USER GUIDE |
USB BACKUP HSM
Page
24
of 31
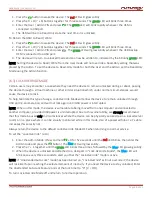
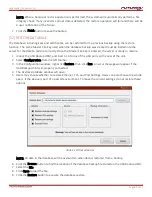
10. Click the Finish button to close the window.
11. Once complete, remove the USB Backup HSM from the USB port.
[9.3] SAVING EXPORTED LOGS
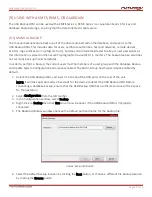
Use the following steps to export logs onto a USB Backup HSM:
1. Unlock the USB Backup HSM, and insert it into one of the USB ports on the rear of the unit.
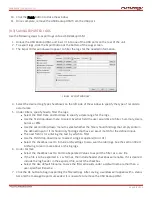
2. To export logs, click the Export button at the bottom of the Logs screen.
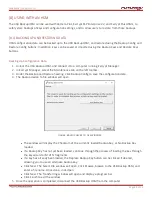
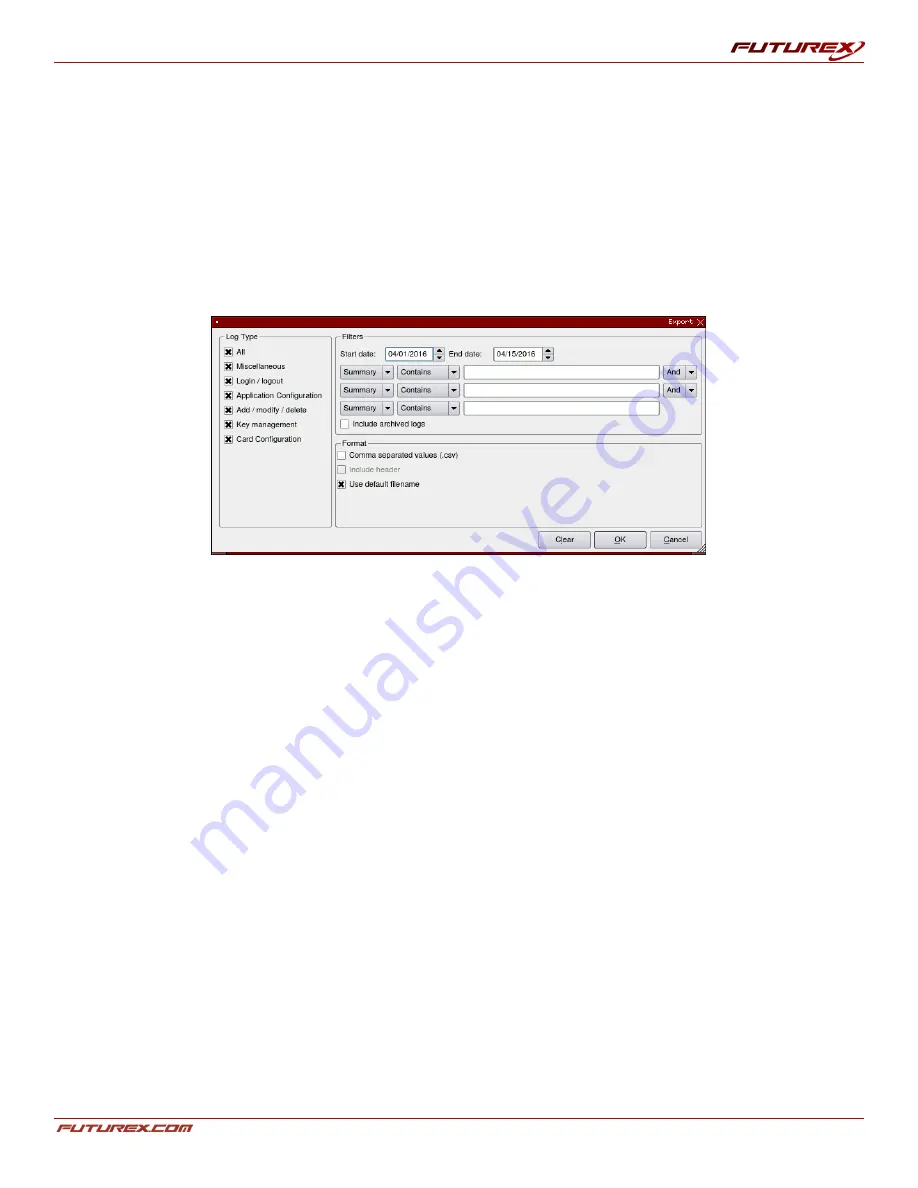
3. The Export Filter window will appear to filter the logs for the needed information.
FIGURE: EXPORT WINDOW
4. Select the desired Log Type checkboxes on the left side of the window to specify the type of records to
accumulate.
5. Under Filters, specify how to filter the logs:
l
Select the Start Date and End Date to specify a date range for the logs.
l
Use the first drop-down menu to select by what field the user would like to filter: Summary, Users,
Serial, or KSN.
l
Use the second drop-down menu to select whether the filter should find logs that simply contain
the defined input or if it should only find logs that have an exact match for the defined input.
l
The next field is for entering the text by which to filter.
l
Use the third drop-down menu to select a logical operand (And, Or).
l
Select the checkbox next to Include archived logs to also search older logs. See the section titled
Archiving to learn more about archiving logs.
6. Under Format:
l
Select the checkbox next to Comma Separated Values to export the filter as a .csv file.
l
If the file is to be exported in .csv format, the Include header checkbox will enable. If it is desired
include the log header in the exported file, select the checkbox.
l
Select the Use default filename to save the filtered results under a default name rather than a
user-specified filename.
7. Click the OK button to begin exporting the filtered logs. After saving, a window will appear with a status
bar and the message Report succeeded. It is now safe to remove the USB Backup HSM.

