6
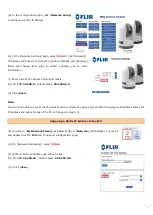
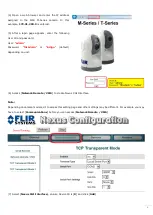
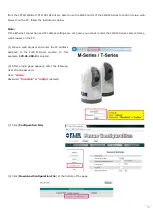
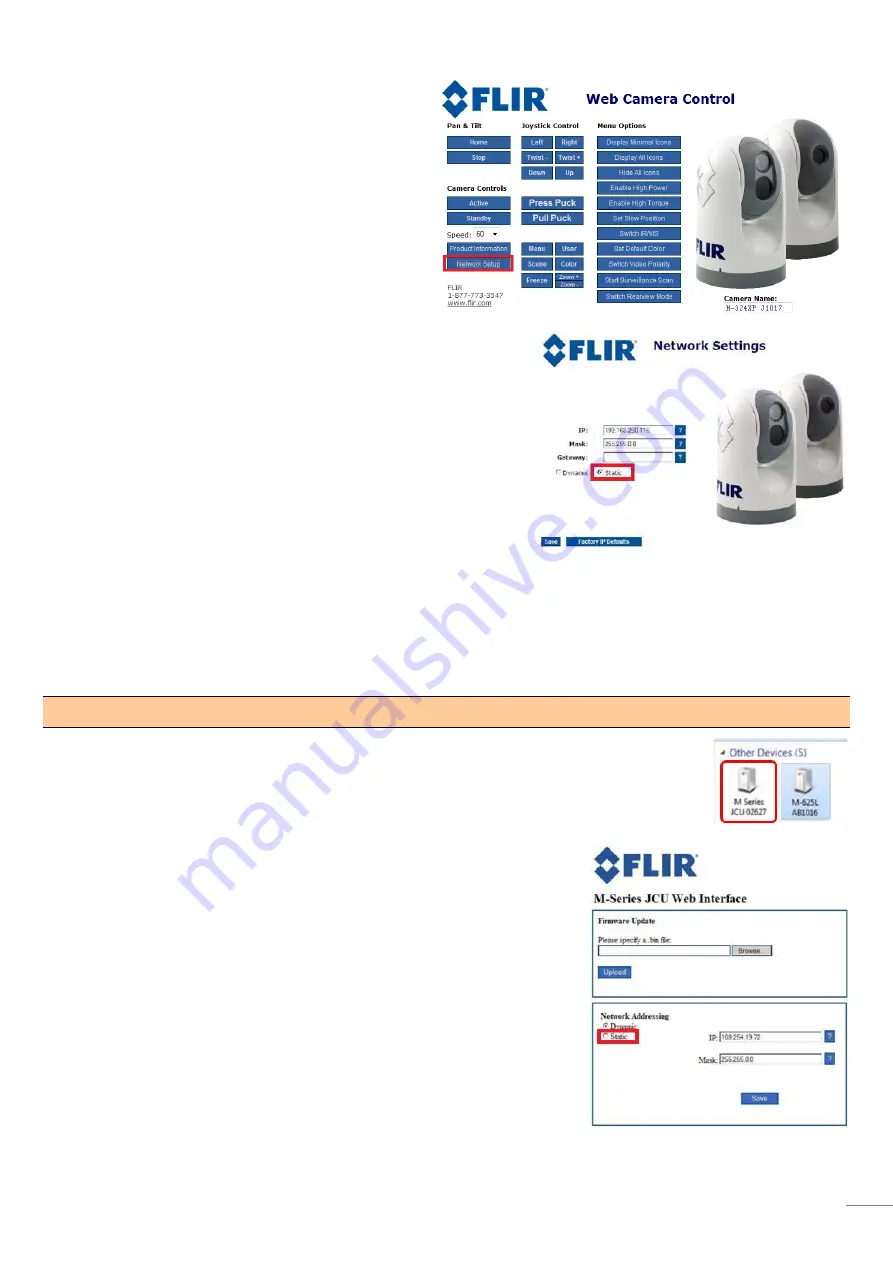
(5) In the configuration page, click [Network Setup]
to configure a static IP address.
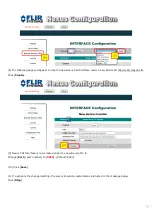
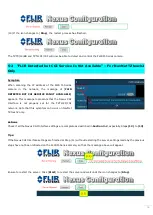
(6) In the [Network Settings] page, select [
Static
] (not [Dynamic]).
The screen will refresh, and the [IP], [(Subnet) Mask], and [Gateway]
fields will change from gray to white, enabling you to enter
information.
(7) Enter a static IP address and subnet mask.
E.g. IP: 172.31.200.9 / Subnet Mask: 255.255.0.0
(8) Click [Save].
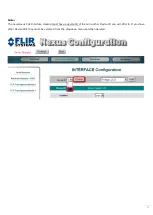
Note:
You will not be able to access the M-Series camera configuration page anymore after changing its IP address unless the
IP address and subnet mask of the PC is changed in step (13).
Assigning a Static IP Address to the JCU
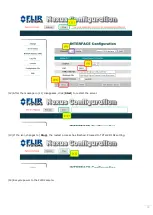
(9) Go back to [My Network Places] (Windows® XP) or [Network] (Windows® 7) of the PC
and double click the JCU icon to open its configuration page.
(10) In [Network Addressing], select [
Static
].
(11) Enter a static IP address and subnet mask
E.g. IP: 172.31.200.10 / Subnet Mask: 255.255.0.0.
(12) Click [Save].

