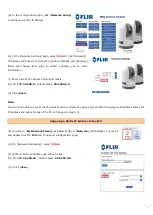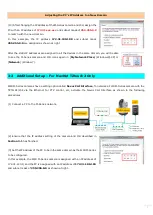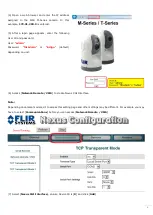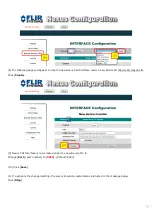
4
3. Setting up FLIR M-Series
Static IP addresses should be assigned to the FLIR M-Series camera and JCU to match with the NavNet TZtouch and
TZtouch2 network. To network with NavNet Touch2, an additional setting is required for the FLIR M-Series camera as
described in Section 3-2.
3-1 Assigning Static IP Address – For NavNet TZtouch and TZtouch2
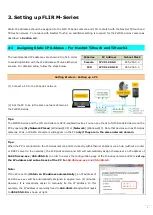
The recommended IP addresses are shown at right in order
to avoid duplication with the IP addresses of Furuno Ethernet
sensors. For detailed setup, follow the steps below.
M-Series
IP Address
Subnet Mask
Camera
172.31.200.9
255.255.0.0
JCU
172.31.200.10
255.255.0.0
Getting Started – Setting up a PC
(1) Connect a PC to the M-Series network.
(2) Set the PC to be in the same network domain as
the FLIR M-Series.
Tips:
The FLIR M-Series and the JCU controller are UPnP-enabled devices. You can see the list of UPnP-enabled device on the
PC by opening [My Network Places] (Windows® XP) or [Network] (Windows® 7). Note that devices such as M-Series
cameras, JCUs, and AXIS converters will appear on the PC only if they are in the same network domain.
Tips:
When the PC is connected to the M-Series camera and JCU directly with Ethernet cables or via a hub (without a router
or DHCP server in the network), the M-Series camera and JCU will automatically assign themselves an IP address of
169.254.xxx.xxx / 255.255.0.0. In order to access the configuration page of the M-Series camera and JCU, set up
the IP address and subnet mask of the PC to
169.254.xxx.xxx
and
255.255.0.0
.
Note:
If the PC is set to [Obtain an IP address automatically], an IP address of
169.254.xxx.xxx will be automatically assigned in approx. two (2) minutes.
However, it is sometimes easier to manually fix the IP address. In this
example, the IP address is manually fixed to 169.254.1.2 and subnet mask
to 255.255.0.0 as shown at right.

