About Actions (for Windows users)
90
5.
Load the document in the ScanSnap.
For details, refer to
"Paper Sizes of Documents" (page 26)
and
6.
Press the [Scan] button on the ScanSnap.
D
Scanning starts.
D
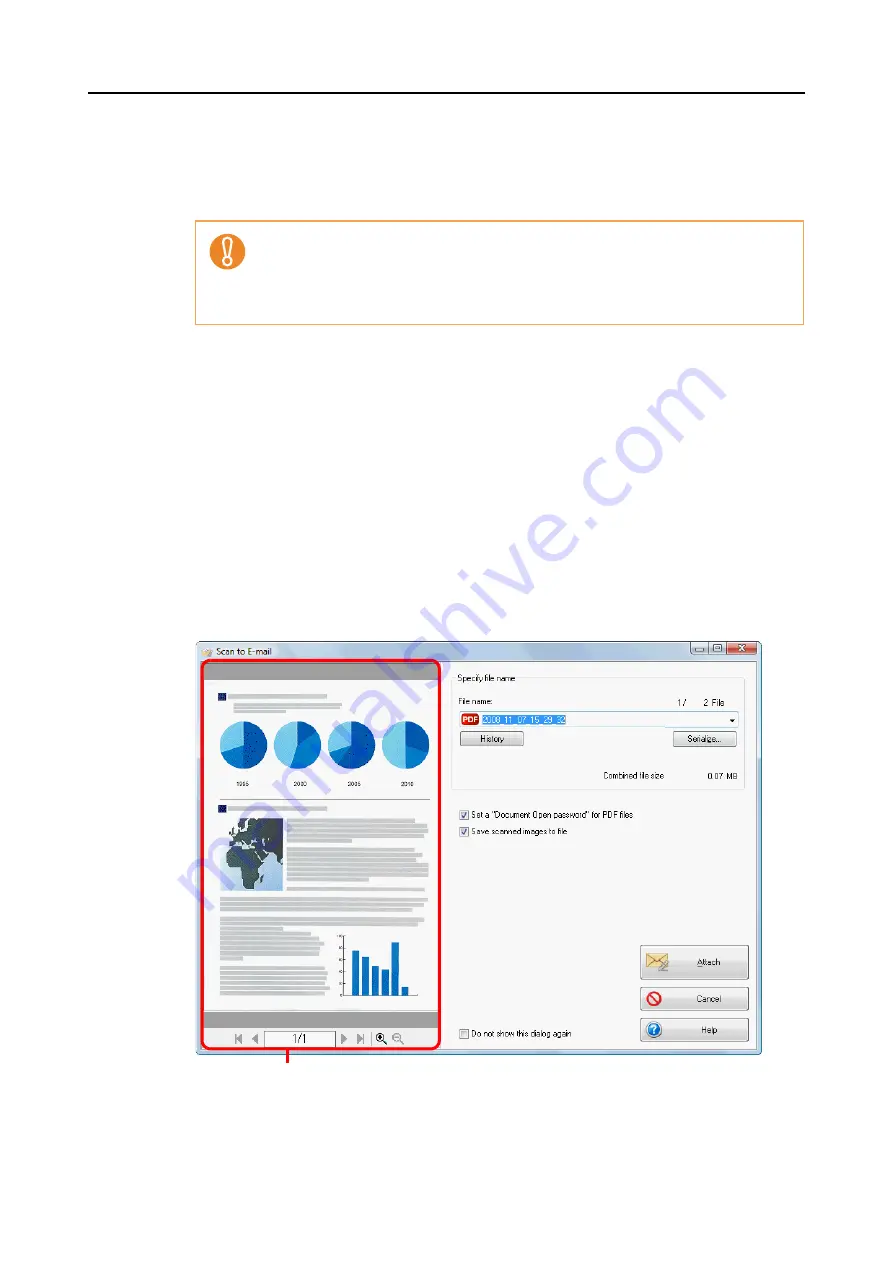
When scanning is completed, the [Scan to E-mail] dialog box appears.
When you clear the [Show preview] check box in Step
, an e-mail program starts,
and the files are directly attached to an e-mail message.
7.
Check the scanned image in the [Scan to E-mail] dialog box.
You can also change file names, specify whether to set a "Document Open Password"
and whether to save scanned files after sending them by e-mail.
For details about the [Scan to E-mail] dialog box, refer to ScanSnap Manager Help.
Up to ten files can be attached to an e-mail.
When you scan multiple sheets with the scan settings shown below, multiple files are
created. Pay attention to the number of document sheets loaded:
z
File format: JPEG (*.jpg)
z
[Generate one PDF file per (n) page(s)] check box is selected
Preview


