fi-4220C2 Image Scanner Getting Started
8
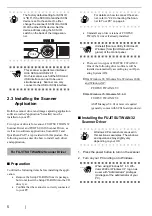
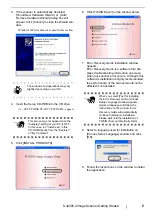
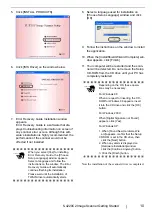
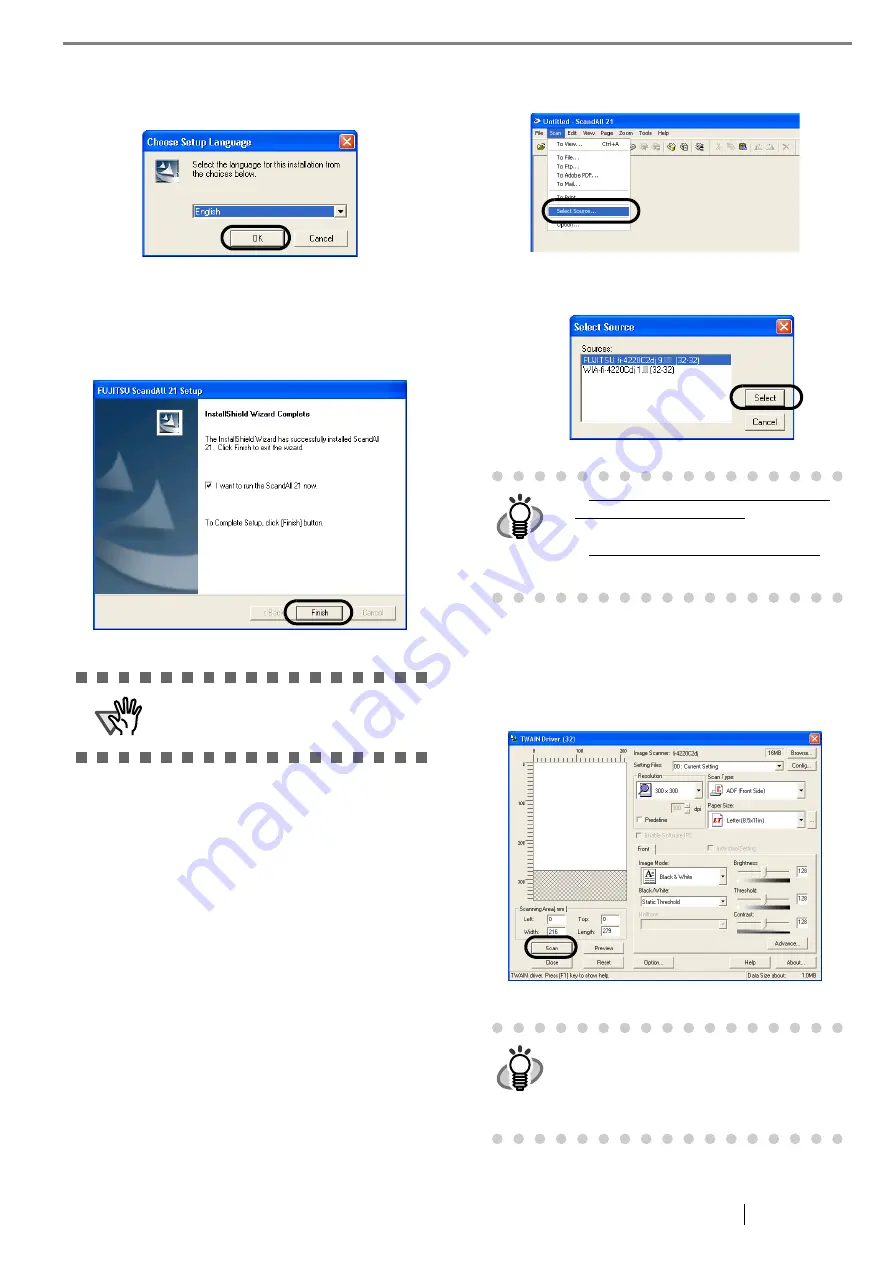
4. Select a language used for installation on
[Choose Setup Language] window and click
[OK].
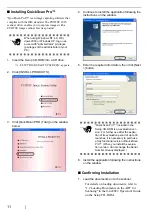
5. Install the application following the instructions
on the window.
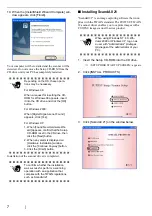
6. When the [InstallShield Wizard Complete] win-
dow appears, click [Finish]
■
Confirming Installation
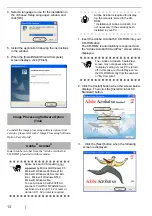
1. Set documents on the ADF paper chute.
For details on how to set documents, refer to the
"1.2 Loading Documents on the ADF for Scan-
ning" in the fi-4220C2 Operator’s Guide provided
in the CD-ROM.
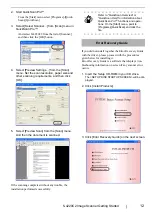
2. Start ScandAll21
Select [Start] - [Programs] - [Scanner Utility for
Microsoft Windows] - [ScandAll 21].
3. Specify the scanner (that you will use)
Select [Select Source...] from the [Scan] menu of
ScandAll 21.
4.Select "FUJITSU fi-4220C2dj" or "FUJITSU
TWAIN32" on the dialog box.
5. Select [To View...] from the [Scan] menu.
6. Set scanning resolution, document size, etc. on
the [TWAIN driver] window (for setting details
of scanning) and click the [Scan] button.
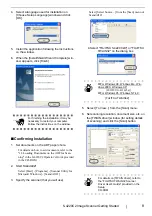
ATTENTION
For finishing the installation, it may be
necessary to restart your computer.
Follow the instructions on the window.
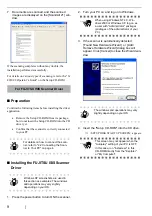
HINT
For Windows 98, Windows Me, Win-
dows 2000, Windows XP:
[FUJITSU fi-4220C2dj]
For Windows 95, Windows NT 4.0:
[FUJITSU TWAIN32]
HINT
For details on [TWAIN driver], refer to
the "FUJITSU TWAIN32 Scanner
Driver User’s Guide" provided on the
Setup
CD-ROM.
Содержание fi-4220C2
Страница 1: ...Getting Started fi 4220C2 Image Scanner P3PC E937 02EN Getting Started fi 4220C2 Image Scanner ...
Страница 2: ......
Страница 29: ......

