S e c t i o n F o u r
112
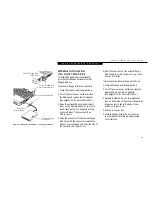
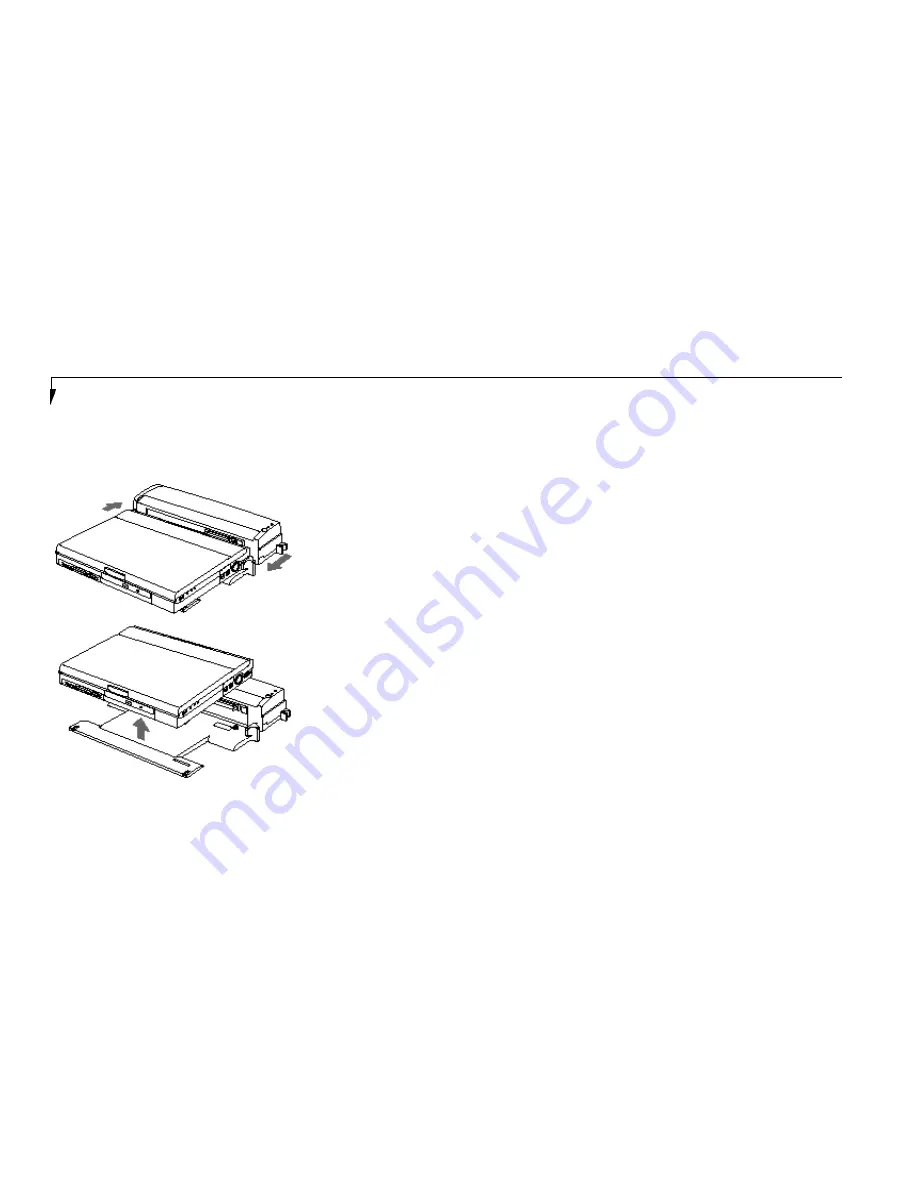
6. Set your notebook on the Docking Station
Leveler, making sure that the Alignment
pins on the leveler (Figures 4-13 and 4-16)
fit into the Docking Alignment receptacles
in the bottom of your notebook (Figure 1-
10 on page 9).
7. Arrange the notebook/leveler combination
to align the docking connector on the
docking device body with the Docking port
on your notebook and the notches on the
leveler with the notches on the docking
device body.
8. Push together firmly.
9. Lock in place by pulling the Docking
Release lever forward.
10. Verify that docking is complete by checking
that the LifeBook Docked LED is illuminated.
(See Figures 4-13 and 4-16.)
11. Return your notebook to operation using the
Suspend/Resume button or power switch,as
appropriate. (When setting up for the first
time you must use the power switch.)
Connecting Devices to the
LANdock or Port Replicator
Connect devices to your LANdock or Port
Replicator in exactly the same way you would
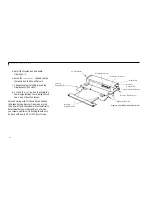
your notebook.Figure 4-14 shows the location of
LANdock ports and jacks.Figure 4-17 shows the
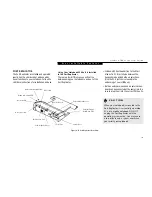
location of the Port Replicator ports and jacks.
Remember that on the LANdock and the Port
Replicator there are separate ports for mouse
and keyboard. You must use the correct one.
To Remove Your Notebook
from the LANdock or Port Replicator
1. From the Start menu click on Eject PC.
2. Wait for the Safe to Undock LED to illumi-
nate, even if a message appears on your
screen saying that you may undock.
3. Push the lever on the side of the station
backward until the docking device connec-
tors are completely clear of your notebook.
4. Very carefully lift your notebook clear of
the Alignment pins in the bottom.
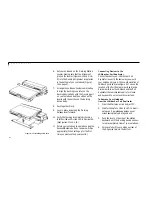
Figure 4-15 Installing a LANdock
Содержание 735Dx
Страница 6: ...T a b l e o f C o n t e n t s ...
Страница 9: ...LifeB o ok 70 0 Series f rom Fu jit su P r e f a c e ...
Страница 172: ...I n d e x ...


