U s e r I n s t a l l a b l e F e a t u r e s
L i f e B o o k 7 0 0 S e r i e s f r o m F u j i t s u
99
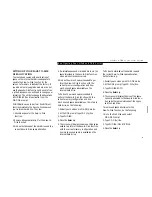
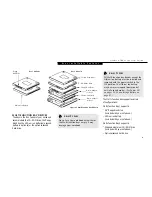
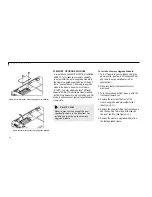
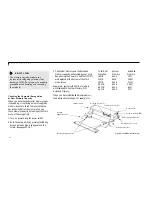
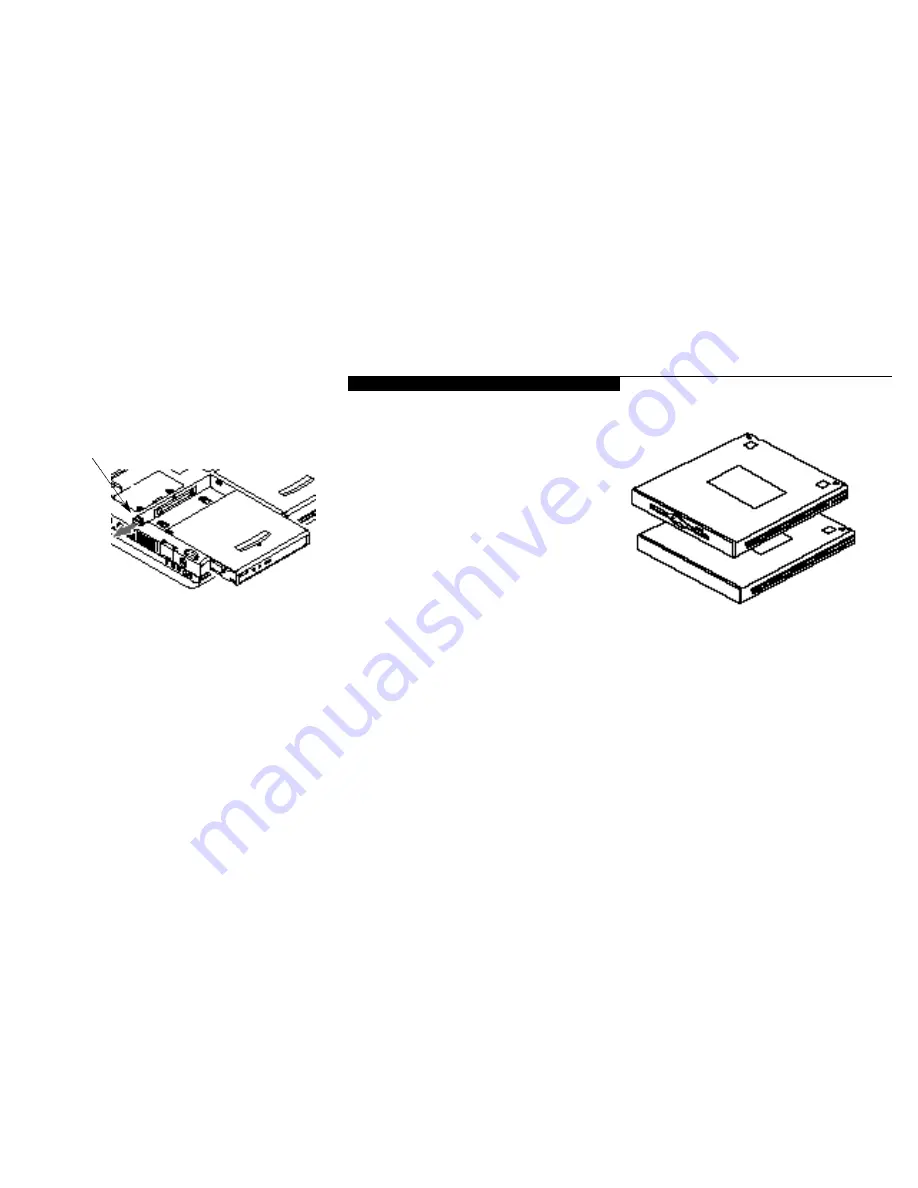
Figure 4-4 Installing a Module in the Device Adapter
for Multi-function Bay 2
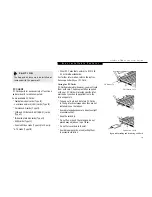
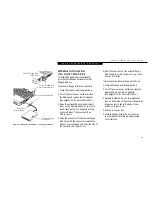
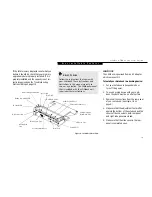
To Remove a Device from Multi-function Bay 2
4. Slide the release latch at the left rear corner of
Multi-function Bay 2 toward the outer edge
of your notebook.
5. Slide the device forward until the unit is clear
of the compartment. This will require some
force. Use the finger ridge on the bottom of
the device.
To Install a Device in Multi-function Bay 2
4.Orient the item to be installed with the finger
ridge away from the body of your notebook
and the connector toward the body of
your notebook.
5. With the module connector toward the back
of your notebook align the grooves on the
side of the device with the tracks in the side
of the bay. (Figure 4-3.)
6. Slide the module toward the back of your
notebook until it clicks into place.
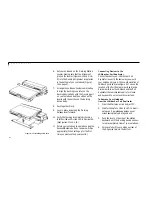
To Install or Remove a Device in Multi-
function Bay 2.
1. Close all files and exit all applications.
2. Turn off power to your notebook, close
the display and remove the AC adapter.
(See pages 24-25 for more information.)
3. Turn your notebook upside down with the
bay openings toward you.
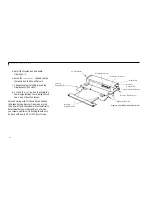
Multi-function Bay 2
Release Button
Figure 4-3 Removing and Installing a
Device in Multi-function Bay 2
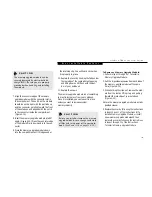
To Install a Module in the Device Adapter
for Multi-function Bay 2.
1. Align the device adapter for Multi-function
Bay 2 with the solid side up and the rounded
edges toward you.
2. Align your Multi-function Bay 1 device with
the finger ridge up and the connector away
from you.
Содержание 735Dx
Страница 6: ...T a b l e o f C o n t e n t s ...
Страница 9: ...LifeB o ok 70 0 Series f rom Fu jit su P r e f a c e ...
Страница 172: ...I n d e x ...

