System expansions
Installing and removing drives
40
A26361-K831-Z101-1-7619
Installing and removing drives
The system unit houses a total of three accessible drives (two 5 1/4-inch drives and one 3 1/2-inch
drive) and one non-accessible half-height (Slimline) drive.
IDE drives
By default four IDE drives are supported. Ideally hard disks are connected to IDE port 1, and
accessible drives, for example CD-ROMs, to IDE port 2 (see also the Technical Manual for the
system board).
Installing an accessible drive
Ê
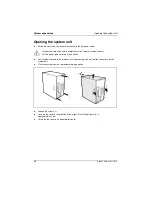
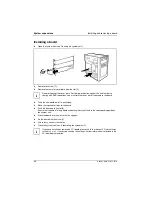
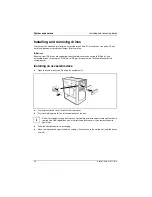
Open the system unit (see "Opening the system unit").
A
B
1
2
Ê
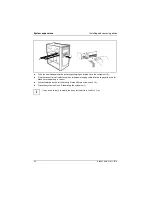
Pry the plastic drive cover (A) out of the front cover.
Ê
Pry the shielding plate (B) on left-hand side out of the bay.
i
Do not to throw away the plastic covers. For cooling, protection against fire and in order to
comply with EMC regulations, you must refit the plastic covers if you remove the drive
again later.
Ê
Take the new drive out of its packaging.
Ê
Make the required changes to the drive settings (if necessary, to the settings of installed drives
as well).

