


38
q
Insert the film into the auto film carrier.
w
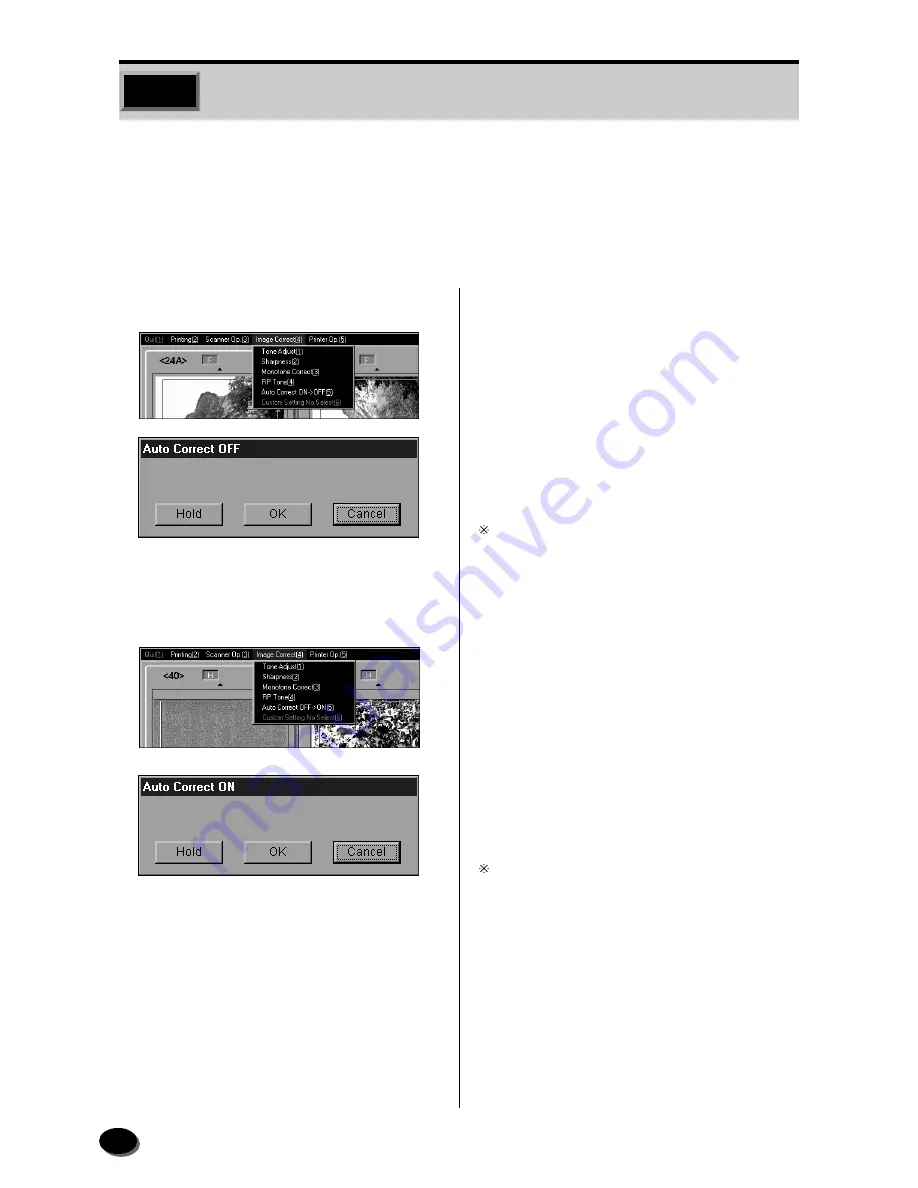
Select “Image Correct (4)” and “Auto
Correct ON
➝
OFF (5)” on the menu bar.
• The “Auto Correct OFF” dialog box appears.
e
To turn auto correction OFF, click [OK].
If the [Hold] button has been clicked, auto correction
is not turned OFF until the [SORT] key is pressed or
an auto sort is done.
• The dialog box disappears.
r
On the printing screen, select “Image
Correct (4)” and “Auto Correct OFF
➝
ON
(5)” on the menu bar.
• The “Auto Correct ON” dialog box appears.
t
To turn auto correction ON, click [OK].
If the [Hold] button has been clicked, auto correction
is not turned ON until the [SORT] key is pressed or an
auto sort is done.
• The dialog box disappears.
Sometimes auto color correction does not function for color-biased films or films
taken under different kinds of light sources (fluorescent light, tungsten light, etc.). If
this happens, select “OFF” for “Auto Correction” and correct the color of the image
on the printing screen.
Follow this procedure to turn auto correction ON or OFF.
2.15
Auto Correction ON/OFF
Содержание FRONTIER 390
Страница 11: ...9 1 OPERATIONAL SAFETY AND USE CONDITIONS 9 GD1550 1 ...
Страница 12: ...10 10 GD1559 1 3 2 Caution Label Locations on Printer Paper Processor ...
Страница 13: ...11 1 OPERATIONAL SAFETY AND USE CONDITIONS 11 GD1560 ...
Страница 19: ...17 1 OPERATIONAL SAFETY AND USE CONDITIONS 17 GD1550 2 ...
Страница 165: ...169 10 LIST OF CONSUMABLES 10 1 Scanner 170 10 2 Printer Processor 171 ...
Страница 168: ...173 11 INDEX 5 1 Index 174 5 2 Index of Basic Operating Instructions 176 ...


