


11
FLA-5000
Operation
Guide
(1)
File Name
Assign a file name to the read image data
for saving.
(2)
Comments
Enter any comments required for saving
with the assigned file name.
(3)
Change Filter...
Use this button when changing any filter
in formation. (No need to use this option
in the normal IP reading operation.)
(4)
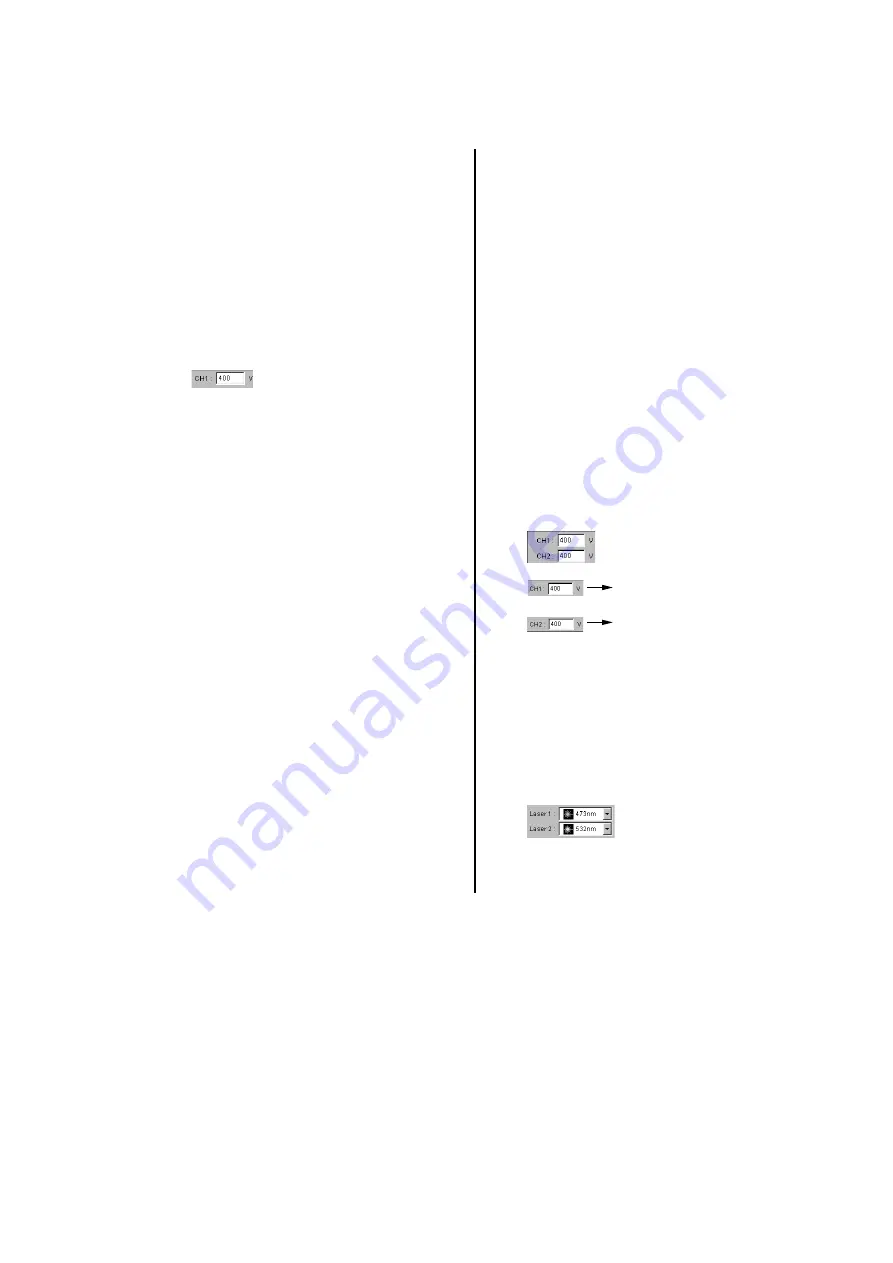
Laser
Select the laser to be used from the pull-
down menu.
(5)
Enter the voltage value to be applied to
the first PMT. (Voltage values must be an
integer between 250 and 1000.)
(6)
Filter
Select the filter to be used for reading.
(7)
Root Folder Change
Specify where to save the file for saving
the image data.
(8)
Gradations
Click to select the number of gradations
of a read image.
(9)
Resolution
Click to select the pixel size for reading.
(10)
Sample Area
Click to select the method for setting the
reading area.
(11)
Reading Area
The actual reading area will be shown in
the form of a red-colored box.
As necessary, move the cursor onto the
red frame or to any point in the red box
and drag the box to change the size and/
or position of the reading area.
(12)
Read
Click on this button to start the reading
operation.
(13)
Save Template
Use this button to save the reading
conditions in a file. (For details, see the
Operation Manual.)
(14)
Return
Click on this button to return to the Main
window.
(15)
Read Cycle (a)
Specify how many times to repeat the
reading cycle. It is possible to repeat
reading up to four (4) times in the “1 laser
1 image Cyclic” mode.
(16)
Voltage to be applied to the
first PMT
Voltage to be applied to the
second PMT
Enter the voltage values. (The voltage
values must be an integer between 250
and 1000.)
(17)
Read Cycle (b)
Specify how many times to repeat the
reading cycle. It is possible to repeat
reading up to two (2) times in the “1 laser
2 image Cyclic” or “2 laser 2 image
Cyclic” mode.
(18)
Select the laser to be used from the pull-
down menu.


