


5 Tools
156
T
ools
5
Setup
In [Setup], you can register or update mailboxes, job flows, and Address Book.
Note
•
This feature does not appear for some models. An optional package is necessary. For more
information, contact our Customer Support Center.
The following shows the reference section for each item.
Create Mailbox..........................................................................................................................156
Stored Programming .................................................................................................................158
Create Job Flow Sheet...............................................................................................................158
Create Job Flow Sheet Keyword...............................................................................................165
Add Address Book Entry ..........................................................................................................165
Create Fax Group Recipients ....................................................................................................171
Add Fax Comment ....................................................................................................................172
Paper Tray Attributes ................................................................................................................172
1
On the [Tools] screen, select [Setup], and then select [Setup].
For the method of displaying the [Tools] screen, refer to "System Settings Procedure" (P.76).
2
Select any item.
Create Mailbox
Register mailboxes in order to store scanned documents. You can register up to 200
mailboxes.
You can check the current mailboxes in the “Mailbox list”. For more information, refer to "Mailbox
List" (P.64).
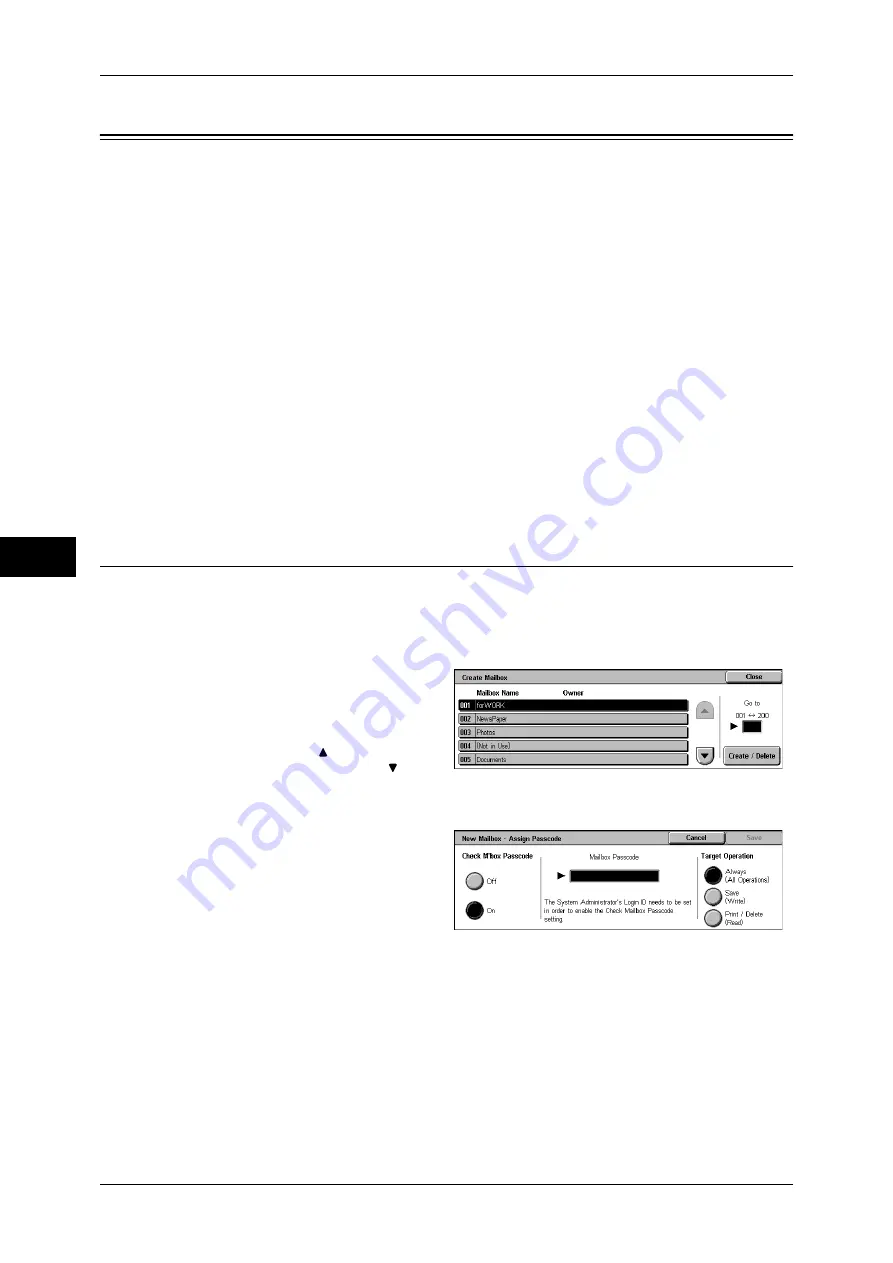
1
Select [Create Mailbox].
2
Select the mailbox to be registered,
and select [Create/Delete].
Note
•
Select [ ] to return to the
previous screen or [ ] to
move to the next screen.
•
You can specify the mailbox directly by entering a three-digit number with the numeric
keypad.
3
When creating a new mailbox, a
passcode entry screen appears,
allowing you to limit access to the
mailbox.
Mailbox Name
Set a mailbox name.
Using the displayed keyboard and the numeric keypad, you can enter up to 20 characters.
For information about how to enter characters, refer to "Entering Text" (P.24).
Check Mailbox Passcode
Set an access restriction to permit operations for specified users only.
Check M’box Passcode
Set whether to check the passcode.