110
Fitting the
welding sockets
- Working from the outside, insert welding sockets (13) and (14) into the front of the
housing (Fig.13 and Fig.14)
- TP 1500 TIG:
Screw the socket to the appropriate copper bracket in the inside of
the housing, using the M5x12 - TX20 screw (70)
-
Tighten the M5x12 - TX20 screw (70) with a torque of 2 Nm, holding the copper
bracket firmly as you do so
- TP 1500 / 1500 RC:
Screw the socket and the socket to the appropriate copper
brackets in the inside of the housing, using M5x12 - TX20 screws (70)
-
Tighten the M5x12 - TX20 screws (70) with a torque of 2 Nm, holding the copper
brackets firmly as you do so
Note!
Before affixing the adhesive label (26), (27) or (28), clean the front of the
housing.
- Affix the adhesive label (26), (27) or (28) to the front of the housing
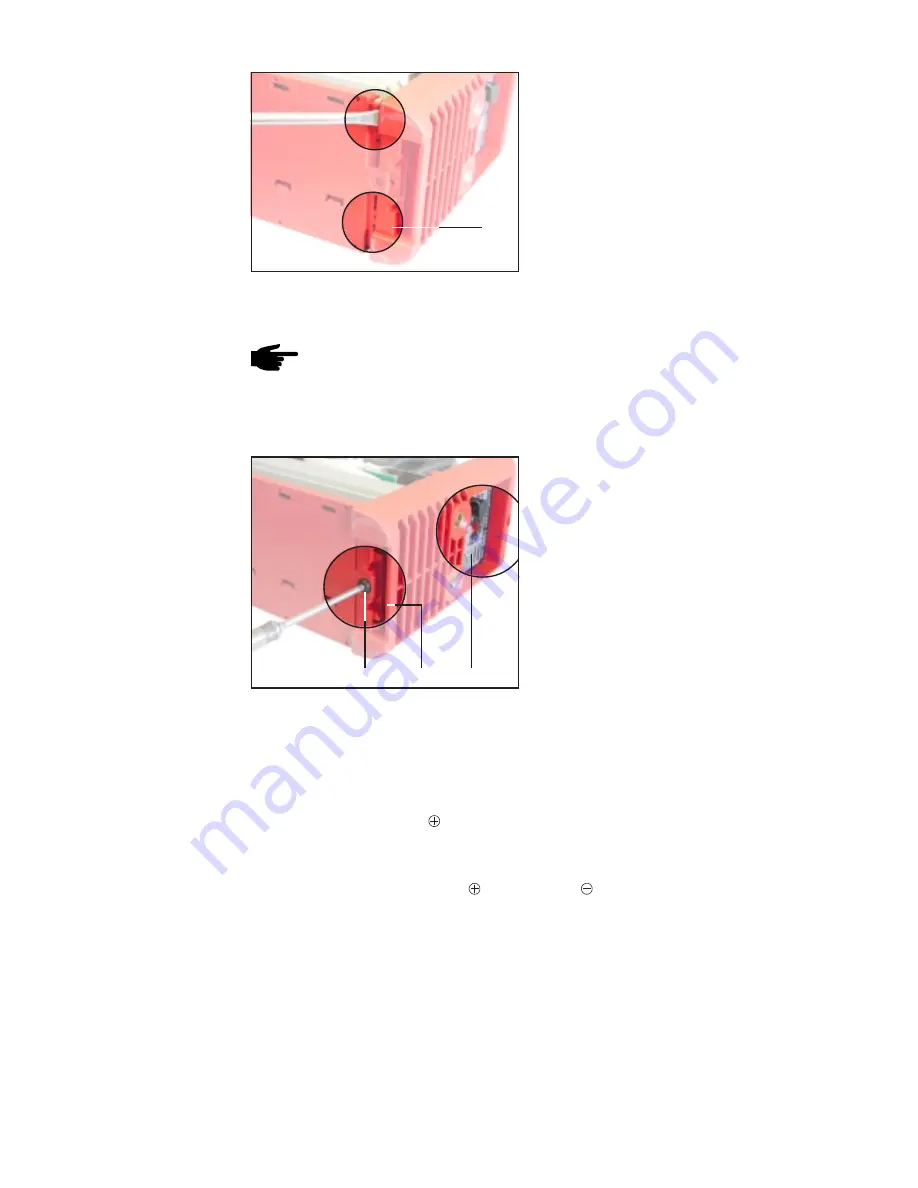
- Press the front of the housing (23) onto the floor of the housing until it snaps into the
catches
- Screw the 5x10 - TX20 screw into the
floor of the housing
Fitting the front
of the housing
- Prise the front of the housing (23) off
the floor of the housing
Removing the
front of the
housing
(continued)
Fig.16
(23)
Fig.17
(92)
(23) (26, 27, 28)
Содержание TP 1500
Страница 1: ...1 Service Manual...
Страница 53: ...53 Overall circuit diagram...
Страница 54: ...54...
Страница 114: ...114...


