


Hardware Setup
Getting Started with the MCUSLK for MC9S12C32 Application Module, Rev. 0
Freescale Semiconductor
7
7.
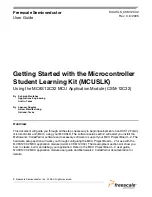
Connect the other end of the USB cable to the USB connector on the MCU Project Board – 2.
Figure 3 illustrates the USB connector on the project board for the BDM Multilink pod interface to
power, program, erase, and debug the MC9S12C32 MCU on the application module board.
Figure 3. Installation of USB Cable
NOTE
Steps 8 through 11 are a one-time, required procedure per host PC that you
intend to use with the MCU Project Board – 2 and can be skipped on
subsequent uses of your project board.
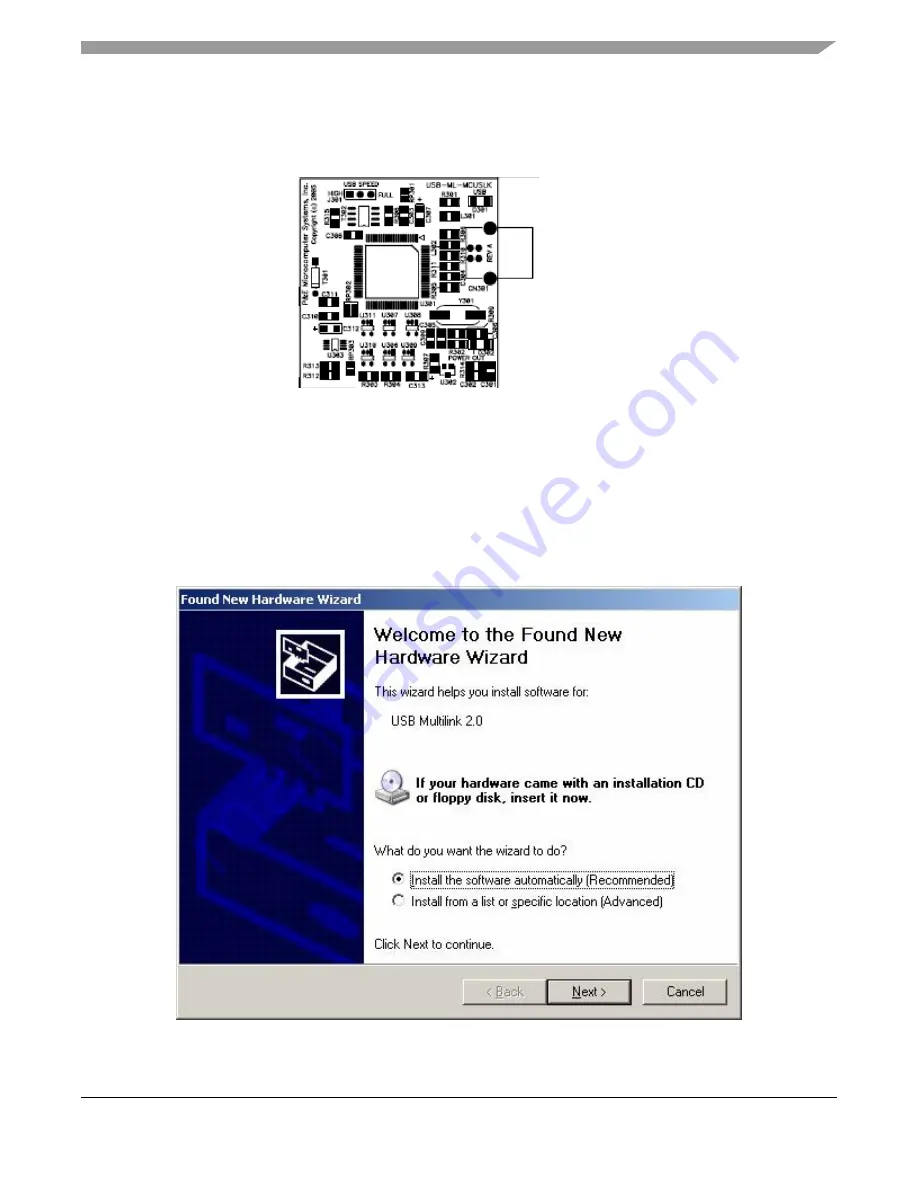
8.
Allow your host PC to detect your new hardware. You will see a popup message in the task bar
stating, “Found New Hardware.” Without any user action, the Found New Hardware Wizard will
appear as illustrated by
Figure 4
and prompt you to install software for USB Multilink 2.0.
Figure 4. Found New Hardware Wizard (Screen 1)
PLUG-IN
USB
CABLE


