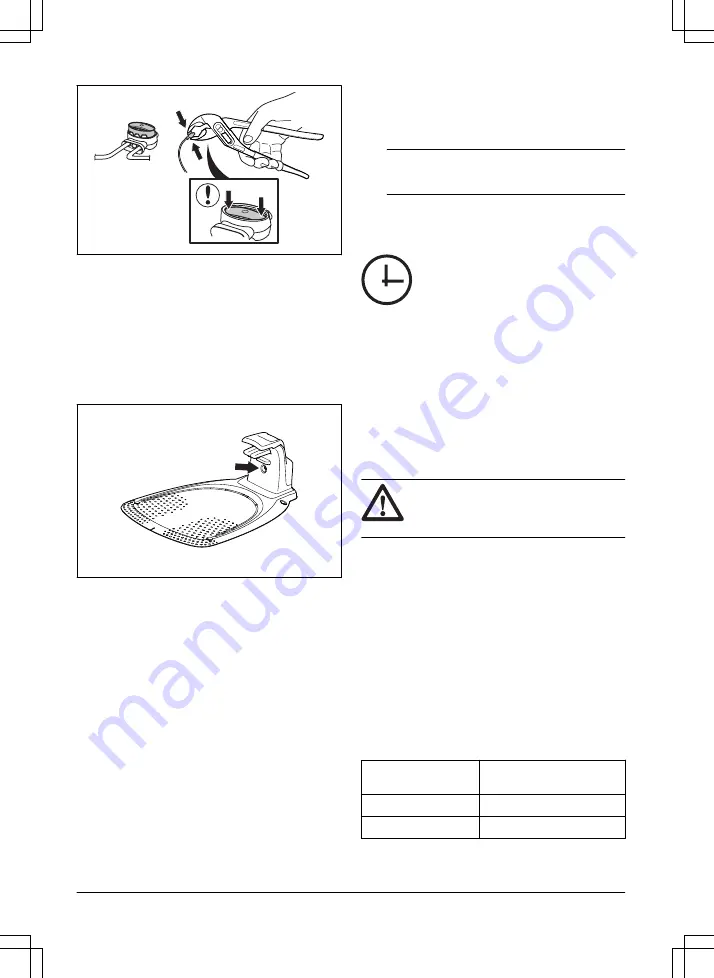
7.
Put the boundary wire or the guide wire into
position with stakes.
8.
Connect the charging station to the power outlet.
3.9 After the installation of the product
3.9.1 To do a visual check of the charging
station
1.
Make sure that the indicator LED lamp on the
charging station has a green light.
2.
If the indicator LED lamp does not have a green
light, do a check of the installation. Refer to
Indicator lamp in the charging station on page 36
To install the charging station on page 17
.
3.10 To do the product settings
Use the Flymo EasiLife app to set all the settings for the
product. The functions have factory settings that are
applicable for almost all work areas, but the settings can
be adapted to the conditions for each work area.
3.10.1 To download and pair with the Flymo
EasiLife app
The Flymo EasiLife app is a free app for your mobile
device. The Flymo EasiLife app is used for the settings
and operation of the product. The short-range interaction
with the product is called Bluetooth
®
. When pairing
between the product and app has been confirmed, you
have access to the menus and functions as long as you
are within short-range (Bluetooth
®
).
1.
Download the Flymo EasiLife app on your mobile
device.
2.
Switch off the product and switch it on again.
3.
Pair the Flymo EasiLife app with the product.
Note:
The Bluetooth
®
pairing mode is active for
3 minutes.
4.
Enter the PIN code. Refer to
22
.
3.10.2 To do the Schedule settings
You can set the schedule in 3 different procedures:
•
Use the Flymo assisted scheduling where you
enter the size of your work area and the
scheduling wizard shows an applicable schedule.
•
Use the Manual scheduling to set or adjust the
schedule manually.
•
Use the GO/Schedule button to set a daily
schedule that starts this current time each day and
the product will operate to its maximum cutting
operate in Main area and make a daily schedule
on page 23
.
CAUTION:
Do not cut the lawn more
than it is necessary to prevent wear on the
product and the lawn.
3.10.2.1 Make an estimate of the necessary operating
time
If the work area is less than maximum product capacity,
the schedule must be set to decrease the wear on the
lawn and the product. The product has a maximum
cutting time each day. You can set the operating time of
the product in the schedule. The operating time includes
cutting, searching and charging. The operating time can
be different because of many reasons, for example the
layout of the work area, the grass growth and age of the
battery. When the product has operated to the maximum
cutting time in a day, the message
Today's mowing
complete
is shown in the display of the app.
The recommended operating times for some work area
examples are shown in the table below. If the result is
not satisfactory, increase the operating time.
Area, m
2
Recommended operating
time, h
250
4-5
500
10-11
20 - Installation
1622 - 001 - 03.03.2021


