5. Carefully position the probe into the area to be examined and view the
camera image on the display. Short press the worklight button
to switch
the light on/off (the worklight is not available on the VSC-IR21 probe).
Figure 6.2
Insert the probe into the test area.
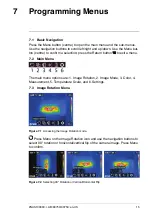
6. To select an image mode, press the Menu button (centre), scroll to the Im-
age Mode icon and press Menu again. Use the navigation buttons to se-
lect Thermal MSX, Thermal, or Digital camera; press Menu to confirm.
Note that the VSC-IR21 probe does not include MSX, digital camera, or
worklight features.
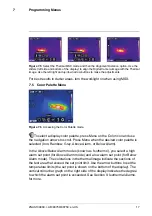
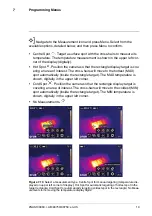
7. The cross-hairs allow you to target and measure the surface temperature
of a spot. The measurement is shown digitally (upper left). The thermal
scale for the current image is shown on the right edge of the display.
8. To capture an image or to stop/start a video, pull and hold the trigger.
Press the Gallery button
to view stored images and videos. Images/vid-
eos can be sent to a PC via USB.
#NAS100060; r. AB/80750/80750; en-US
14
Содержание VS290-00
Страница 1: ...USER MANUAL Thermal Videoscope Kits Kit nos VS290 2x and VS290 3x...
Страница 2: ......
Страница 3: ...USER MANUAL Thermal Videoscope Kits NAS100060 r AB 80750 80750 en US iii...
Страница 4: ......
Страница 49: ......

