9
1st System Flush
–
The pre-filters now need to be flushed
BEFORE
the membrane(s) is
added to the unit.
Turn on mains water supply by either putting the ball-o-fix and isolator
tap to ‘on’ position (1/4” turn from off position). (The ball-o-fix fitting can
be left in ‘on’ position from here and the isolator tap is to be used to turn
the water
‘on’ and ‘off’). Or turn the garden tap on if you chose this fitting.
Let the water run for approximately 10 minutes into a bucket or until the
water runs clear. While the water is flowing this will also release any
trapped air in the unit, so there may be spluttering.
Check around the unit for any leaks.
(If a leak is found, turn off the water,
and check the fitting / tubing where the leak was found. Also see our
troubleshooting section at the back of the manual. Once the issue is resolved,
start process again).
Turn off the mains water by the isolator tap or garden tap and let the
water drain out.
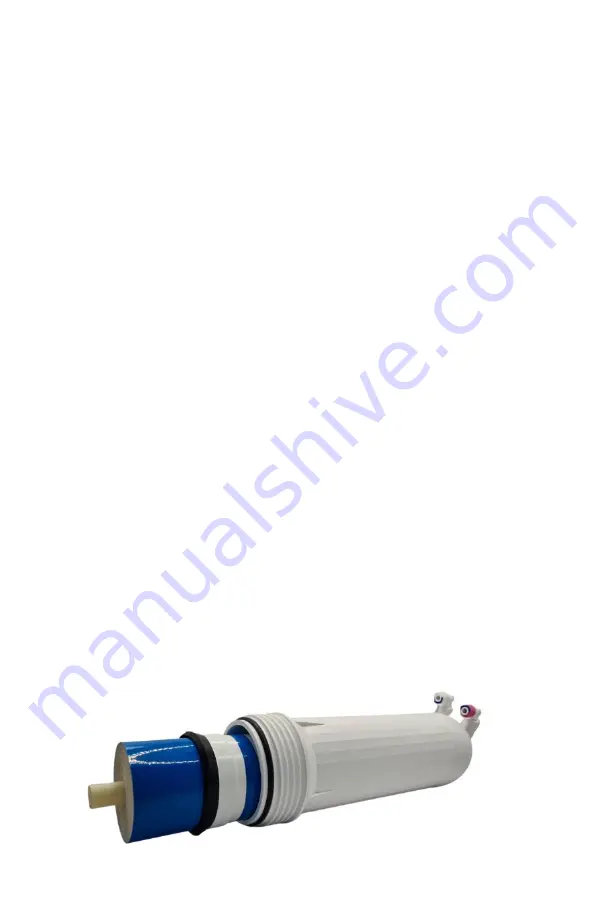
Insert Membrane(s)
8. To insert membrane, remove post filters by pulling on bracket
connected to the membrane housing. Remove the tubing from the QC
fitting (inlet to membrane housing).
9. Lift membrane housing out of brackets and unscrew housing cap
using spanner provided.
Please ensure the o’ring is kept on the thread
on the body of the membrane housing (not inside the housing cap).
10. Remove airtight film from membrane only (not blue film) and insert
into housing with the end with two black O-rings first. Screw cap back on,
push housing back into bracket and re-attached post filters. Check tubing
both ends to prevent leaks.


