44
EMERGENCY MAINTENANCE
5.
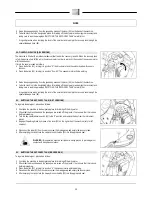
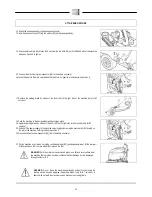
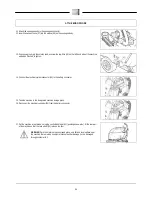
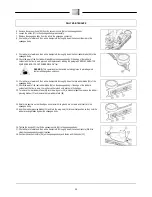
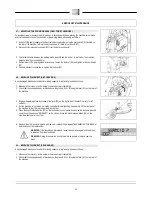
Remove the vacuum hose (05) from the vacuum nozzle (06) on the squeegee body.
6.
Loosen the knobs (07) in the squeegee body pre-assembly.
7.
Remove the squeegee body from the slits in the squeegee connector.
WARNING: This operation must be carried out using gloves to protect against
contact with dangerous solutions.
Proceed as follows for replacing the front rubber blade of the squeegee body:
1.
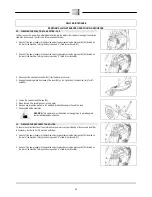
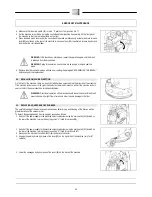
Turn the wing nuts (08) in the horizontal position.
2.
Remove the front rubber-pressing blades (09).
3.
Remove the rubber (10) and replace it.
4.
Proceed in reverse to replace the rubber.
Proceed as follows for replacing the rear rubber blade of the squeegee body:
1.
Turn the wing nuts (08) in the horizontal position.
2.
Remove the front rubber-pressing blades (09).
3.
Remove the rubber (10) and replace it.
4.
Proceed in reverse to replace the rubber.
52.
ADJUSTING THE SQUEEGEE INCLINATION
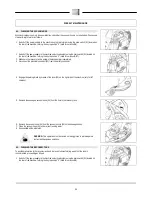
During working operation, the rear rubber blade is slightly tilted backwards (by about 5mm) in a uniform
way for its whole length. If you need to increase the bend of the rubber in the central part, you must tilt the
squeegee unit. To do this, proceed as follows:
1.
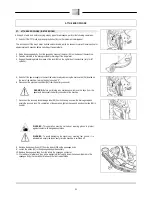
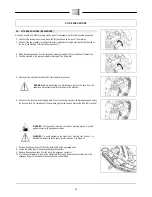
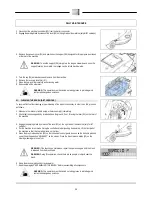
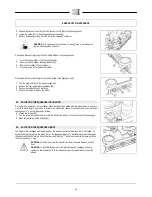
Loosen the locknut (01)
2.
Turn the screw (02) clockwise to increase the bend of the rubber in the central part of the squeegee.
3.
When fully adjusted, fix the locknut (01)
53.
ADJUSTING THE SQUEEGEE HEIGHT
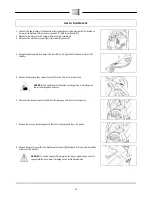
The height of the squeegee must be adjusted on the basis of the state of wear and tear of the rubber. To
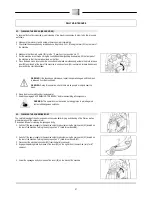
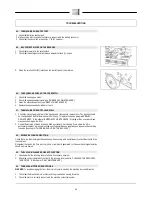
adjust the height, simply turn the knobs (01) on the squeegee support. To decrease the distance between
the wheels and the floor simply follow the arrows with the sign "-", while to increase the distance just follow
the arrows with the "+" sign.
WARNING: For effective drying, the wheels must be at the same distance from the
floor.
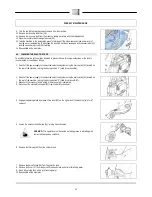
WARNING: To facilitate the operation, completely lower the squeegee and put a
spacer of a few millimetres (2 to 4 mm depending on the type of rubber) under the
wheels.

