


13
www.ferrari-electronic.com
Installation
Pin
PRI 1, PRI 2
BRI 1, BRI 2 BRI 3, BRI 4
7
Rx+
8
Rx-
Notee!
▼
If BRI interfaces are used in the US, a separate FCC approved NT1 Network Ter-
mination Unit must be installed to connect to OfficeMaster SBA S/T BRI ports.
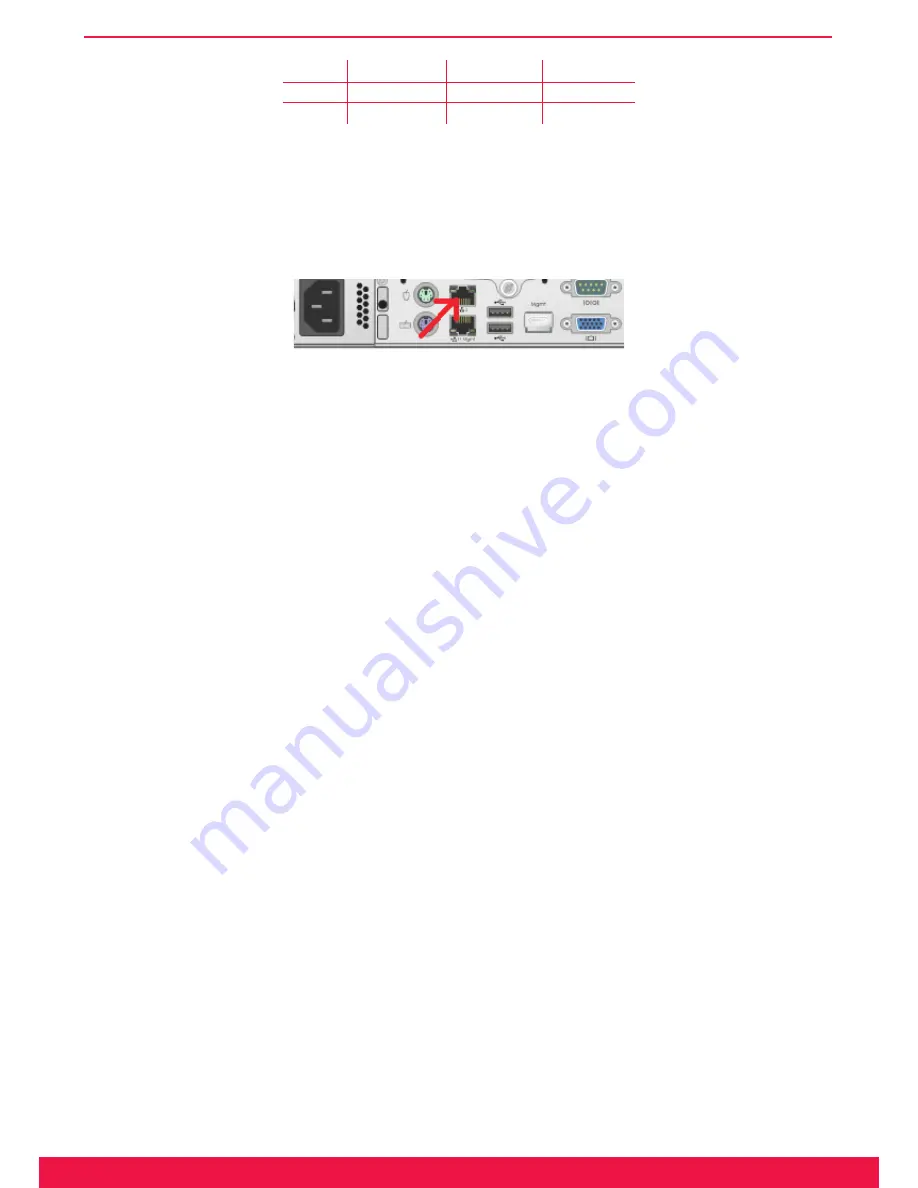
For LAN-connection, please plug in the network cable into the upper interface
(LAN1):
Image 2.5: LAN Port to be used
2.4 Recovery
2.4.1 Survivable Branch Appliance
Use of the Recovery USB Stick
The SBA system software can be reset to factory settings at any time by using the USB recovery stick.
Please follow these steps:
1. Connect the SBA device to Keyboard, Monitor and Mouse, either physically, using KVM or through tools
like HP ILO
2. Plug the USB stick into the front USB port
3. Power up SBA, it will automatically boot from the USB
4. At the end (message: press any key to shutdown computer) press a key
5. Remove USB stick
6. Power up SBA
7. Set the local Administrator password to OfficeMaster!
8. Check network interface configuration (see below)
9. Open a cmd console and enter the following commands: %systemroot%\system32\inetsrv\appcmd.exe set
APPPOOL omsba_admin_pool -processModel.userName:ofmadmin %systemroot%\system32\inetsrv\appc
-
md.exe set APPPOOL omsba_admin_pool -processModel.password:Sefte25AuTib
10. Now the deployment Web UI is ready for use
Содержание OfficeMaster Gate
Страница 14: ...Chapter 2 OfficeMaster Gate Ferrari electronic AG Installation...
Страница 22: ...Chapter 3 OfficeMaster Gate Ferrari electronic AG Configuration...
Страница 70: ...Chapter 4 OfficeMaster Gate Ferrari electronic AG Advanced Configuration...
Страница 80: ...Chapter 5 OfficeMaster Gate Ferrari electronic AG...
Страница 90: ...Chapter 7 OfficeMaster Gate Ferrari electronic AG Appendix...
Страница 91: ...ii www ferrari electronic de Appendix A List of Abbreviations...
Страница 103: ...Chapter 6 OfficeMaster Gate Ferrari electronic AG Worth knowing...


