


29
Section 3: Software Operation
4. Copy:
‘Copy’ opens Windows Explorer. Navigate
to the “Data” folder under the root directory (400
(C:)). This folder contains all the data files that
have been transferred. Close Windows Explorer
when copying is complete. For copying to external
devices there are three USB ports and one
Ethernet port located on the 400. Two USB ports
and the Ethernet port are on the convenience
outlet on the back panel. One USB port is located
on the front of the unit directly above and to the
right of the drierite window.
NoTe:
Do not delete or rename the Data
folder or data transfer will not occur and test
data information will be lost.
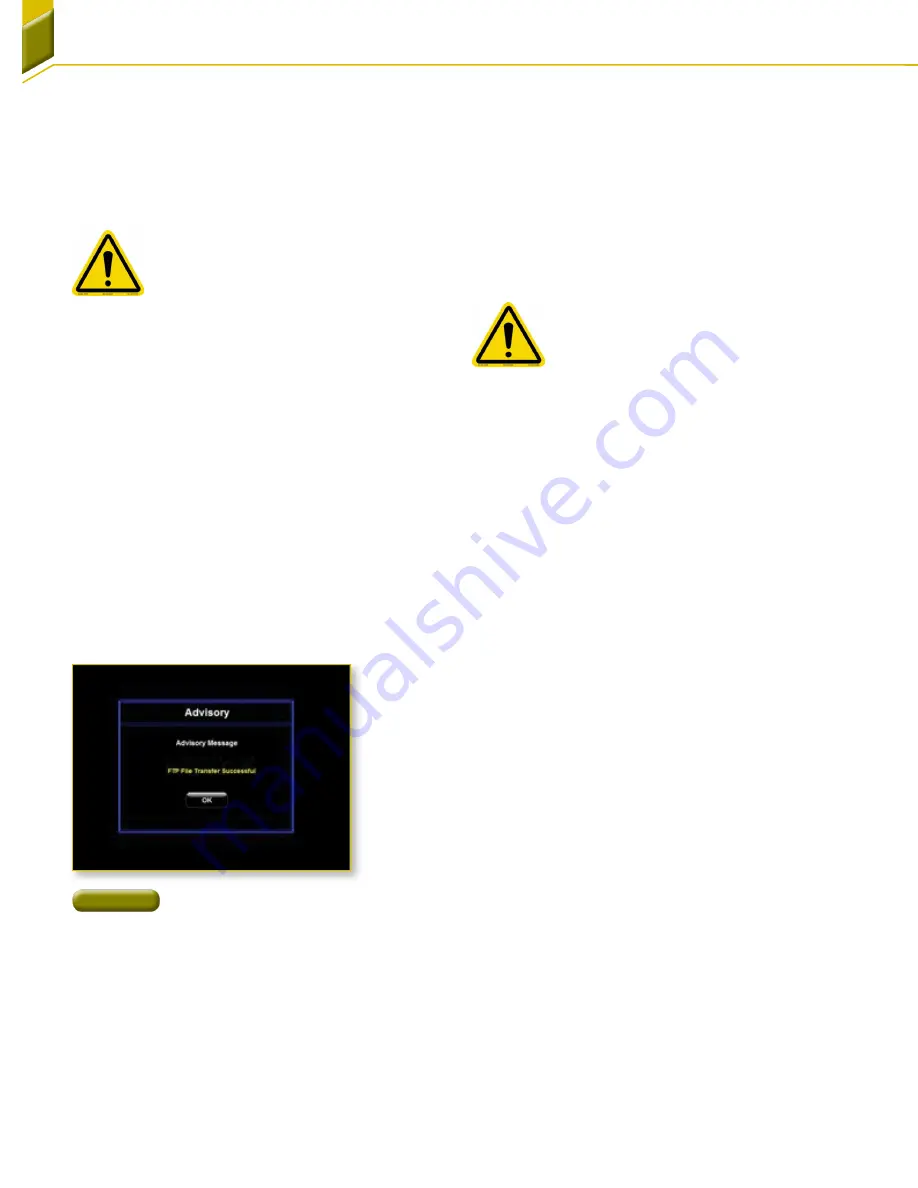
Figure 48
File Transfer Message
2. Transfer:
After a test completion, this button
MUST be selected to move the test data to the
computer. Upon transfer, data files reside in the
“Data” folder under the root directory (F400 (C:)).
An acknowledgement window appears upon
successful data transfer
[Figure 48]
. Do not proceed
until this acknowledgement appears.
NoTe:
The current test data will be lost
at the start of the next test if this ‘Transfer’
button is not pressed or when the F400's
power is cycled. The computer has limited
hard drive space and it is recommended
that the user regularly perform file
maintenance on the “Data” folder .
3. Print:
Pressing the print button sends the data
file to the installed printer. An internal message
appears while the data transfer is in process and
will close automatically. Refer to 'Addendum B'
for a sample data file printout. Falex recommends
using the printer sold by Falex as the drivers are
installed and ready for use upon power up. Should
a different printer be used refer to the ‘Preference’
section of this manual to install a printer.
Содержание 400
Страница 48: ...47 Addendum B Printed Report Example ...
Страница 49: ...48 Notes issue date 1 1 2013 ...


