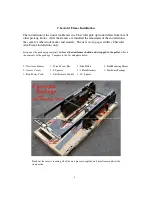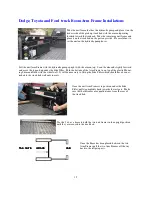
After the two rivet nuts are placed in the truck bed move the unit Arm Frame up
against the side of the truck bed. Use the 90° square and line the unit Arm
Frame with the bed bottom. When this alignment is complete tighten the screw
into the rivet nut.
How to use the RNHT Rivet Nut Hand tool
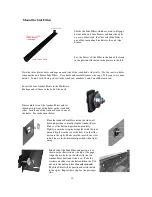
The RNHT hand tool comprises 3 parts, the upper body (figure A), the
lower body (figure B) and the socket head cap screw (figure C). Put the
socket head cap screw through the tool in the orientation shown in figure C.
Thread the rivet nut on to the screw until it rests against the underside of the
bottom.
Insert the rivet nut into the hole of your application while it is threaded onto
the tool. Use the 7/8 inch wrench to keep the bottom body from turning.
Next, put an 11/16 inch socket wrench over the top body and turn clock-
wise. This will thread the top body out of the bottom body. This lifts the
threads of the rivet nut and
collapses the rivet nut forming a bubble on the backside, holding the rivet
nut.
Continue turning the wrench until it comes to a firm stop. Reverse the
socket wrench to break the tension in the tool. Remove the socket and
thread the screw
out of the installed rivet nut. Screw the top body into the bottom before
installing another rivet nut.
We recommend performing a test installation before installing into your
application. Failing to perform a test could cause the threads to strip by
over torque.
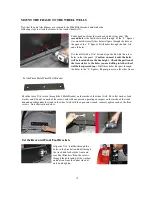
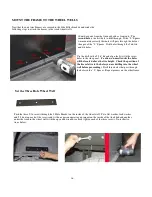
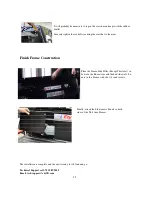
Loosen the two screws holding the Front Slide Bracket. Take the 90° square
and put side on the bed floor towards the rear of the frame with the vertical
side pushed up against the Arm Frame adjust the vertical angle of the Arm
Frame to square it to the truck bed. Do the same thing towards the front of
the Arm Frame. Once the frame is square, slide the bracket against the truck
bed wall. Tighten the two screws attaching the Front Slide Bracket to the
frame. Use three of the self-tapping screws to secure the bracket to the bed
wall of the truck.
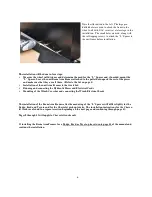
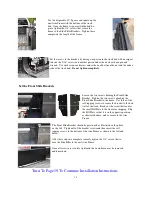
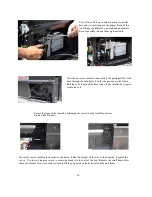
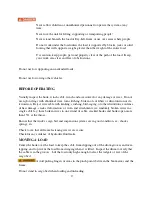
Insert the self tapping screws in the bottom of the Arm Frame as shown to
the left and below.
Once all screws are securely tightened the wood brace may be removed
and discarded.
18

