36 |
P a g e
6.
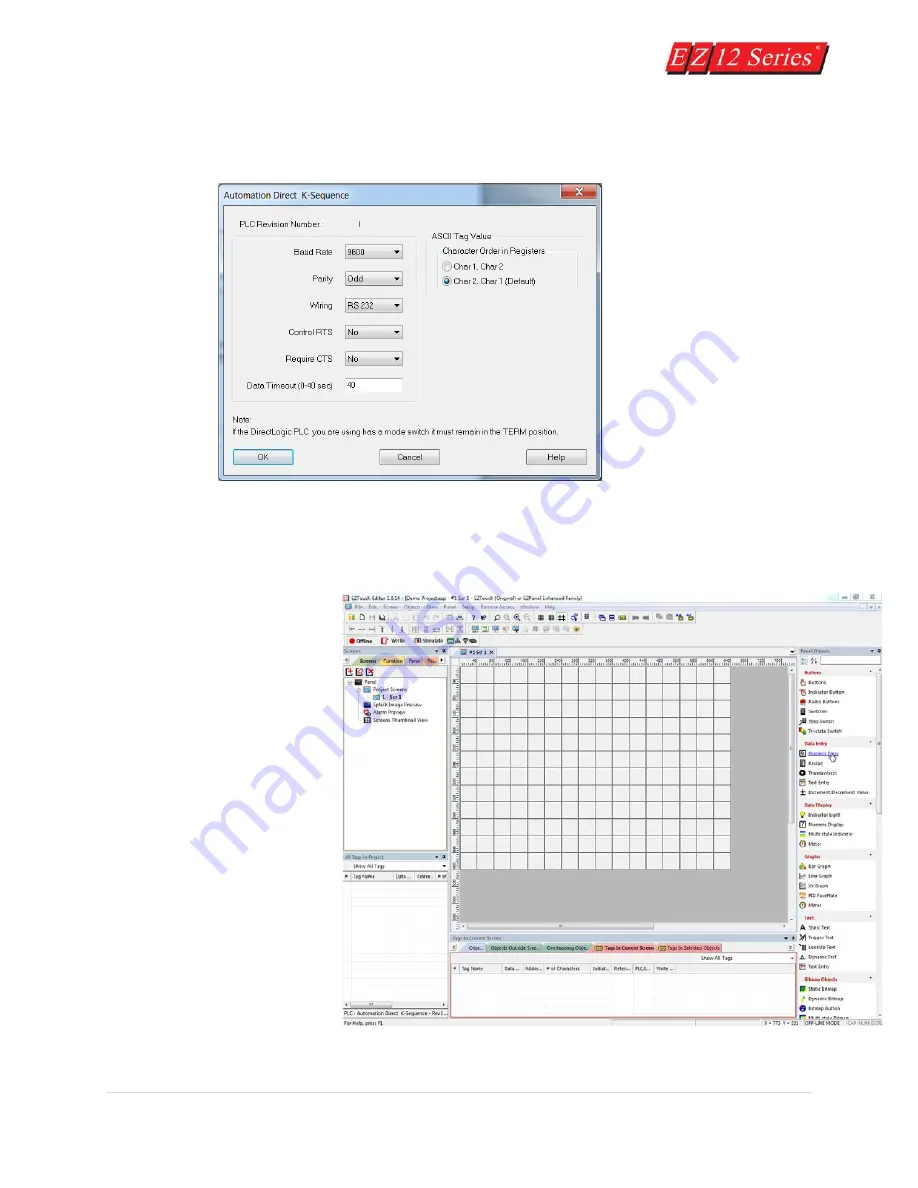
Click on the View/Edit PLC Com Setup to edit the PLC Attributes. Set the attributes to match
those in the DirectLogic K-Sequence attributes dialog box shown below. Click OK.
Step 1 is complete!
Step 2:
You are now ready for Step 2,
Design Your Screens. In Step 2
we will place 4 objects on the
screen. You have already
configured your PLC ladder logic
for this Demo Project in the first
part of the tutorial.
The EZTouch Editor working
environment is shown below.
Toolbars provide easy access to
all major programming functions
and features. The objects shown
below represent the touch
buttons and displays that will be
transferred to the panel and
communicate with the PLC when
this tutorial is completed.
Содержание EZ 10 Series
Страница 1: ......
Страница 2: ...i P a g e Getting Started EZ12 EZTouch Editor 2 0...
Страница 3: ...ii P a g e Manual EZ12 USER M...
Страница 13: ...7 P a g e EZ12 Dimensions Units inches millimeters...
Страница 26: ...20 P a g e EZ12 Models...


