26
9. HTTP COMMAND FUNCTION
Confirm that the B1080PW-2 is already connected to the network. (Refer to 7.1)
Confirm
the
“
Local HTTP Server
” function has been enabled, and the “
Local HTTP Server
Setup
” set has been completed (refer to 7.2).
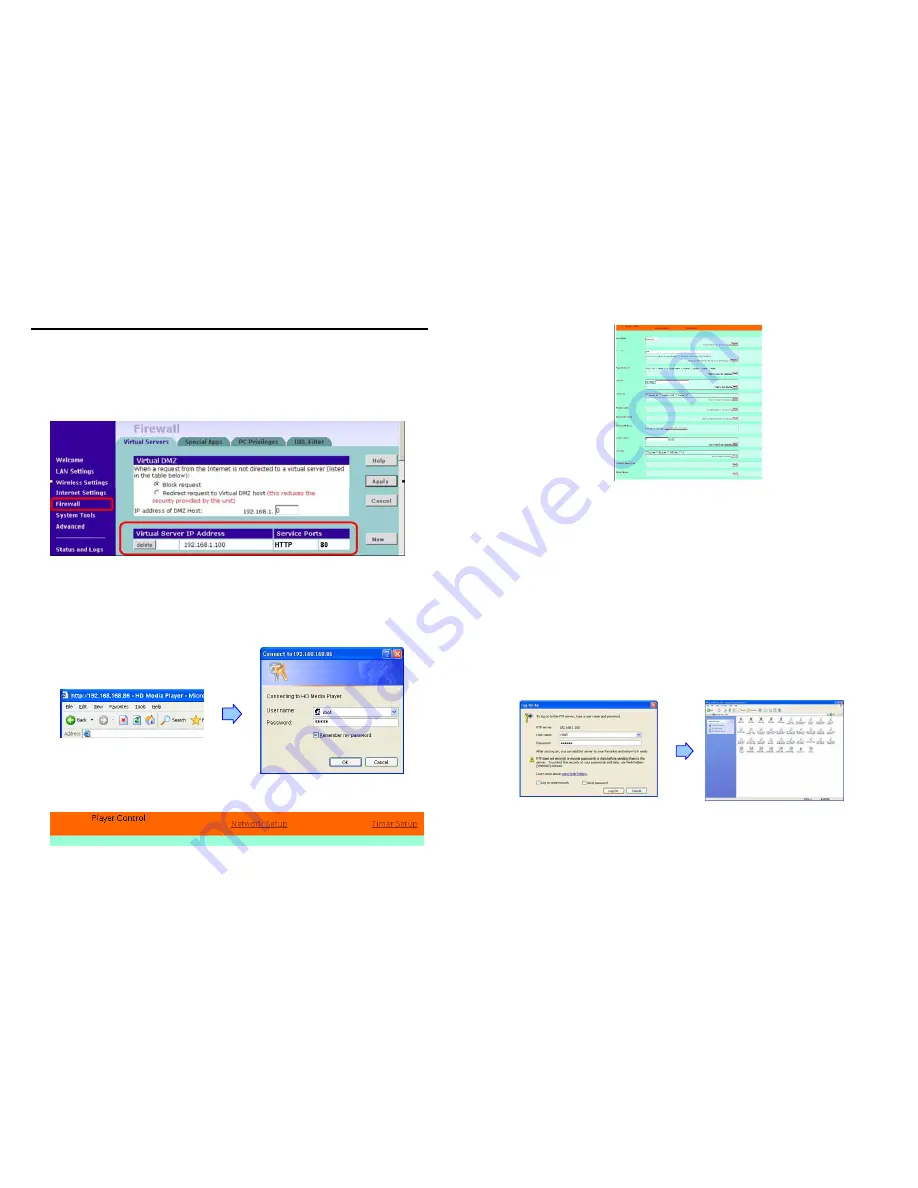
Set your router or firewall, and open a port 80 for the B1080PW-2. The following figure is an
example, please refer to your user’s manual of router for opening ports.
Start IE on PC and type the HTTP site or IP:
In the local PC, please type “http://192.168.1.100”.
In the remote PC, please type “http://61.30.13.40:80”.
Type the “User Name”, “Password” and click “OK” to log on.
(Default User Name:
root
, Default Password:
admin)
There are three items: “Player Control”, “Network Setup” and “Timer Setup” in the window.
27
9.1 PLAYER CONTROL
Power State:
Turn on/ off the B1080PW-2.
Check State:
Check the current state of B1080PW-2.
Playback Control:
Control the B1080PW-2 to play file/ stop playback/ pause the playback/ play
the previous file/ play the next file/ rewind movie/ forward movie.
Play File:
Enter the file name that you want play, and click “Send” to play the file immediately.
Repeat File:
Select the repeat mode.
Auto Download:
Click “Send” to execute the auto download function immediately.
Note:
The “FTP Auto Download” function must be turned on and completed set.
Stop Auto Download:
Click “Send” to stop the auto download function immediately.
Connect FTP Server:
Click the FTP server address to connect to the B1080PW-2, and enter the
user name and password (
Default User Name:
root,
Default Password:
admin) to log on. After
logging on all the media files in the CF card on the B1080PW-2 will be listed. You can download
and upload the media files between CF card and your PC.
Volume Control:
Enter the value for volume (0-30).
Auto Play:
Select the auto play mode (movies/ pictures/ All Files/ off).
Format CF Memory Card:
Directly format the CF card.
Reboot System:
Click “Send” to reboot the B1080PW-2 immediately.


