7
Initial Configuration
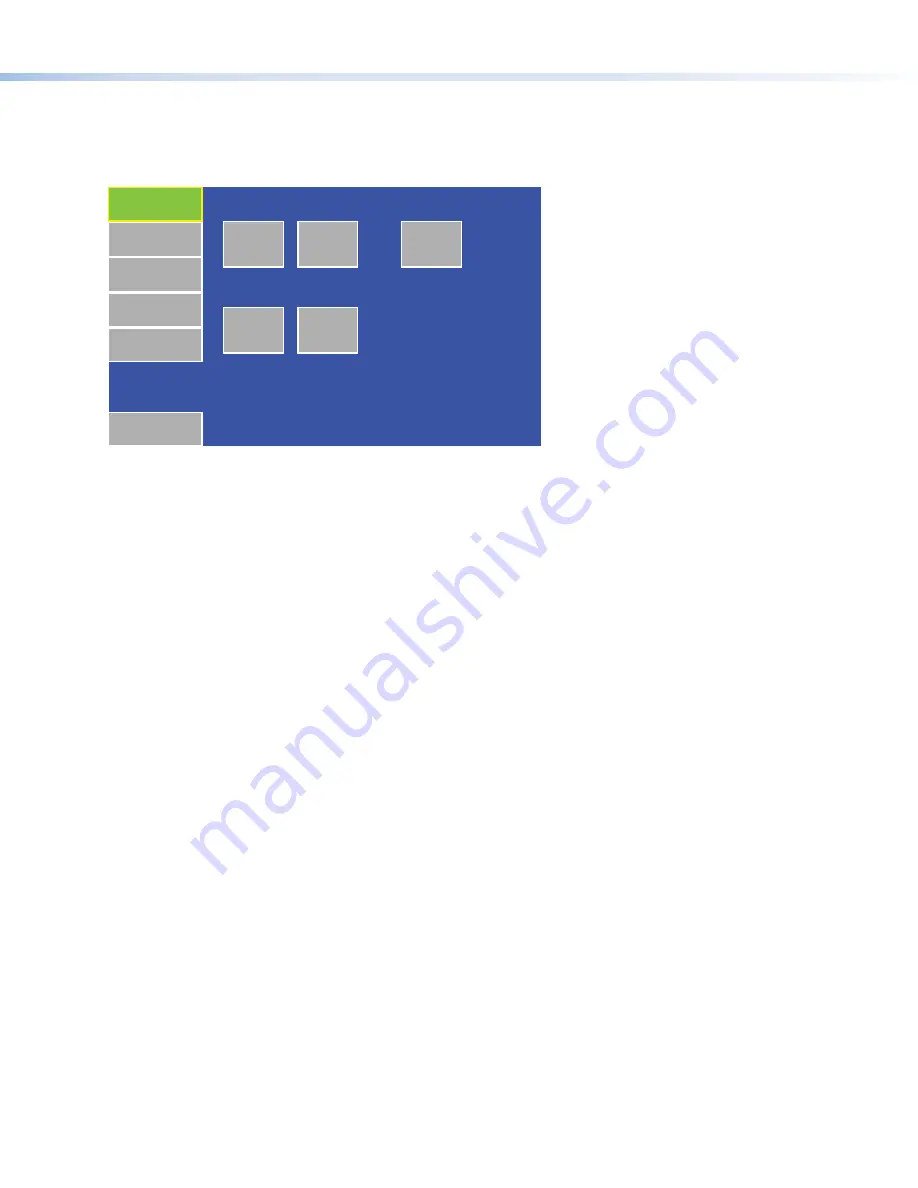
Before use, configure the touchpanel, using the on-screen menus.
1.
Remove the bezel, using the Extron removal tool.
2.
Press the Menu button once (
g
in the figures on page 6). The Main menu screen opens.
Main
Volume
Time
Network
Video
Exit
On
Down
Up
Sleep timer: 005 Min
Down
Up
Backlight: 073%
Auto Backlight
PoE
Active
3.
Touch an on-screen button to highlight and select that option (the button turns green with a yellow border).
4.
Use the
Up
and
Down
buttons to adjust the value. Some options have a single button and toggle between
Off
and
On
when
the button is pressed.
There are five different screens (
Main
,
Volume
,
Time
,
Network
, and
Video
) that can be selected by pressing the appropriate button
at the left side of the screen. There is also an
Exit
button at the bottom left corner of the screen for saving changes and leaving
the menus.
Use the screens to adjust the following options (for more information, see the
TLP 710CV User Guide
).
Main
— Adjusts the Sleep timer, Backlight, and Auto Backlight functions. The screen also provides information about the PoE
status.
Volume
— Adjusts the Master, Click, Sounds, and Line In volume settings.
Time
— Sets the correct time and date.
Network
— Sets the IP address and the subnet mask, and enables or disables Dynamic Host Configuration Protocol.
Video
— Provides a small video preview window and the controls to adjust the video contrast, color, brightness, and tint.


