ShareLink 200 • Operation Using a Computer
15
•
Disconnect
— Click to disconnect from any connected receivers.
•
Show Receiver Info
— Click this to show the receiver information (IP address, SSID,
and login code) briefly on the screen during a presentation, if necessary. The receiver
information overlays on top of the screen for 30 seconds, then disappears.
•
About
— Click to see the ShareLink 200 software version number.
•
Exit
— Click to exit the software program.
Sharing on Multiple Screens
This feature allows the computer screen or media file to be shared on up to four screens
connected to other ShareLink 200 recievers.
To use this feature:
1.
Click
Share on Multiple Screens
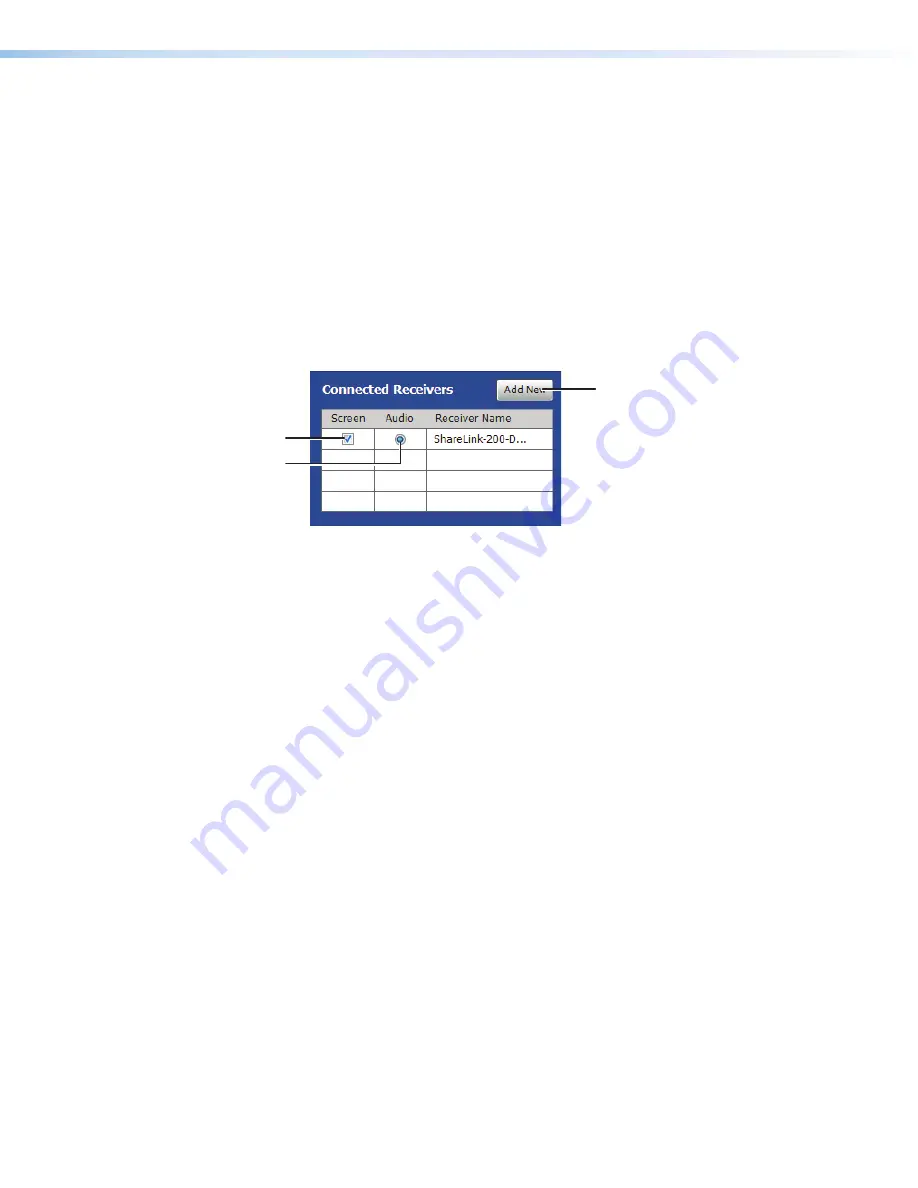
on the software menu. The Connected
Receivers window opens:
3
3
2
2
4
4
Figure 14.
Connected Receivers Screen
2.
Click
Add New
(
2
) to add a new reciever. Up to four receivers can be added.
3.
Check the
Screen
(
3
) checkbox to share content to that receiver. Content is only
shared to the selected receivers.
4.
Click the
Audio
button (
4
) to share audio to a receiver. Audio can only be shared to
one receiver.
Creating a USB Thumb-drive App
This feature allows a user to load the ShareLink 200 software into a USB thumb-drive, and
to run the software directly from the drive (instead of having to install the software on a PC).
Follow these steps to load the software into, and to run the software from, a USB drive:
1.
Click
Create USB Thumb-drive App
in the ShareLink 200 software Advanced
Settings menu. The USB Auto Setup Wizard screen opens.
2.
Follow the steps in the wizard screen to save the software to your USB drive. The
software requires approximately 25 MB of space.
3.
When software loading is complete, a folder named “ShareLink 200” is saved to the
USB drive.
4.
To run the software:
a.
Plug in the USB drive to the PC that will be used for presentation.
b.
Open the folder named “ShareLink 200” that was saved to the USB drive.
c.
Open the ShareLink200.exe file in the folder to run the software.


