MGP Pro Series • HTML Configuration and Control
95
Displaying a Background Image
An image can be displayed as a background behind the windows on the output screen.
This can be done by uploading a bitmap image to the MGP Pro and selecting it by using the
Add
and
Take
buttons.
Using an HDMI input
To use the unscaled image from a HDMI source as a live background on the output screen,
1.
Connect an HDMI source to the HDMI Background connector on the rear panel.
2.
From the
Background
Color
menu, select
DVI
Background
Input
.
Using a bitmap image
The Image Settings screen lets you upload bitmap images, including those saved via
background capture, from your computer to the MGP Pro; and to select an uploaded image
as the background for the output screen.
NOTE:
The MGP Pro supports only 24-bit bitmap files as backgrounds. The
background file names must have a .
bmp extension
. The MGP Pro has 16 MB of
memory to store captured or loaded images (see
Background Capture Menu
on
page 27 to calculate the size of an image).
Uploading an image
To upload a bitmap image to the MGP Pro:
1.
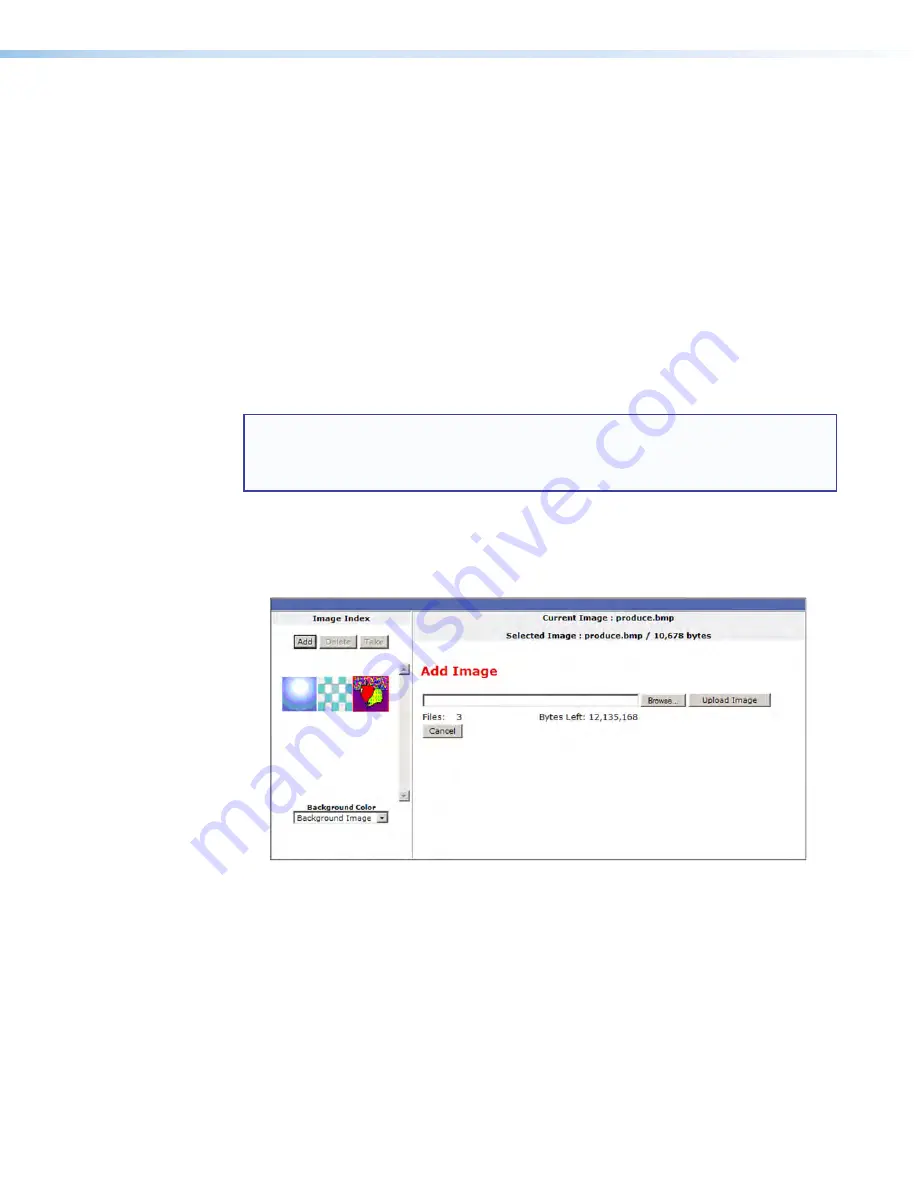
In the Image Index field, click
Add
. The
Add
Image
field is displayed.
Figure 41.
Add Image Field on the Image Settings Screen
2.
Click
Browse
to open the Choose File to Upload (or Choose File) window, and locate
the image (.bmp) file that you want to upload.
3.
Open the image file in the Choose File to Upload window. Its name and the path to it
are displayed in the
Add
Image
field on the Image Settings screen.
4.
Click
Upload
Image
. This button changes to
Uploading...
while the file is being
loaded.
5.
When the uploading is complete, a thumbnail image of the uploaded file is displayed in
the Image Index section.


