44
• Menu sequence and structure
3110086 EHC20 UK 110515
P. Operation
P.1
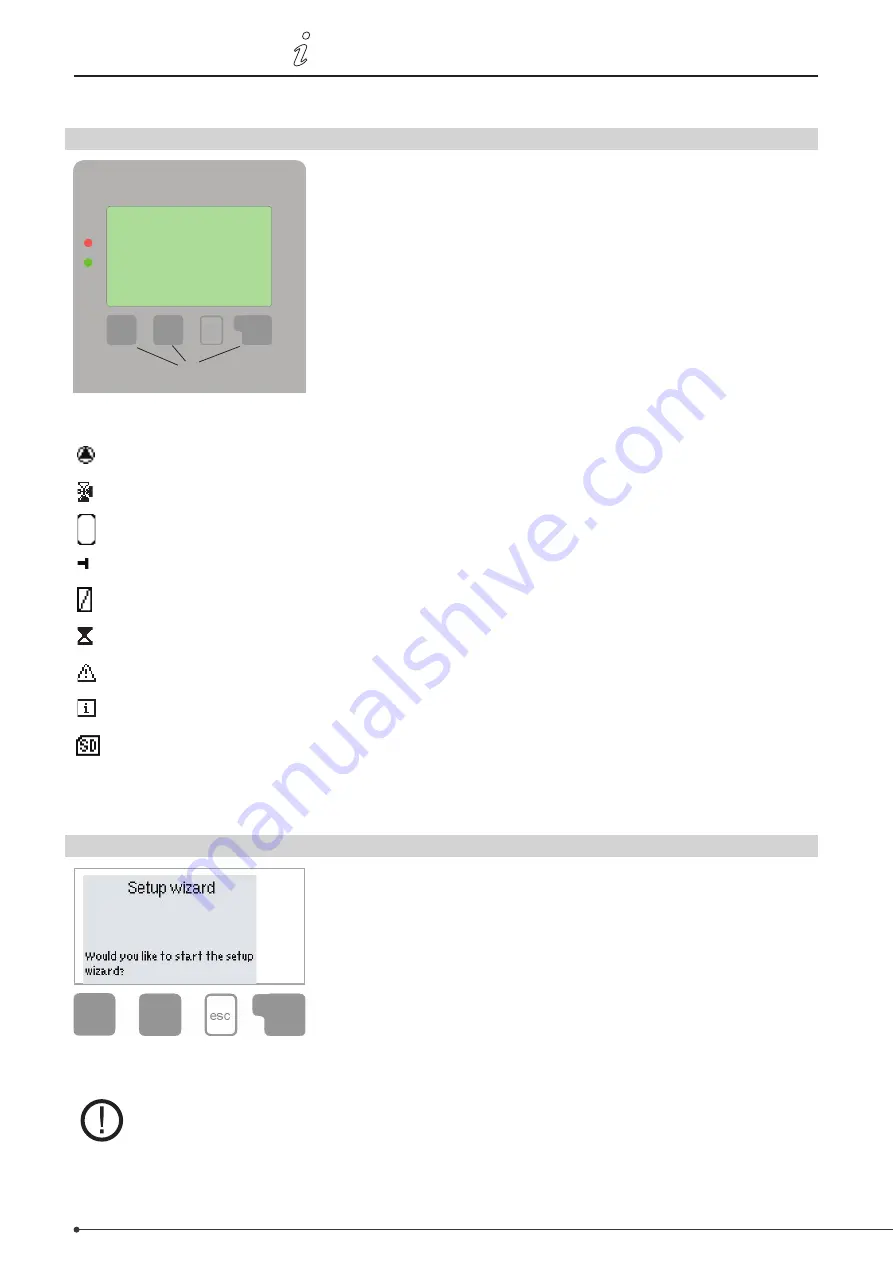
Display and entry system
(1)
(2)
(4)
(3)
Example display symbols:
Pump (rotates when operating)
Valve (direction of flow in black)
Storage tank
Temperature sensor
Heat exchanger
Filling delay (see Filling time)
Warning / error message
New information
Logging enabled
Further symbols are used for the
special functions
P.2
Setup wizard
After switching the controller on for the first time and setting the language
and time, you will be asked whether or not you would like to parametrise the
controller with the help of the setup wizard. However, the setup wizard can be
closed or launched again later on from the Special functions menu. The setup
wizard guides you through the necessary basic settings in the correct order and
provides brief descriptions of the various parameters in the display. Pressing
the ”esc” button takes you back to the previous value so that you can view the
selected setting again and adjust it if necessary. Pressing the ”esc” button more
than once takes you back step by step to the selection mode, thus cancelling
the setup wizard. You should now select ”Manual” in the Operating mode menu
(page 48) in order to test the switch output with the load connected and check the sensor values for plausibility. You
can then switch to automatic operation.
Observe the explanations of the individual parameters on the following pages, and check
whether further settings are necessary for your application.
The display (1) with an extensive text and graphics mode makes the
controller virtually self-explanatory in use.
To access the settings from the overview, press the "esc" button.
The green status LED (2) lights up as soon as a relay is connected; the
red LED flashes in the event of an error message.
Entries are made using four buttons (3+4) which perform different
functions depending on the situation. The "esc" button (3) is used to
cancel an entry or exit a menu.
You may then be prompted to confirm that you wish to save your
changes.
The functions of the other three buttons (4) are explained in the
area of the display directly above the buttons. Generally speaking,
however, the right-hand button is used to make and confirm
selections.
Example button functions:
+/-
= Increase / decrease values
▼/▲
= Scroll down / up in a menu
Yes/No
= Confirm / cancel
Info
= Further information
Back
= Return to previous display
OK
= Confirm selection
Confirm
= Confirm setting


